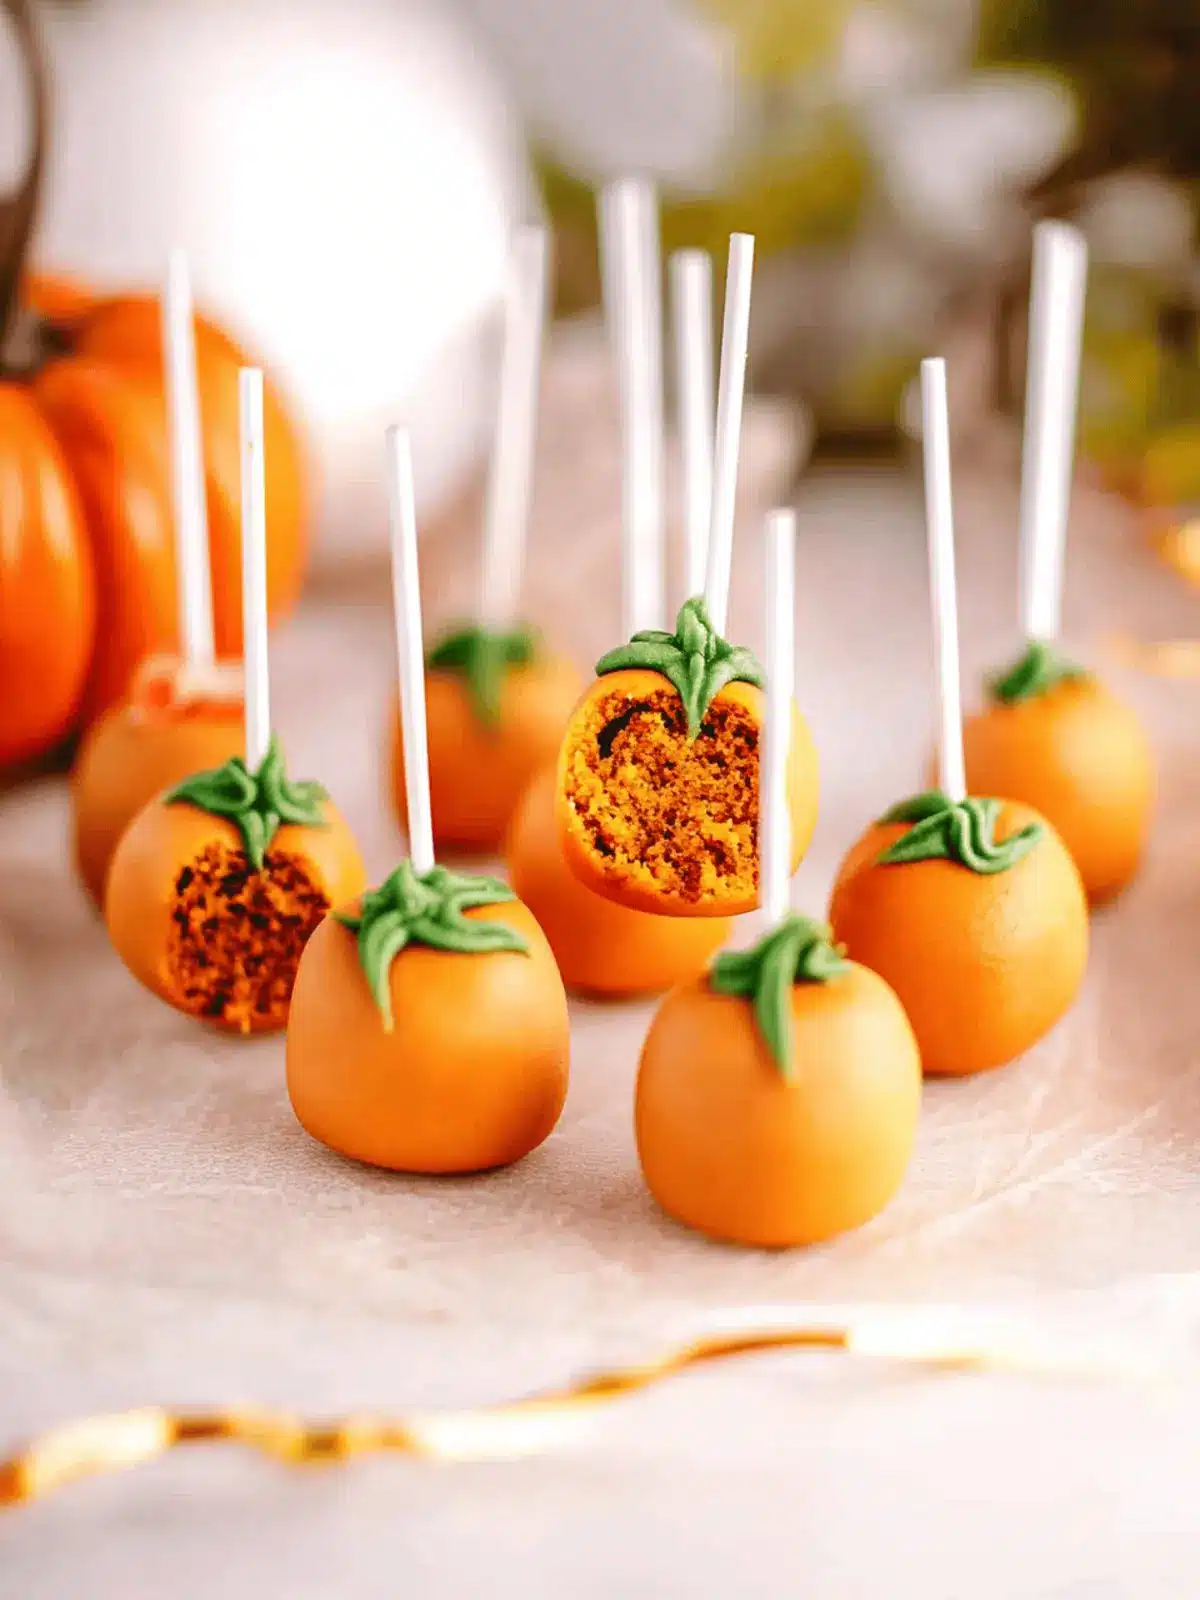
As the crisp autumn air rolls in and the leaves begin to turn, I can’t help but feel inspired to hit the kitchen. The enticing aroma of spiced pumpkin wafting through my house pulls me back to my childhood, where the highlight of fall was everything pumpkin-flavored. Today, I’m sharing a delightful treat that perfectly embodies this season: Pumpkin Cake Pops.
These little bites of joy bring a fun twist to traditional pumpkin desserts, making them ideal for festive gatherings or cooling afternoon treats with the kids. What’s even better? They’re incredibly easy to whip up and perfect for using up leftover cake. Imagine a soft, moist cake center enveloped in a sweet, crunchy chocolate coating—what’s not to love? Whether you are hosting a Thanksgiving feast or simply want to add some festive flair to your snack table, these pumpkin cake pops are bound to be the highlight. Let’s dive in and create some autumn magic together!
Why are Pumpkin Cake Pops a Must-Try?
Rave Reviews: These adorable cake pops never fail to impress not just kids, but adults as well—they’re a hit for any gathering!
Uniquely Festive: With their charming pumpkin shape, these treats instantly bring a festive vibe to your dessert table, making them perfect for holiday celebrations.
Easy to Make: Using leftover cake makes this recipe not only simple but also resourceful—no waste here!
Flavorful Delight: The delightful combination of spices in the pumpkin cake and the sweetness of the candy coating creates an explosion of flavor that captures the essence of fall.
Cute and Customizable: From color variations to shapes, you can easily tailor them to suit any occasion or theme, keeping things fun and creative.
Now, let’s get started on your new favorite fall treat!
Pumpkin Cake Pops Ingredients
For the Cake
• Pumpkin Cake – This is the heart of your Pumpkin Cake Pops, providing a moist and flavorful base; feel free to use leftover cake or a boxed mix!
• Frosting – Essential for binding the cake and enhancing moisture; save some for the decorative vines later.
For the Coating
• Black Candy Melts – These create the defining pumpkin features and a beautiful contrast; you can also opt for dark chocolate if desired.
• Orange Candy Melts – The main coating that gives these cake pops their vibrant pumpkin hue; substitute with colored white chocolate for variety.
• Refined Coconut Oil or Vegetable Shortening – Thins the candy melts for smooth coating; avoid virgin coconut oil due to its strong flavor.
For Assembly
• Lollipop Sticks – Necessary for holding your cake pops together and making them easy to enjoy; bamboo sticks work in a pinch.
• Green Food Coloring – For tinting the reserved frosting to pipe adorable vines on your pumpkin cake pops.
Let’s gather these ingredients and ready ourselves to craft these delightful seasonal treats!
How to Make Pumpkin Cake Pops
-
Mash the Cake: In a large bowl, mash the baked pumpkin cake until smooth. Gradually mix in frosting until you achieve a soft, moldable consistency. Be sure to reserve ¼ cup of frosting for later use.
-
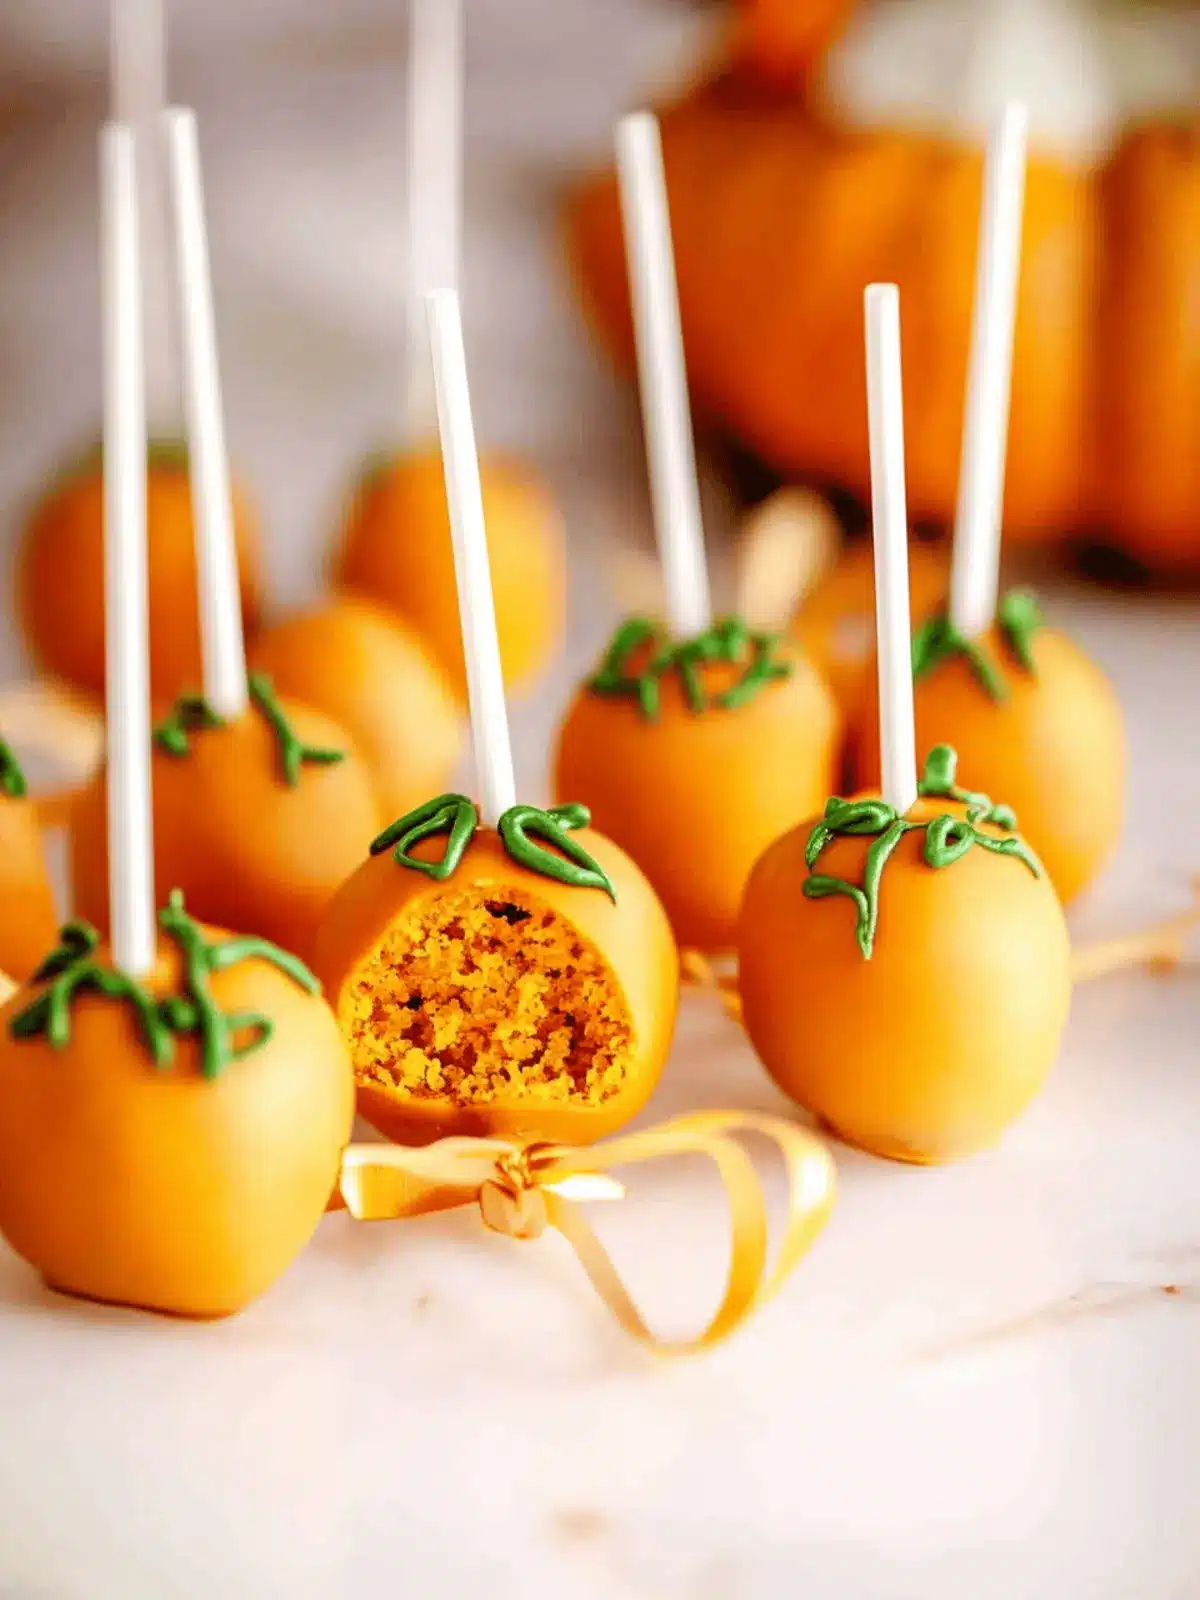
Shape the Balls: Roll the mixture into 1.5” balls. If the mixture feels too soft to handle, pop it in the freezer for 10 minutes. Shape the pops to resemble pumpkins for a festive touch.
-
Prepare the Sticks: Melt black candy melts in a microwave-safe bowl. Dip the end of each lollipop stick in the melted candy before inserting it halfway into each cake ball. Freeze for 15 minutes to allow them to set.
-
Coat the Pops: Melt orange candy melts and mix with refined coconut oil to thin out. Dip each cake pop into the melted orange candy, allowing the excess to drip off. Place the coated pops on parchment paper to set.
-
Decorate with Vines: Mix green food coloring into the reserved frosting and pipe lovely vines onto the set cake pops for an adorable finishing touch.
-
Serve and Enjoy: These delightful treats are best served at room temperature, delivering the perfect texture and flavor.
Optional: Drizzle extra melted candy over the pops for a fun, decorative touch!
Exact quantities are listed in the recipe card below.
Pumpkin Cake Pops Variations & Substitutions
Feel free to let your creativity shine and customize these pumpkin cake pops to your heart’s delight!
-
Gluten-Free: Use a gluten-free cake mix instead of traditional cake to make these pops suitable for those with gluten sensitivities.
-
Vegan-friendly: Substitute the frosting with a vegan alternative, and choose plant-based chocolate melts for a delightful vegan treat.
-
Spice Up: Enhance the flavor by mixing in a teaspoon of cinnamon or nutmeg into the cake mixture, adding warmth and depth to each bite.
-
Nutty Crunch: Fold in finely chopped nuts like pecans or walnuts into the cake mixture, providing a lovely crunch alongside that moist cake center.
-
Boozy Boost: For adults at your celebration, add a splash of your favorite liqueur to the cake mixture for an unexpected flavor twist—think rum or maple whiskey!
-
Colorful Coating: Switch up the candy melt colors to match your party theme, or use sprinkles atop the orange coating for an extra festive look.
-
Fruity Flavor: Incorporate apple or pear puree instead of part of the pumpkin for a fruity twist that complements the spices beautifully.
-
Even More Texture: Roll the coated cake pops in crushed graham crackers or toffee bits, giving each bite a delightful crunch that contrasts with the softness inside.
Let your imagination run wild, and enjoy every delicious variation of these seasonal treats!
What to Serve with Pumpkin Cake Pops?
These charming treats are perfect for delighting your guests and adding warmth to your fall gatherings.
-
Spiced Apple Cider: A warm cup of spiced apple cider accentuates the cozy flavors of the cake pops, making each bite feel like a fall hug.
-
Creamy Vanilla Ice Cream: The creaminess of vanilla ice cream perfectly contrasts with the crunchy chocolate coating, adding a luxurious touch to your dessert.
-
Roasted Butternut Squash Soup: A savory bowl of warm butternut squash soup balances the sweetness of the cake pops, creating a delightful sweet-savory experience.
-
Caramel-Dipped Pretzels: The salty crunch of caramel-dipped pretzels provides a fantastic textural contrast, enhancing the overall snacking experience at your gathering.
-
Pecan Pie Bars: These sweet treats pair beautifully with pumpkin cake pops, celebrating the best of fall flavors in every bite.
-
Cheese Platter with Honey: A selection of soft cheeses with a drizzle of honey adds a rich and sophisticated element that complements the festive spirit.
-
Pumpkin Spice Latte: Embrace the seasonal vibes with a cozy pumpkin spice latte, a dynamic pair that amplifies the festive flavors of your pumpkin cake pops.
Expert Tips for Pumpkin Cake Pops
-
Chill the Mixture: Ensure the cake mixture is well-chilled before dipping to prevent breaks during the coating process.
-
Microwave Melting: Use a microwave to melt candy melts in small increments to avoid overheating, which can cause them to seize.
-
Reheat If Needed: If the candy melts thicken during the dipping process, gently reheat them to regain a smooth consistency.
-
Shape with Precision: For the best pumpkin shape, mold the pops with a chopstick before freezing to ensure a lovely appearance.
-
Decorative Vines: When piping the vines, ensure your green frosting is a contrasting shade for a stunning visual effect on your pumpkin cake pops.
Storage Tips for Pumpkin Cake Pops
-
Room Temperature: Keep pumpkin cake pops at room temperature for up to 1 day; they are best enjoyed fresh, maintaining their crunchy coating and moist center.
-
Fridge: Dipped cake pops can be stored in an airtight container in the refrigerator for up to 3 days. This helps retain their flavors while keeping them fresh.
-
Freezer: For longer storage, freeze the cake pops in a single layer on a baking sheet, then transfer to an airtight container for up to 2 months. Thaw in the fridge before serving.
-
Reheating: There’s no need to reheat; serve the pops chilled or at room temperature to enjoy the full pumpkin cake flavor!
Make Ahead Options
These Pumpkin Cake Pops are perfect for meal prep enthusiasts! You can prepare the cake mixture up to 24 hours in advance; simply mash the baked pumpkin cake and mix in frosting (reserve some for decoration). Once shaped into balls, you can refrigerate them; just be sure to cover them to maintain their moisture. When ready to serve, insert the lollipop sticks and follow through with dipping in candy melts and decorating. Dipped cake pops can be stored in the refrigerator for up to 3 days or frozen for up to 2 months, ensuring they’ll taste just as delicious when you’re ready to enjoy them!
Pumpkin Cake Pops Recipe FAQs
What type of pumpkin cake should I use?
Absolutely! You can use either a homemade pumpkin cake or a boxed mix—whatever suits your schedule. I often recommend using leftover cake to minimize waste. Just ensure that it’s baked and cooled before you start the cake pop process for the best texture!
How should I store my pumpkin cake pops?
You can keep your pumpkin cake pops at room temperature for up to 1 day—just a tip, they’re best enjoyed fresh! If you need to store them longer, dip cake pops can be kept in an airtight container in the refrigerator for up to 3 days.
Can I freeze pumpkin cake pops?
Definitely! For longer storage, freeze undipped cake pops in a single layer on a baking sheet for around 2 hours until firm. Then, transfer them to an airtight container and freeze for up to 2 months. Just remember to thaw them in the fridge before serving for the best texture!
What should I do if my cake pop mixture is too soft?
No worries! If your cake pop mixture feels too soft to shape into balls, simply chill it in the freezer for about 10-15 minutes. This helps firm up the mixture, making it easier to roll into proper pumpkin shapes without falling apart.
Are pumpkin cake pops safe for people with allergies?
You’ll want to take precautions! When making pumpkin cake pops, be mindful of any allergies, particularly to gluten (if using standard cake mixes or flour) and dairy (from frosting). If in doubt, look for gluten-free and dairy-free alternatives to make these festive treats accessible for everyone.
How do I achieve the perfect pumpkin shape?
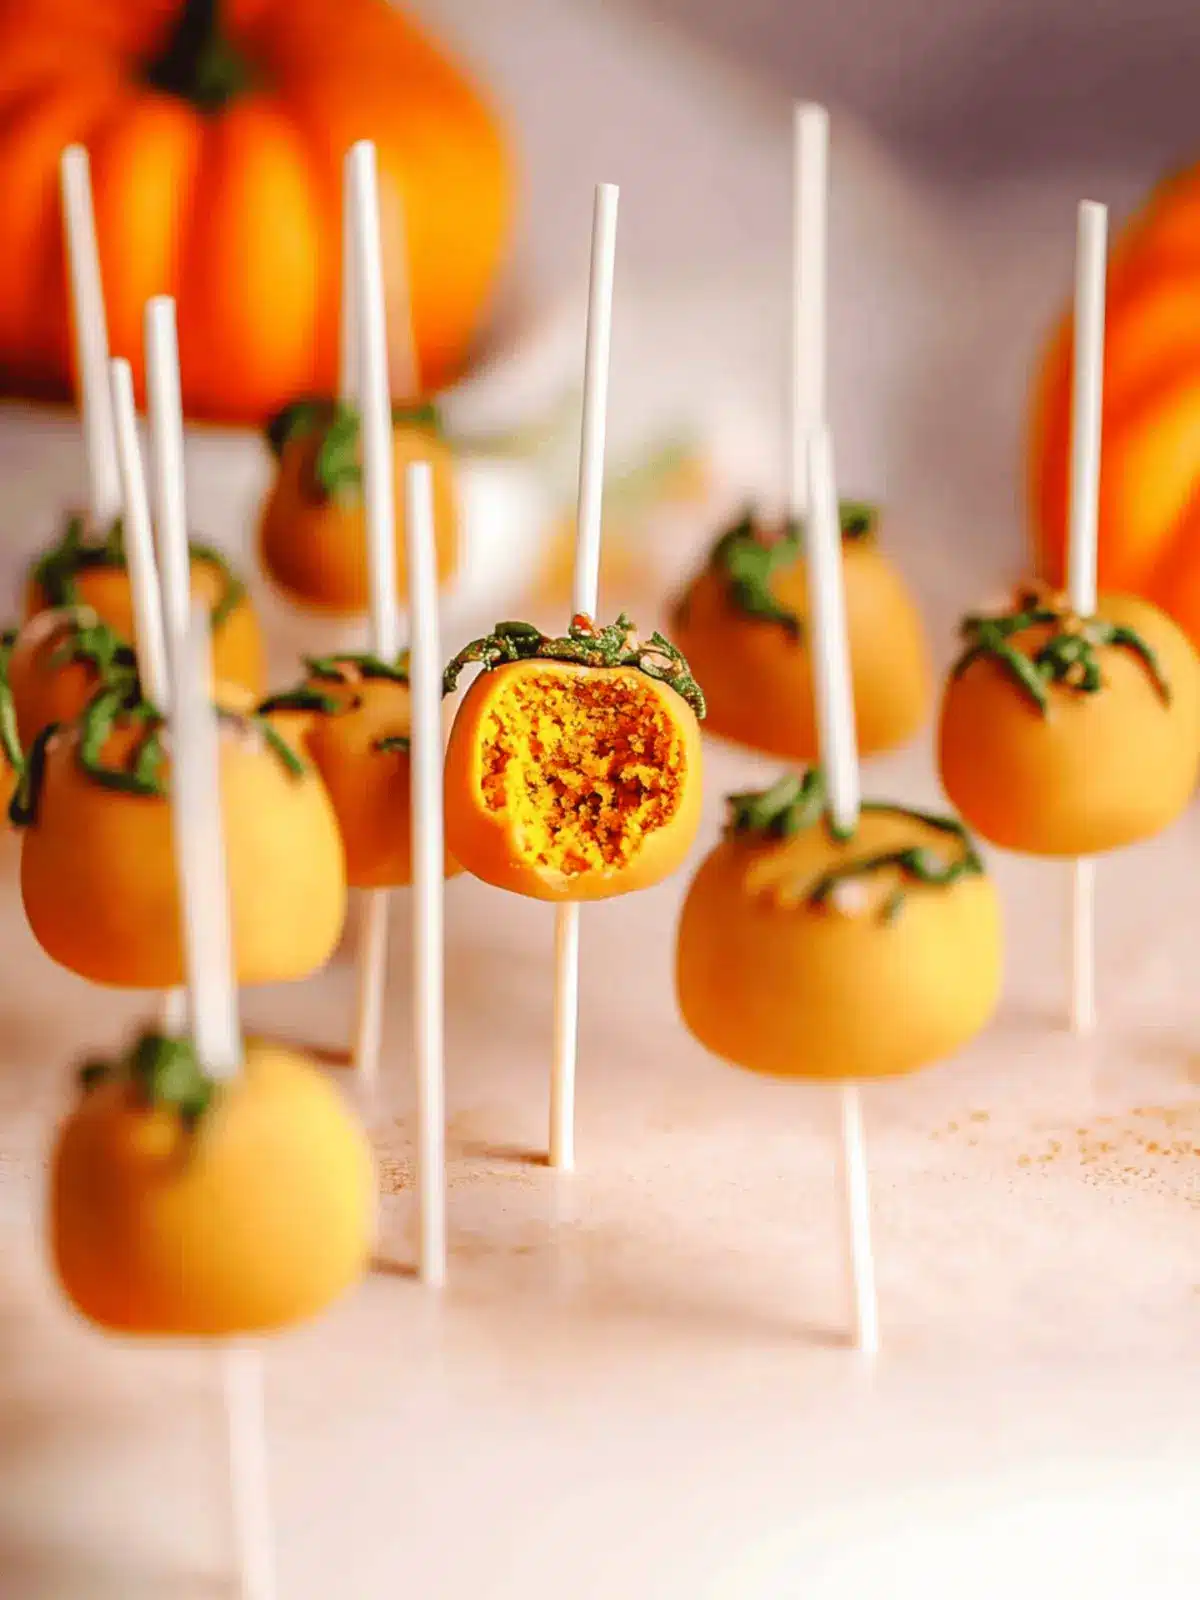
For a cute and precise pumpkin shape, use a chopstick to mold the pops gently before freezing. Make sure to roll them neatly into balls first, then shape the top slightly to create the classic pumpkin look. This little detail makes a big difference in their presentation!
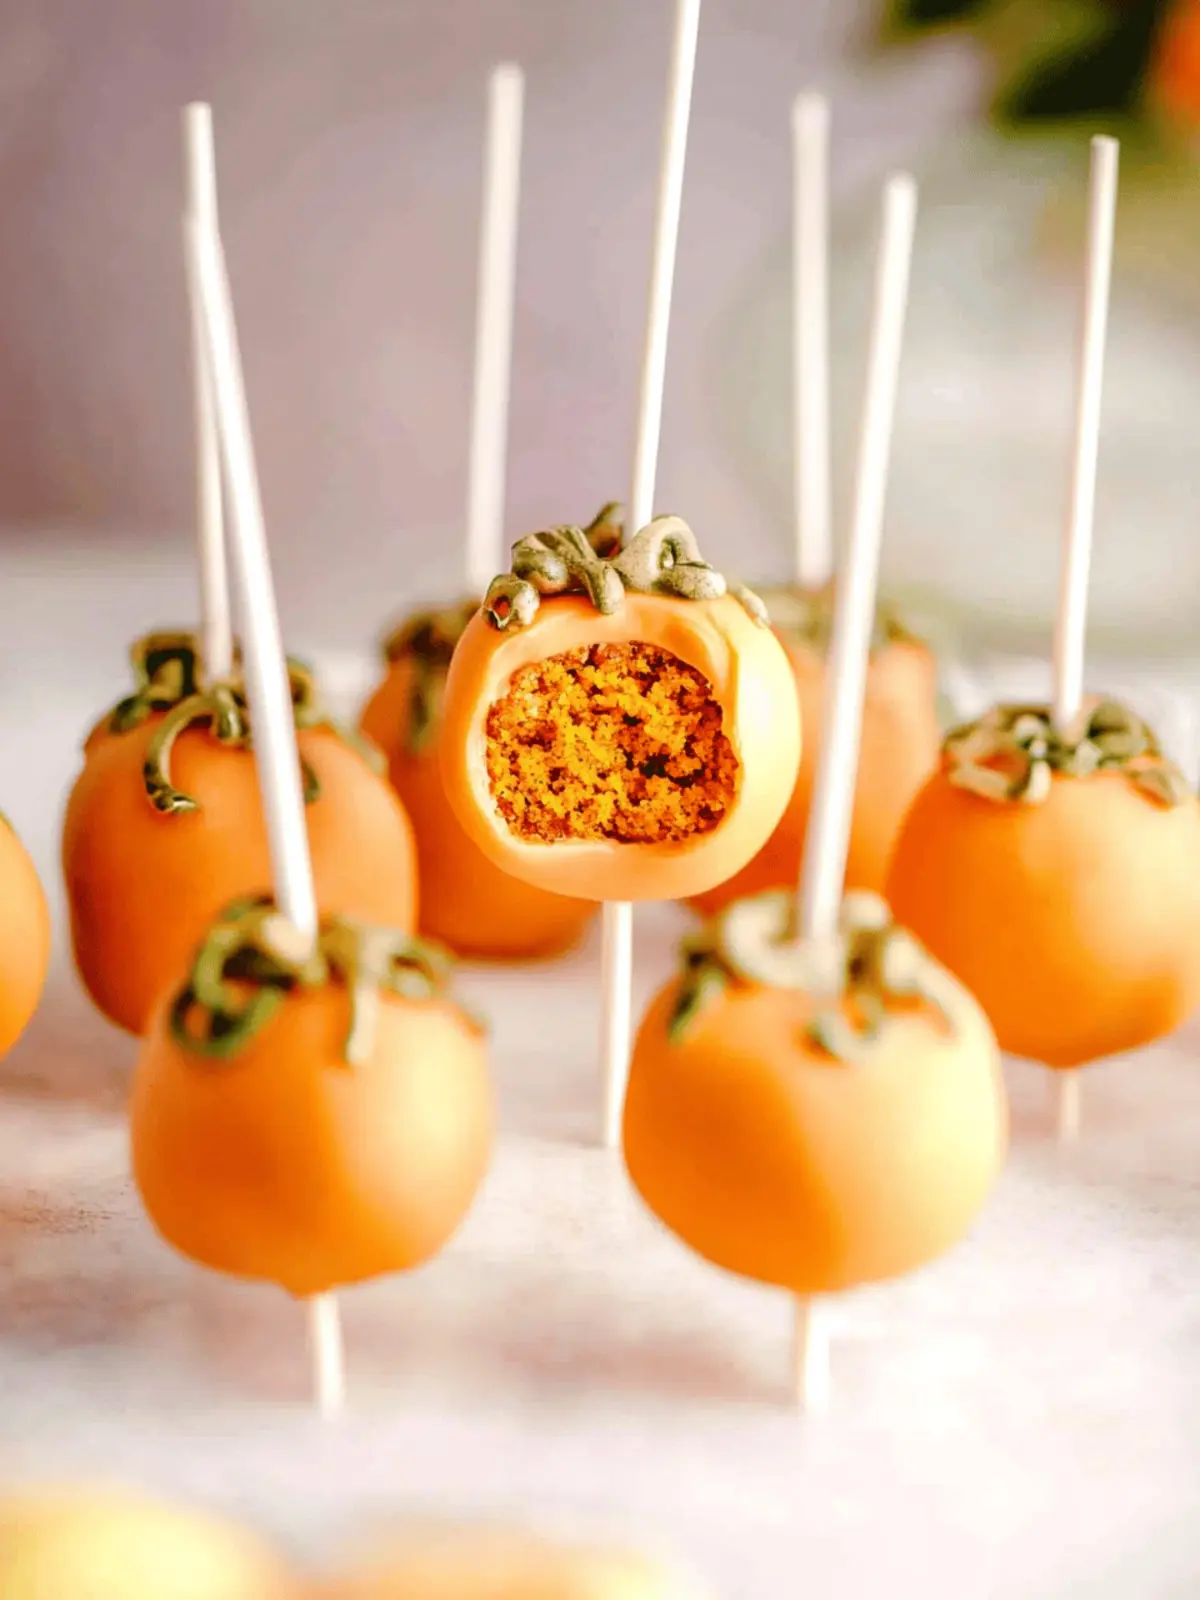
Pumpkin Cake Pops: Your Sweet Ticket to Fall Festivities
Ingredients
Equipment
Method
- In a large bowl, mash the baked pumpkin cake until smooth. Gradually mix in frosting until you achieve a soft, moldable consistency.
- Roll the mixture into 1.5” balls. If the mixture feels too soft to handle, pop it in the freezer for 10 minutes.
- Melt black candy melts in a microwave-safe bowl. Dip the end of each lollipop stick in the melted candy before inserting it halfway into each cake ball.
- Melt orange candy melts and mix with refined coconut oil to thin out. Dip each cake pop into the melted orange candy.
- Mix green food coloring into the reserved frosting and pipe lovely vines onto the set cake pops.
- Serve at room temperature for the best texture and flavor.

