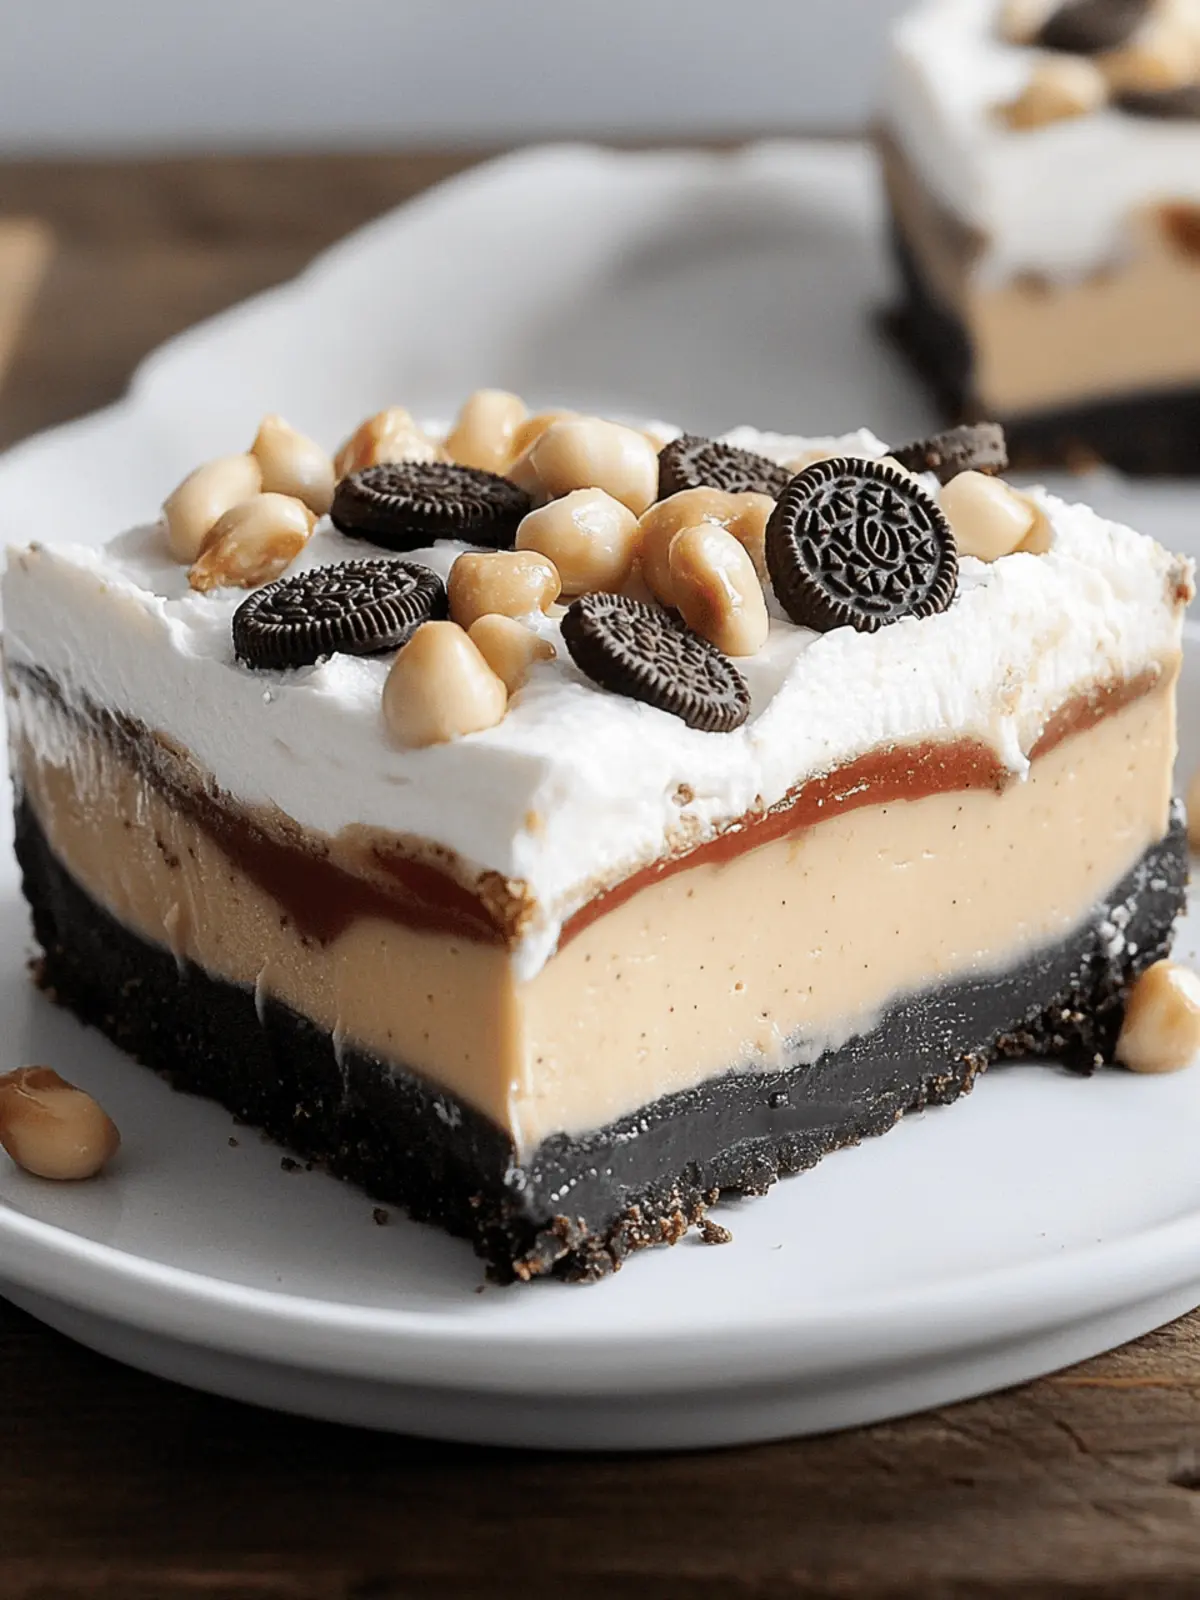
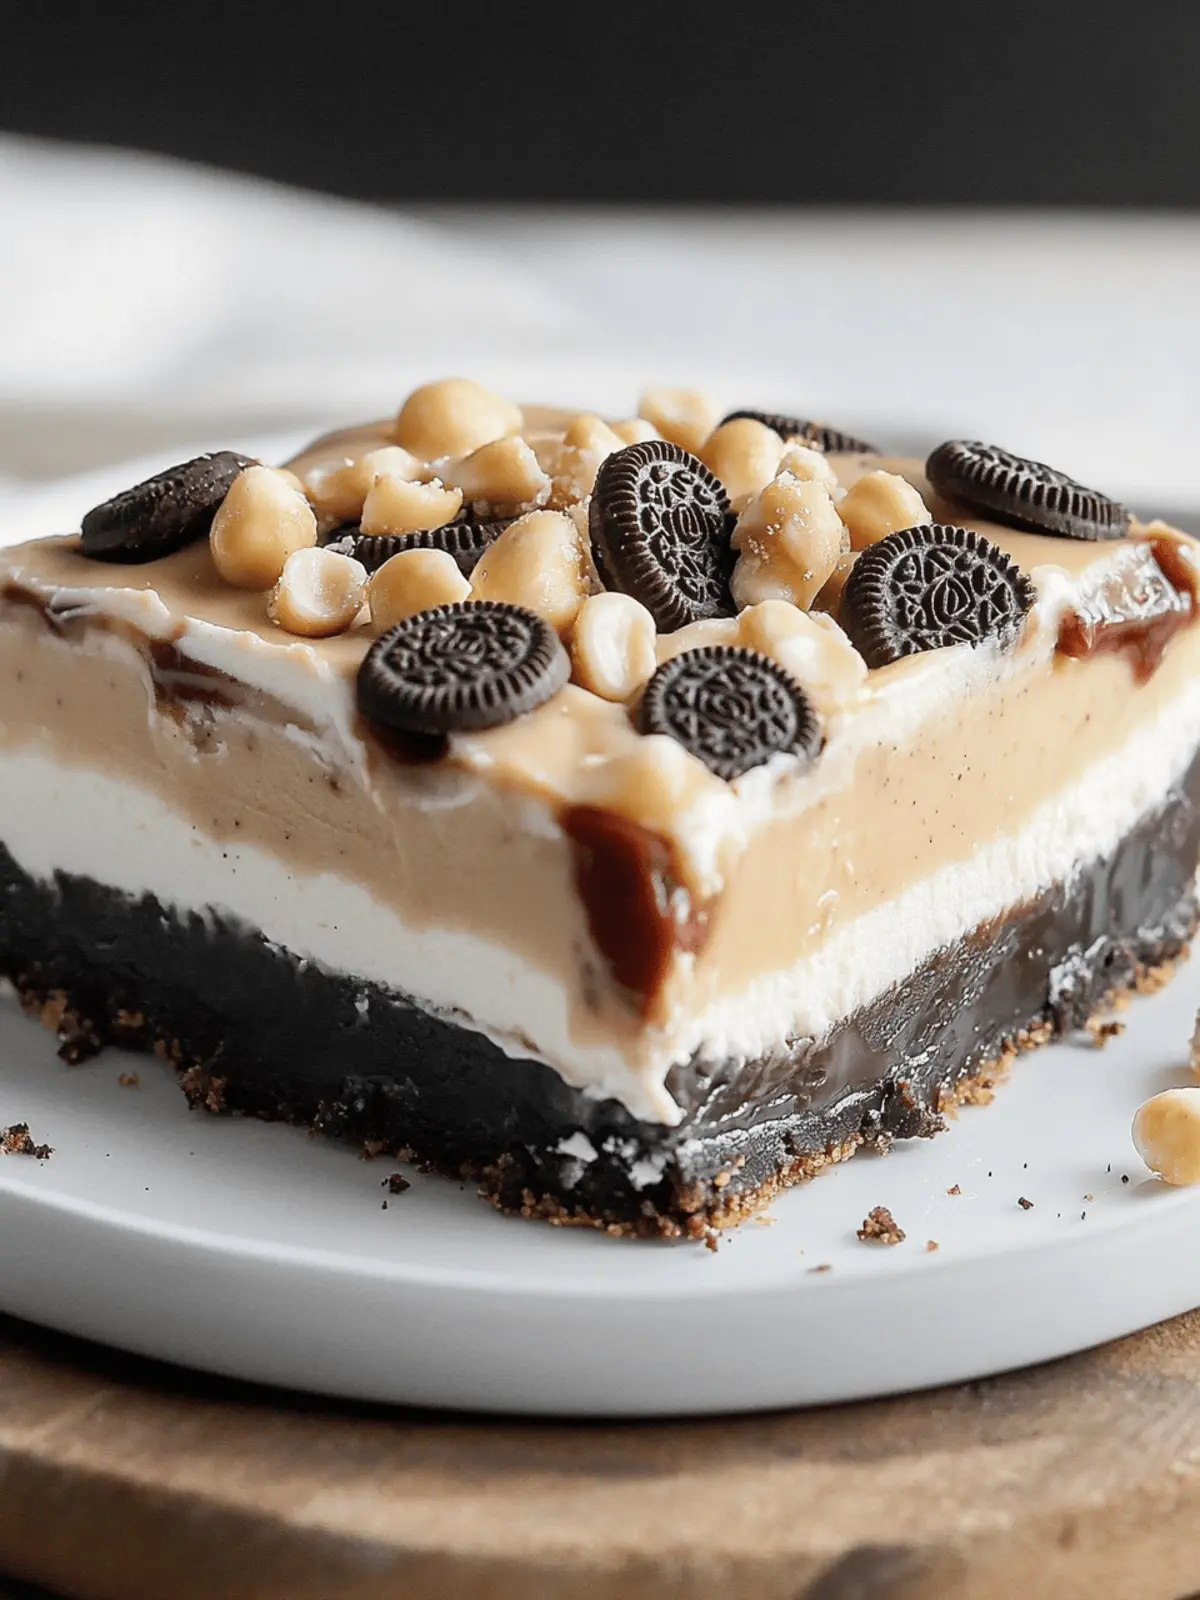
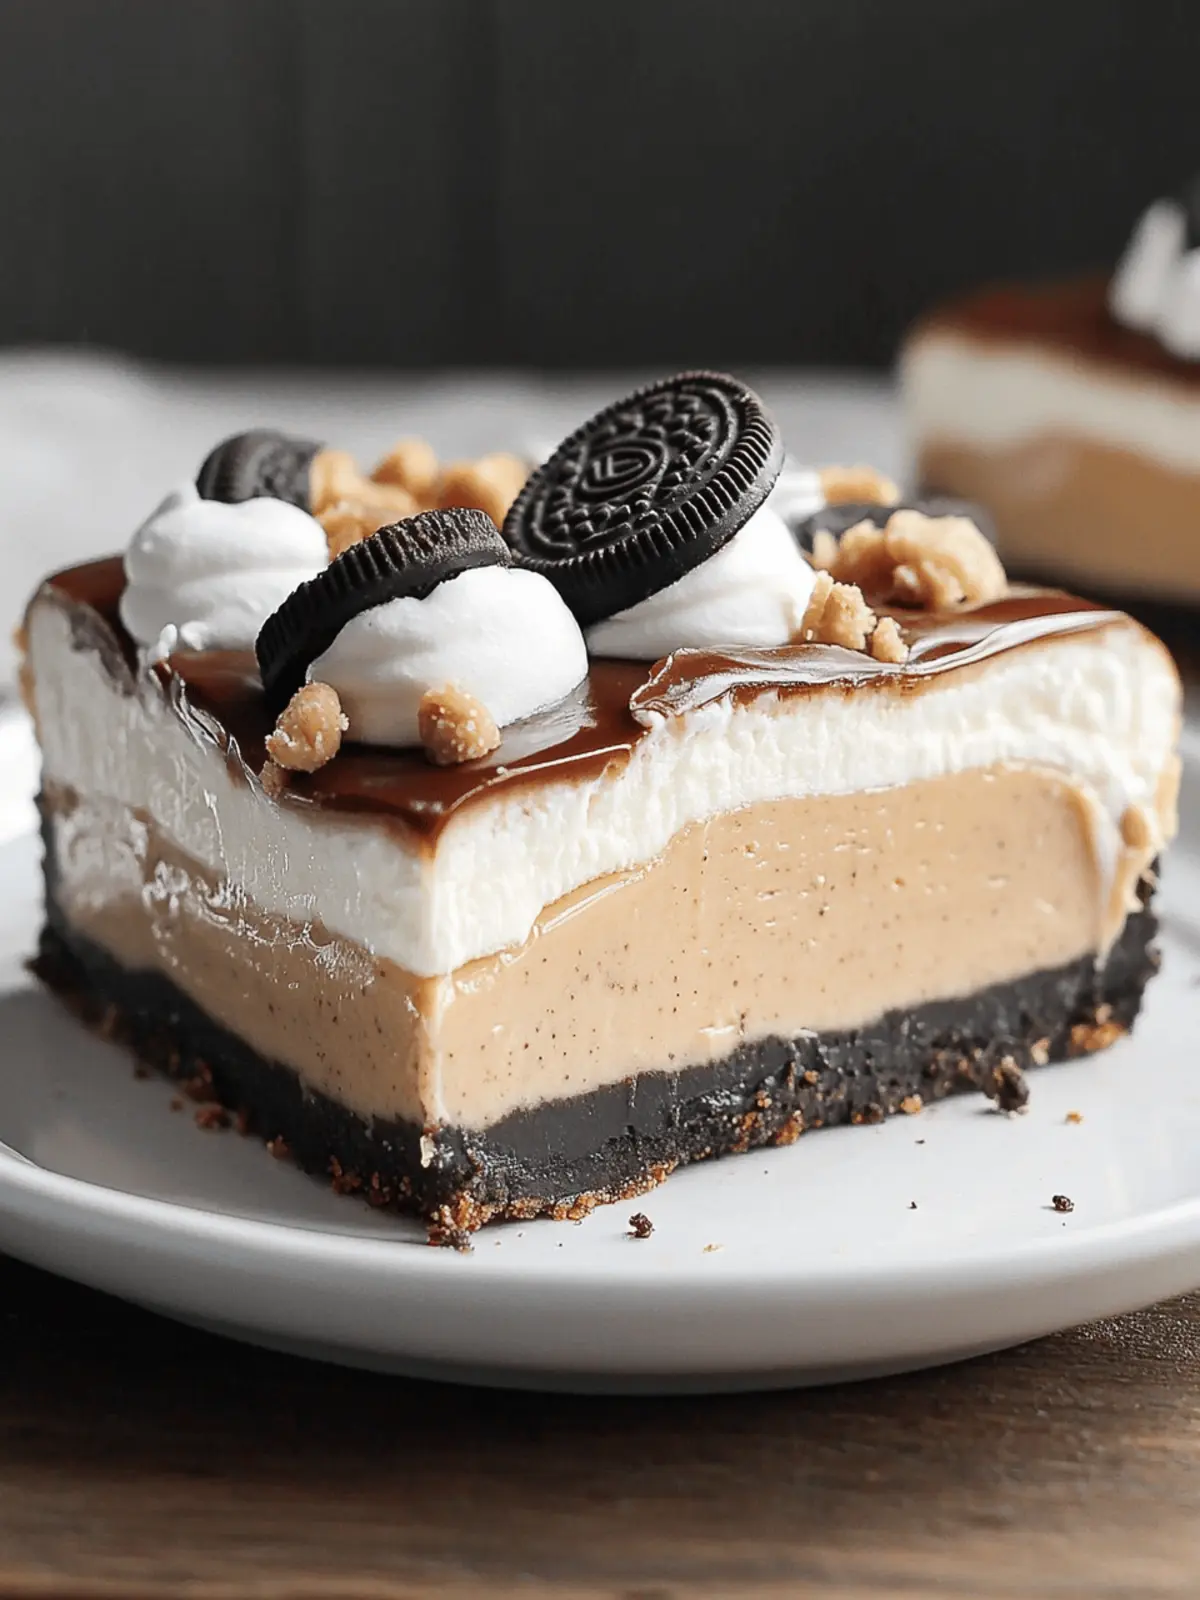
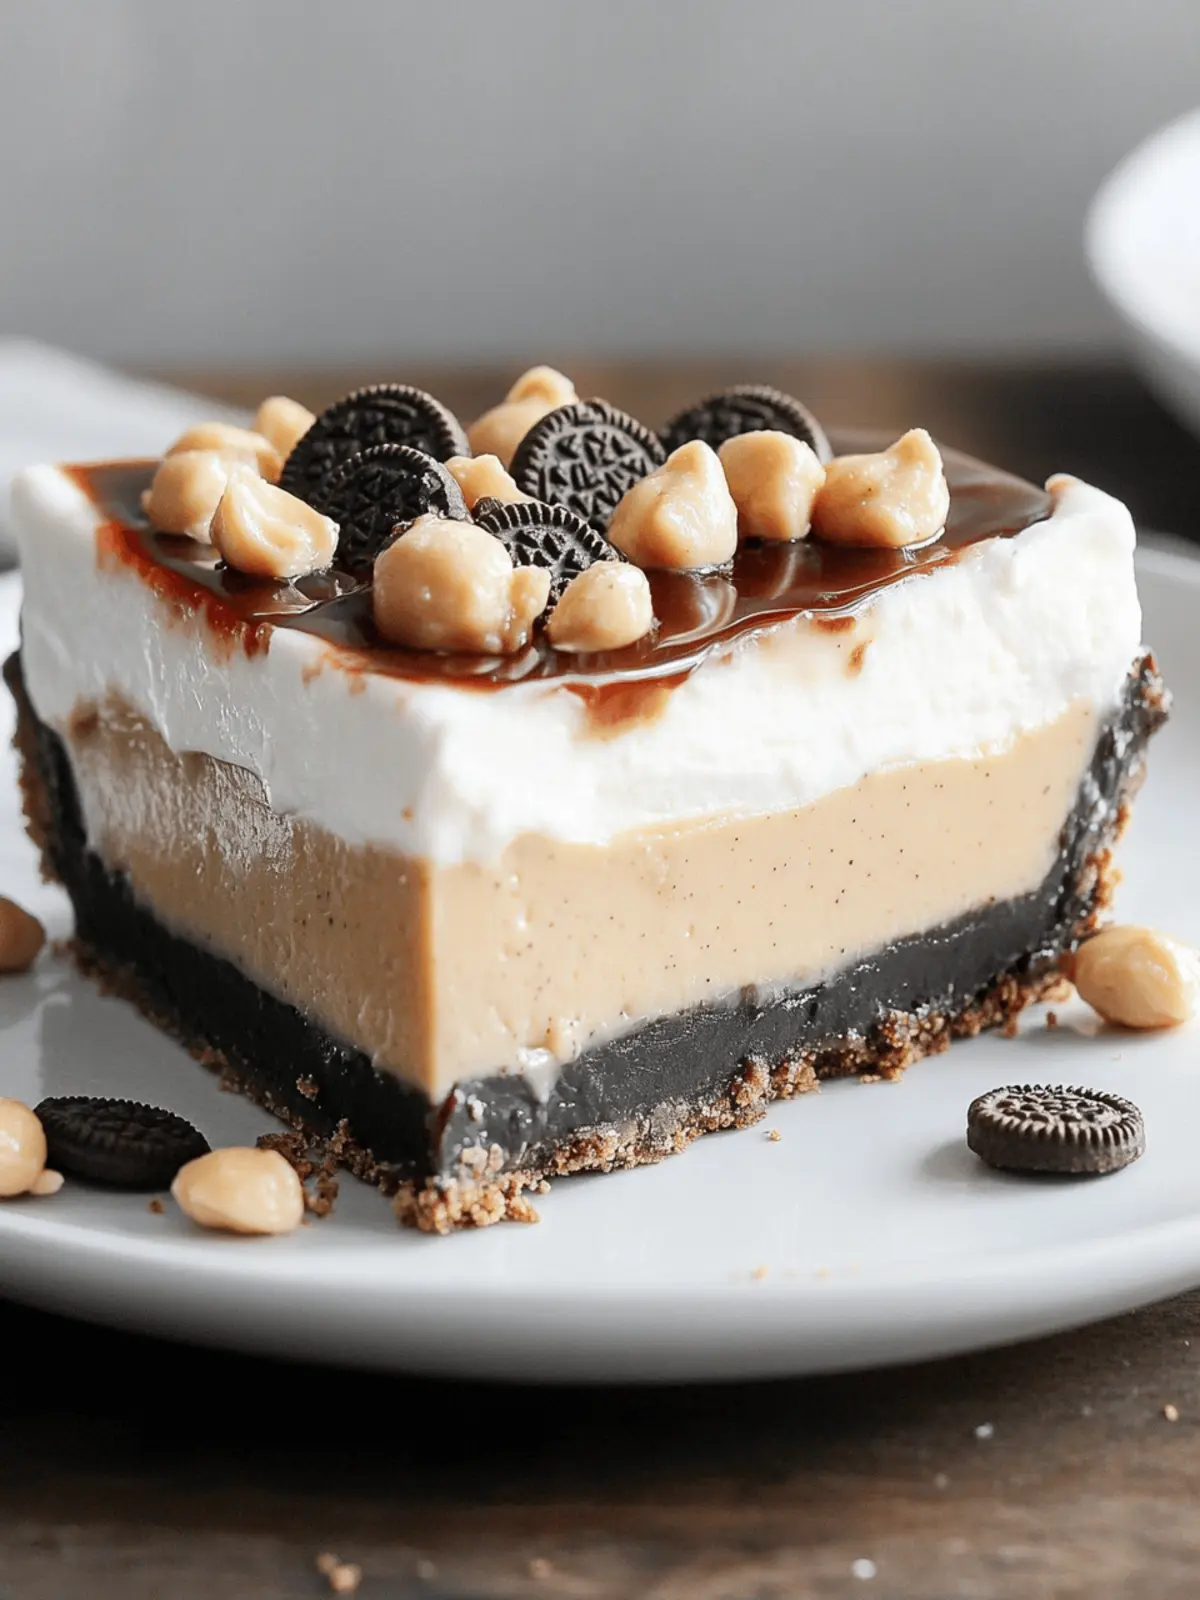
When I first took a bite of this No-Bake Oreo Peanut Butter Pie, I was transported to dessert heaven. The combination of smooth peanut butter and the crunch of Oreo cookies creates a delightful balance that feels like a sweet hug. Perfect for those moments when you crave something indulgent yet effortless, this pie requires no baking skills whatsoever—just a mixing bowl and a little patience!
As the warm seasons approach or when celebrations are in the air, this pie becomes my go-to recipe. It’s a crowd-pleaser that appeals to both chocolate and peanut butter lovers alike, and you’ll be happy to know it can accommodate various dietary needs. Whether you’re gluten-free or dairy-free, I’ll guide you through easy substitutions so everyone can join in on the fun. Trust me, this pie will vanish in no time at your next gathering!
Why will you love Oreo Peanut Butter Pie?
Simplicity: This no-bake recipe is a breeze, requiring only a few simple steps, perfect for busy days.
Irresistible Flavor: With creamy peanut butter and crunchy Oreo layers, every bite offers a delightful taste explosion.
Diet-Friendly Options: Easily adapt this pie for gluten-free and dairy-free dietary needs without sacrificing flavor.
Quick Preparation: In just 20 minutes of prep time, you’ll create a show-stopping dessert that looks and tastes gourmet.
Crowd-Pleasing: This pie is bound to be a hit at any gathering, appealing to dessert lovers of all ages.
For a delightful variation, try using gluten-free cookies for the crust to keep everyone happy!
Oreo Peanut Butter Pie Ingredients
Get ready to create the perfect dessert!
For the Crust
- Chocolate Creme Cookies – These provide a deliciously rich base; substitute with gluten-free cookies for a gluten-free option.
- Butter – Binds the cookie crust together; use dairy-free butter for dairy-free versions.
For the Filling
- Cream Cheese – Adds a creamy texture; remember to soften it to room temperature for easier mixing.
- Instant Chocolate Pudding – Creates a luscious chocolate layer; opt for a vegan pudding mix for a dairy-free choice.
- Powdered Sugar – Sweetens the filling; adjust the amount to taste if desired.
- Oat Milk/Regular Dairy Milk – Used for pudding preparation; almond milk is another great substitution.
- Creamy Peanut Butter – Infuses that classic peanut flavor; crunchy peanut butter can add extra texture.
For the Topping
- Whipped Topping – Finishes the pie beautifully; look for a dairy-free whipped topping to keep it vegan-friendly.
Get ready to indulge in this delightful Oreo Peanut Butter Pie that everyone will love!
How to Make Oreo Peanut Butter Pie
-
Make the Oreo Crust: Begin by crushing the chocolate creme cookies into fine crumbs. Mix in melted butter and ensure the mixture is well combined. Press it evenly into the bottom of a 7″x10″ baking dish and chill while preparing the filling.
-
Prepare the Peanut Butter Filling: In a mixing bowl, beat together softened cream cheese, oat milk, creamy peanut butter, and powdered sugar until smooth and creamy. Spread this luscious mixture evenly over the chilled Oreo crust.
-
Make the Chocolate Pudding Layer: Prepare the instant chocolate pudding according to the package instructions. If using dairy-free, reduce the milk by ½ cup. Once thickened, gently spread the pudding over the peanut butter filling.
-
Add the Toppings: Top off your pie with a fluffy layer of whipped topping. For an extra treat, sprinkle chopped peanuts and crushed Oreos over the top for added crunch and flavor.
-
Chill and Serve: Cover the pie with plastic wrap and refrigerate for at least 4 hours, but letting it sit overnight will yield the best results. Once set, slice, serve, and enjoy this delicious creation!
Optional: Drizzle with chocolate sauce or top with fresh blueberries for a burst of flavor.
Exact quantities are listed in the recipe card below.
Expert Tips for Oreo Peanut Butter Pie
-
Chill Thoroughly: Allow the pie to chill overnight for optimal taste and texture; a well-set pie is easier to slice and serve.
-
Use Room Temperature Ingredients: Soften cream cheese and butter before mixing to ensure a smoother filling without lumps.
-
Avoid Sogginess: Don’t skip chilling the crust; it helps maintain the pie’s structure and prevents it from becoming soggy.
-
Mind the Measurements: When preparing pudding, adjust the liquid carefully if using dairy-free milk; improper ratios can lead to a runny layer.
-
Personalize Your Pie: Feel free to experiment with toppings or try a nut-free option to suit dietary needs while still enjoying the Oreo Peanut Butter Pie experience.
Oreo Peanut Butter Pie Variations
Discover new ways to enjoy your Oreo Peanut Butter Pie and customize it to your heart’s delight!
- Gluten-Free: Use gluten-free chocolate sandwich cookies to create a deliciously safe crust for those avoiding gluten.
- Dairy-Free: Swap the cream cheese and whipped topping for dairy-free alternatives to keep it creamy without the dairy.
- Nut-Free: Opt for sunbutter or tahini instead of peanut butter to make it friendly for those with nut allergies.
- Lower Sugar: Use a sugar substitute or reduce the powdered sugar amount for a lighter, less-sweet version.
- Flavor Boost: Add a splash of vanilla extract to the filling for extra depth and richness in every bite.
- Add Spice: Sprinkle in a pinch of cinnamon or nutmeg to the peanut butter layer for a warm and inviting twist.
- Texture Twist: Incorporate crushed pretzels into the crust for a salty crunch that beautifully contrasts the sweetness.
- Chocolate Lovers: Drizzle melted chocolate over the top before serving for an extra indulgent chocolate experience!
Feel inspired to create your own variations and have fun making this pie uniquely yours!
Storage Tips for Oreo Peanut Butter Pie
-
Fridge: Keep the pie tightly covered in the refrigerator for up to 3-4 days to maintain its freshness and creamy texture.
-
Freezer: For longer storage, you can freeze slices wrapped in plastic wrap and foil for up to 2 months. Thaw in the fridge overnight before serving.
-
Reheating: This pie is meant to be served chilled; simply slice and enjoy directly from the fridge for the best experience.
-
Leftovers: If you have extra pie, store it in an airtight container to avoid drying out or absorbing other flavors in the fridge. Remember, the longer it sits, the less fresh it may taste!
What to Serve with Oreo Peanut Butter Pie?
This delightful dessert pairs beautifully with a variety of sides and drinks for an unforgettable meal experience.
-
Fresh Berries: The tartness of strawberries or raspberries cuts through the richness, adding a refreshing contrast.
-
Vanilla Ice Cream: A scoop of creamy vanilla complements the pie’s texture and flavor, making it even more indulgent.
-
Chocolate Sauce: Drizzle a rich chocolate sauce on top for an extra layer of decadence and a beautiful presentation.
-
Whipped Cream: A dollop of whipped cream adds an airy, creamy texture that enhances every bite of the pie.
-
Nutty Granola: Serve on the side for a crunchy texture; the nuttiness pairs well with the peanut butter flavor.
-
Coffee or Espresso: A warm cup of coffee balances the sweetness and enhances the chocolate notes in the pie, rounding off your meal perfectly.
-
Coconut Milk Shake: A creamy, sweet coconut shake provides a fun twist that complements the flavors of the pie nicely.
-
Sliced Bananas: The natural sweetness of bananas adds a lovely freshness and pairs beautifully with the rich chocolate and peanut butter.
-
Mint Leaves: A fresh mint garnish can brighten the dessert, offering an unexpected burst of flavor that refreshes the palate.
Make Ahead Options
These No-Bake Oreo Peanut Butter Pies are perfect for meal prep enthusiasts looking to save time! You can prepare the entire pie up to 24 hours in advance for optimal flavor. Start by making the cookie crust and filling, then layer everything as directed. Once assembled, cover it tightly with plastic wrap and refrigerate. This not only helps the flavors meld together beautifully, but it also ensures the pie stays fresh and the crust remains crisp. When you’re ready to serve, simply add the whipped topping and any garnishes like chopped peanuts and crushed Oreos. You’ll be left with a stunning dessert that tastes just as delicious as if it were freshly made!
Oreo Peanut Butter Pie Recipe FAQs
What type of cookies can I use for the crust?
Absolutely! You can use regular chocolate creme cookies for the classic flavor or gluten-free cookies if you’re accommodating dietary needs. Just make sure they are finely crushed and mixed with melted butter for a firm crust.
How should I store the Oreo Peanut Butter Pie?
Store the pie tightly covered in the refrigerator for up to 3-4 days. This will help keep its fresh taste and prevent it from drying out. You can also use an airtight container for leftovers to maintain the texture and flavor longer.
Can I freeze leftovers of this pie?
Yes! To freeze, slice the pie and wrap each piece tightly in plastic wrap and foil. Store in the freezer for up to 2 months. When you’re ready to enjoy it again, simply thaw the slices overnight in the fridge. They will taste just as delicious!
I’m having trouble with the pudding layer. What can I do?
Very! If your pudding turns out runny, it might be due to too much liquid being added. Follow the package instructions closely, and if using dairy-free milk, remember to reduce the amount as noted. If it thickens too slowly, give it a few extra minutes to set before layering it onto the peanut butter mixture.
Are there any dietary considerations I should be aware of?
Certainly! If making a nut-free version of the Oreo Peanut Butter Pie, consider using sunbutter or tahini in place of peanut butter. Additionally, for dairy-free options, opt for vegan cream cheese and a dairy-free whipped topping. Always check labels for potential allergens!
Can I make the pie in advance?
Absolutely! In fact, making it a day ahead allows the flavors to meld beautifully, enhancing your dessert experience. Just be sure to chill it well and cover it properly so it stays fresh.

Decadent Oreo Peanut Butter Pie: No-Bake Delights Await
Ingredients
Equipment
Method
- Make the Oreo Crust: Crush the chocolate creme cookies into fine crumbs. Mix in melted butter and press it evenly into the bottom of a 7"x10" baking dish. Chill while preparing the filling.
- Prepare the Peanut Butter Filling: In a mixing bowl, beat together softened cream cheese, oat milk, creamy peanut butter, and powdered sugar until smooth and creamy. Spread this mixture over the chilled Oreo crust.
- Make the Chocolate Pudding Layer: Prepare the instant chocolate pudding according to the package instructions. If using dairy-free, reduce the milk by ½ cup. Spread the pudding over the peanut butter filling.
- Add the Toppings: Top off your pie with a fluffy layer of whipped topping. Sprinkle chopped peanuts and crushed Oreos for added crunch.
- Chill and Serve: Cover with plastic wrap and refrigerate for at least 4 hours. Slice, serve, and enjoy!


