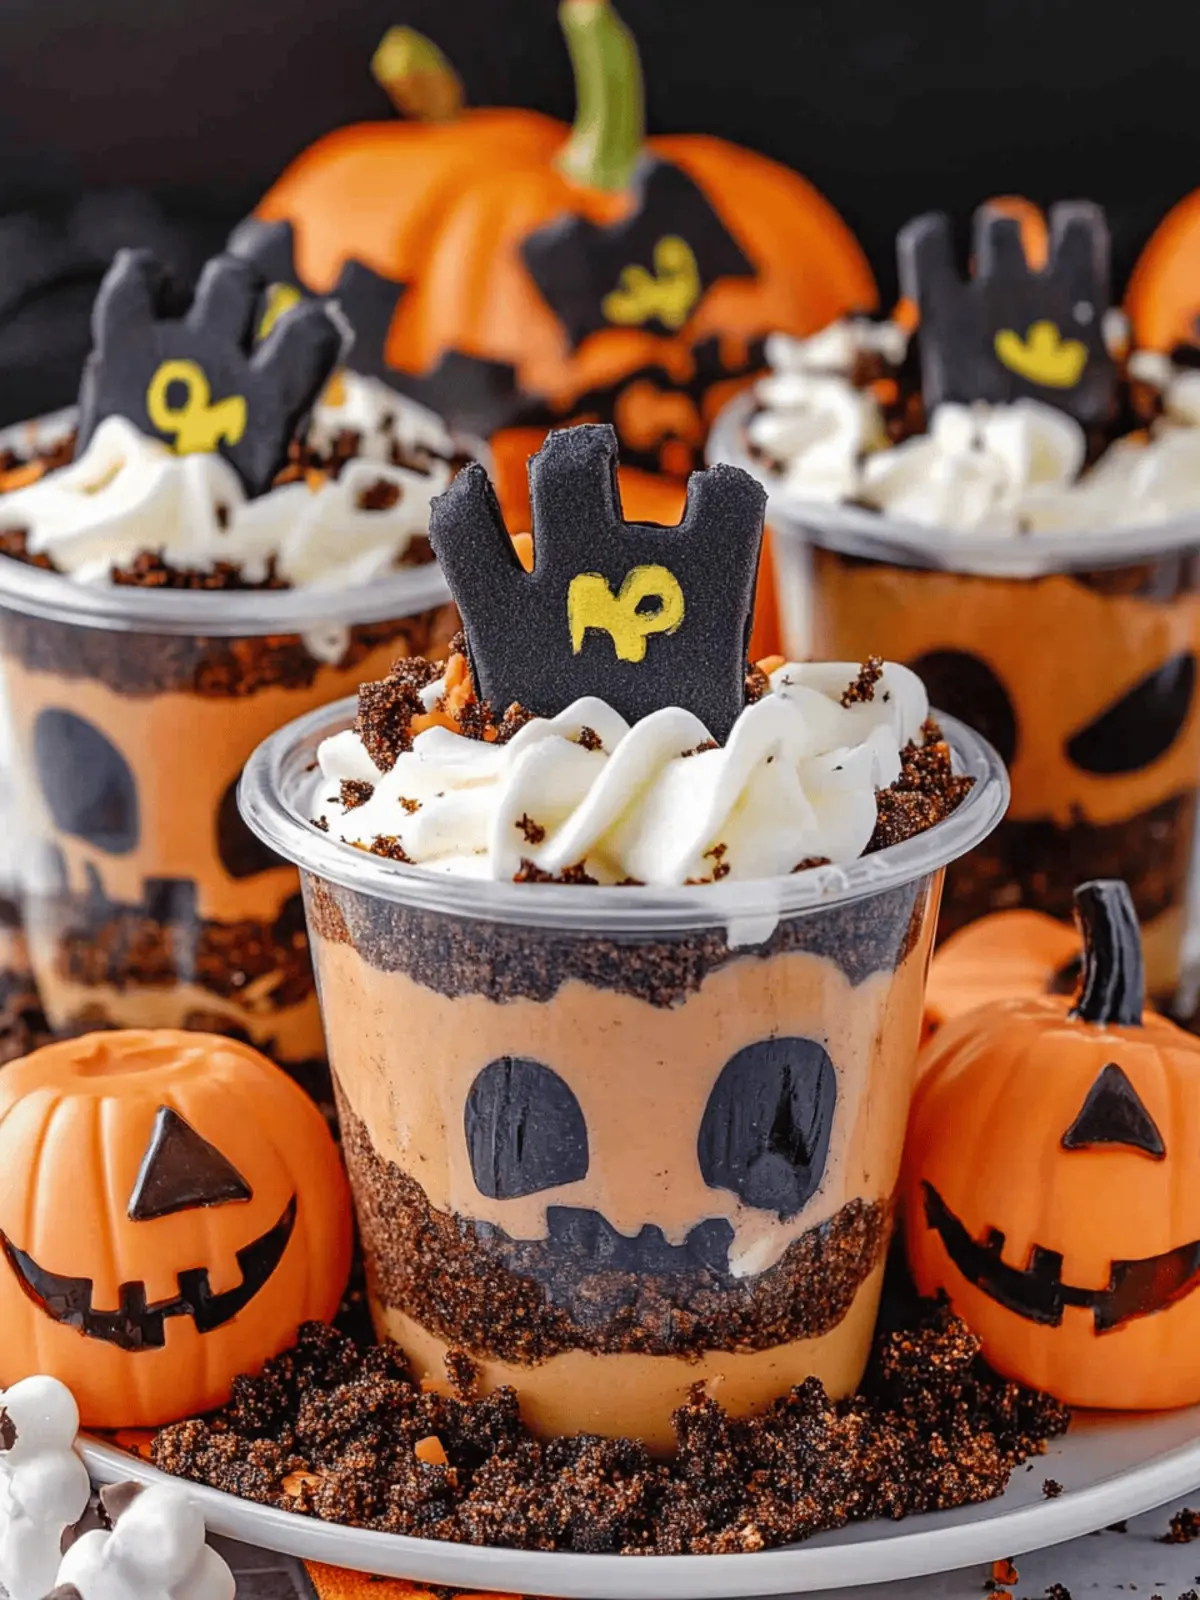
When the leaves start to turn and the air gets that crisp autumn bite, I can’t help but feel a spark of excitement in the kitchen. This is the perfect time to whip up something delightfully spooky! Enter the Halloween Dirt Cups – a fun and easy dessert that captures the essence of the season. Picture rich layers of velvety chocolate pudding cradled in a bed of crushed Oreos, mimicking dark, earthy soil.
But that’s not all! Topped with whimsical ghost marshmallows and cookie “tombstones,” these cups transform any gathering into a playful celebration. Whether you’re planning a haunted house party, a family movie night, or just looking to break away from the usual desserts, these Halloween Dirt Cups are sure to be a hit with kids and adults alike. Plus, they’re no-bake and come together in a snap, making them an ideal choice for busy home cooks. Join me as we dive into creating a spooky treat that’s as satisfying to make as it is to eat!
Why Are Halloween Dirt Cups So Fun?
Halloween Dirt Cups are a spooky twist on dessert that you’ll adore!
- Easy to Make: With no baking involved, these cups are perfect for anyone, including beginner cooks.
- Crowd-Pleasing: Kids and adults alike will be captivated by the playful presentation and delicious layers.
- Texture Delight: The combination of creamy pudding and crunchy Oreo “dirt” creates an exciting contrast in every bite.
- Versatile Decoration: You can customize them with your favorite seasonal candies, adding a personal touch to your creations.
- Perfect for Any Occasion: Whether it’s a Halloween party or a family movie night, these treats bring a festive spirit to any gathering.
For dessert inspiration that’s sure to impress, check out our family-friendly dessert ideas.
Halloween Dirt Cups Ingredients
Get ready to create a spooky delight that everyone will love!
For the Pudding Mixture
- Instant Chocolate Pudding Mix – Forms the rich chocolatey filling; choose vanilla pudding mixed with cocoa for a twist.
- Milk – Helps prepare the pudding; use whole milk for creaminess or almond/oat milk for a dairy-free option.
- Frozen Whipped Topping – Adds a light, creamy texture; homemade whipped cream is a fresh alternative.
For the “Dirt” Layers
- Oreos – Crushed to create the “dirt”; any chocolate cookie works well as a substitute.
- Chocolate Syrup – Integrates extra chocolate flavor; opt for caramel syrup for a sweet switch-up.
For the Decorations
- Milano Cookies – These represent tombstones in your spooky scene; feel free to use any rectangular cookie.
- Black Decorator Icing – Perfect for writing on your tombstone cookies; chocolate frosting can serve as an alternative.
- Ghost Peeps, Pumpkin Candies, Halloween Sprinkles – These fun toppings make your cups festive; switch them out for seasonal favorites if you wish.
Let’s gather these ingredients and create a Halloween treat that’s both delicious and delightful!
How to Make Halloween Dirt Cups
-
Prepare the Pudding: In a large bowl, combine the instant chocolate pudding mix with milk. Beat for 2-3 minutes until thickened, then let it stand for 5 minutes before folding in the frozen whipped topping for a fluffy texture.
-
Mix the Syrup: Gently blend half of the chocolate syrup into the pudding until you see delightful streaks of chocolate. Chill the mixture in the refrigerator while you prepare the next steps.
-
Crush the Oreos: Using a food processor, crush the Oreos until they reach a dirt-like consistency. Transfer the crumbs to a bowl and set them aside for layering.
-
Layer Your Cups: Begin layering your dessert cups. Start with 2 tablespoons of Oreo crumbs at the bottom, followed by 1/4 cup of pudding. Repeat the layers until your cup is filled, finishing with a final tablespoon of Oreo crumbs on top.
-
Decorate with Crumbs: Take the remaining chocolate syrup and mix it with any leftover cookie crumbs you have. Drizzle it over the top for added flair and flavor.
-
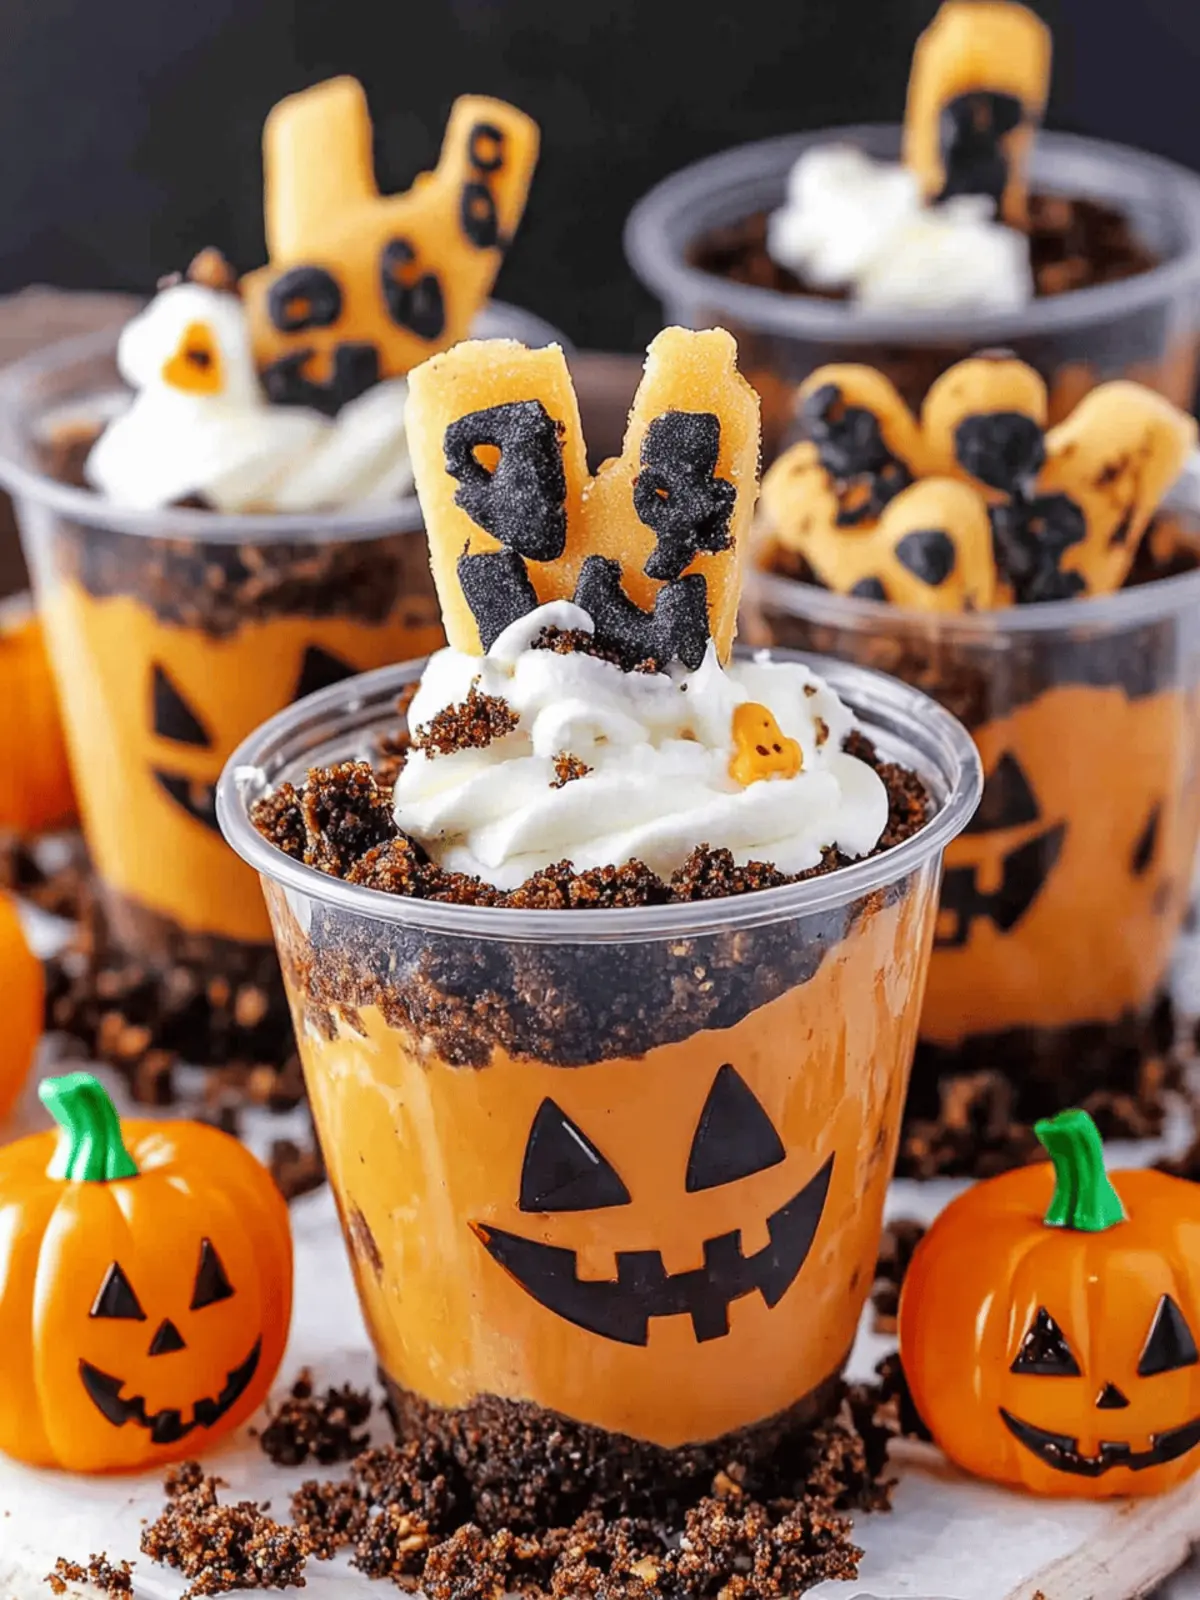
Add Fun Decorations: Decorate your cups by placing Milano cookies as tombstones, adding ghost Peeps, and sprinkling with festive candies before serving.
Optional: Serve with a drizzle of extra chocolate syrup for even more yumminess!
Exact quantities are listed in the recipe card below.
What to Serve with Halloween Dirt Cups?
As you prepare for a delightful spooky gathering, consider these fun accompaniments to enhance your sweet treat experience.
-
Crispy Apple Slices: The fresh crunch of juicy apples adds a refreshing balance to the creaminess of the dessert. Serve them with a caramel dip for an extra seasonal touch!
-
Ghostly Meringues: Light and airy, these treats echo the ghostly theme. Their delicate sweetness pairs beautifully with the rich chocolate pudding.
-
Pumpkin Muffins: Soft, spiced muffins bring warmth to your spooky dessert table. Their moist texture and subtle sweetness make them a beloved complement.
-
Spooky Cheese Platter: A mix of sharp cheeses, crackers, and seasonal fruits can offer savory counterpoints to your Halloween Dirt Cups, creating a delightful contrast of flavors.
-
Witch’s Brew Punch: A refreshing drink made from fruity juices and sparkling water can keep your crowd energized and engaged. Add gummy worms for an extra creepy twist!
These pairings will add delicious variety and enhance your spooky festivities, ensuring your Halloween celebration is both memorable and scrumptious!
Make Ahead Options
These Halloween Dirt Cups are perfect for meal prep, allowing you to enjoy the spooky fun with minimal effort on the day of your gathering! You can prepare the pudding and crush the Oreos up to 24 hours in advance, keeping everything chilled in the refrigerator. Simply layer the pudding and Oreo crumbs in your dessert cups before your event, but hold off on the decorations until just before serving. This ensures the Oreos stay crisp and the toppings retain their fun texture. To keep everything fresh, store any assembled cups covered in the refrigerator and enjoy them within a couple of days for the best quality. With this prep strategy, you’ll serve a delightful treat with ease, leaving you more time to enjoy the festivities!
Halloween Dirt Cups Variations
Ready to make your Halloween Dirt Cups even more fun and unique?
- Dairy-Free: Substitute whole milk with almond or oat milk for a creamy, lactose-free option that everyone can enjoy.
- Flavor Twist: Swap the Instant Chocolate Pudding for vanilla or white chocolate to offer a different taste that surprises the palate.
- Fresh Cream: Use homemade whipped cream instead of frozen topping to elevate the richness and freshness of your dessert.
- Caramel Surprise: Replace chocolate syrup with caramel syrup for a sweet and sticky twist that will enchant your dessert lovers.
- Colorful Candies: Switch out traditional toppings for vibrant seasonal gummies or chocolates to brighten up your spooky cups and create a playful scene.
- Crunchy Add-ins: Add crushed nuts or granola between the layers for an exciting crunch that complements the creaminess of the pudding.
- Mini Pumpkin Treats: Incorporate mini pumpkin candies for a seasonal flare and enhance the Halloween atmosphere in your dessert.
- Heat It Up: For a spicy kick, mix in a pinch of cinnamon to your pudding for a warming twist that contrasts beautifully with the chocolate.
Let your creativity run wild as you make these delightful Halloween Dirt Cups your own!
How to Store and Freeze Halloween Dirt Cups
- Fridge: Keep leftover Halloween Dirt Cups covered with plastic wrap in the refrigerator for up to 3 days to maintain their fresh taste and texture.
- Freezer: These dessert cups are not ideal for freezing due to the creamy pudding and Oreo layers, which can become mushy when thawed.
- Reheating: There’s no need to reheat these cups! Simply serve chilled directly from the fridge for a refreshing treat.
- Decorative Elements: If making in advance, store toppings separately to prevent sogginess and add them just before serving for the best presentation.
Expert Tips for Halloween Dirt Cups
- Cup Selection: Use 9-ounce disposable cups for easy serving; small mason jars also make charming alternatives.
- Assemble in Advance: You can prepare these Halloween Dirt Cups up to a day ahead, but wait to add decorative elements to keep them fresh and crunchy.
- Fresh Crumbs: For leftovers, be sure to refrigerate them and add a sprinkle of fresh Oreo crumbs just before serving to maintain texture.
- Decorate Creatively: Feel free to swap out toppings based on your preferences or seasonal candies, making these Halloween Dirt Cups your own creation!
- Watch for Sogginess: Avoid over-soaking your cookie layers; keep the decorations separate until it’s time to enjoy for the best texture.
Halloween Dirt Cups Recipe FAQs
What type of Oreos should I use for Halloween Dirt Cups?
Absolutely! You can use regular Oreos for the classic “dirt” effect. However, if you’re looking for a fun twist, feel free to substitute with any chocolate cookies, like chocolate sandwich cookies or even gluten-free varieties if you have dietary restrictions.
How should I store leftover Halloween Dirt Cups?
To keep your Halloween Dirt Cups fresh, cover them with plastic wrap and store them in the refrigerator for up to 3 days. This way, you can enjoy the spooky treat without compromising its delicious taste or texture.
Can I freeze Halloween Dirt Cups?
Very! Unfortunately, I wouldn’t recommend freezing these dessert cups, as the creamy pudding and crushed Oreo layers tend to become mushy when thawed. For the best texture, it’s ideal to make and enjoy them fresh instead.
What if my layers are too soft or soggy?
No worries! If you find your Oreo layers are becoming too soft, it’s important to assemble the cups just before serving. To keep the texture intact, store the decorations separately and only add them right before you present your Halloween Dirt Cups. This will maintain that delightful crunch everyone loves!
Can I make Halloween Dirt Cups ahead of time?
You sure can! You can prepare the pudding and Oreo layers a day in advance. However, store them separately and avoid adding any decorations until you’re ready to serve. If you follow this, you’ll keep everything deliciously fresh and visually appealing!
Are there any allergen considerations for Halloween Dirt Cups?
Definitely! Be mindful of any allergies when making these cups. For nut allergies, use almond or oat milk alternatives with caution, and ensure your Oreos or alternative cookies are nut-free. Always read the labels to guarantee they match your family’s dietary needs.
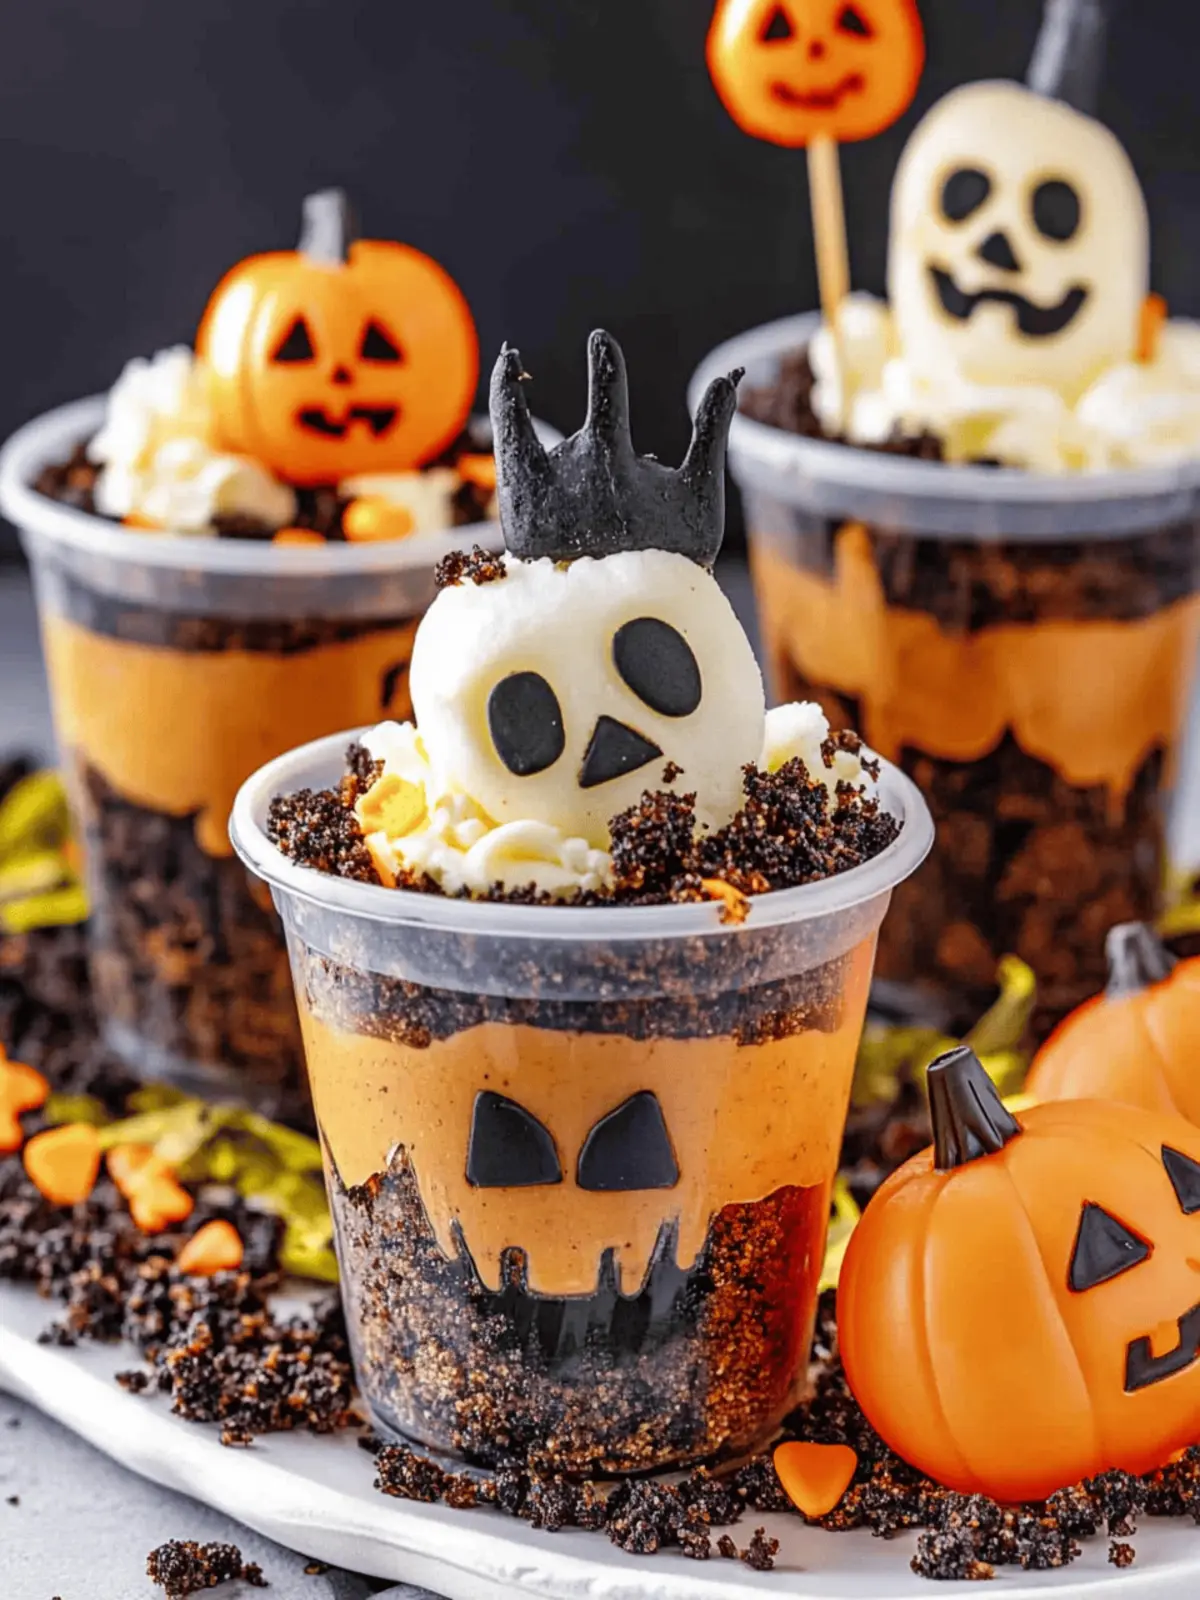
Delightful Halloween Dirt Cups for Spooky Family Fun
Ingredients
Equipment
Method
- In a large bowl, combine the instant chocolate pudding mix with milk. Beat for 2-3 minutes until thickened, then let it stand for 5 minutes before folding in the frozen whipped topping for a fluffy texture.
- Gently blend half of the chocolate syrup into the pudding until you see delightful streaks of chocolate. Chill the mixture in the refrigerator while you prepare the next steps.
- Using a food processor, crush the Oreos until they reach a dirt-like consistency. Transfer the crumbs to a bowl and set them aside for layering.
- Begin layering your dessert cups. Start with 2 tablespoons of Oreo crumbs at the bottom, followed by 1/4 cup of pudding. Repeat the layers until your cup is filled, finishing with a final tablespoon of Oreo crumbs on top.
- Take the remaining chocolate syrup and mix it with any leftover cookie crumbs you have. Drizzle it over the top for added flair and flavor.
- Decorate your cups by placing Milano cookies as tombstones, adding ghost Peeps, and sprinkling with festive candies before serving.

