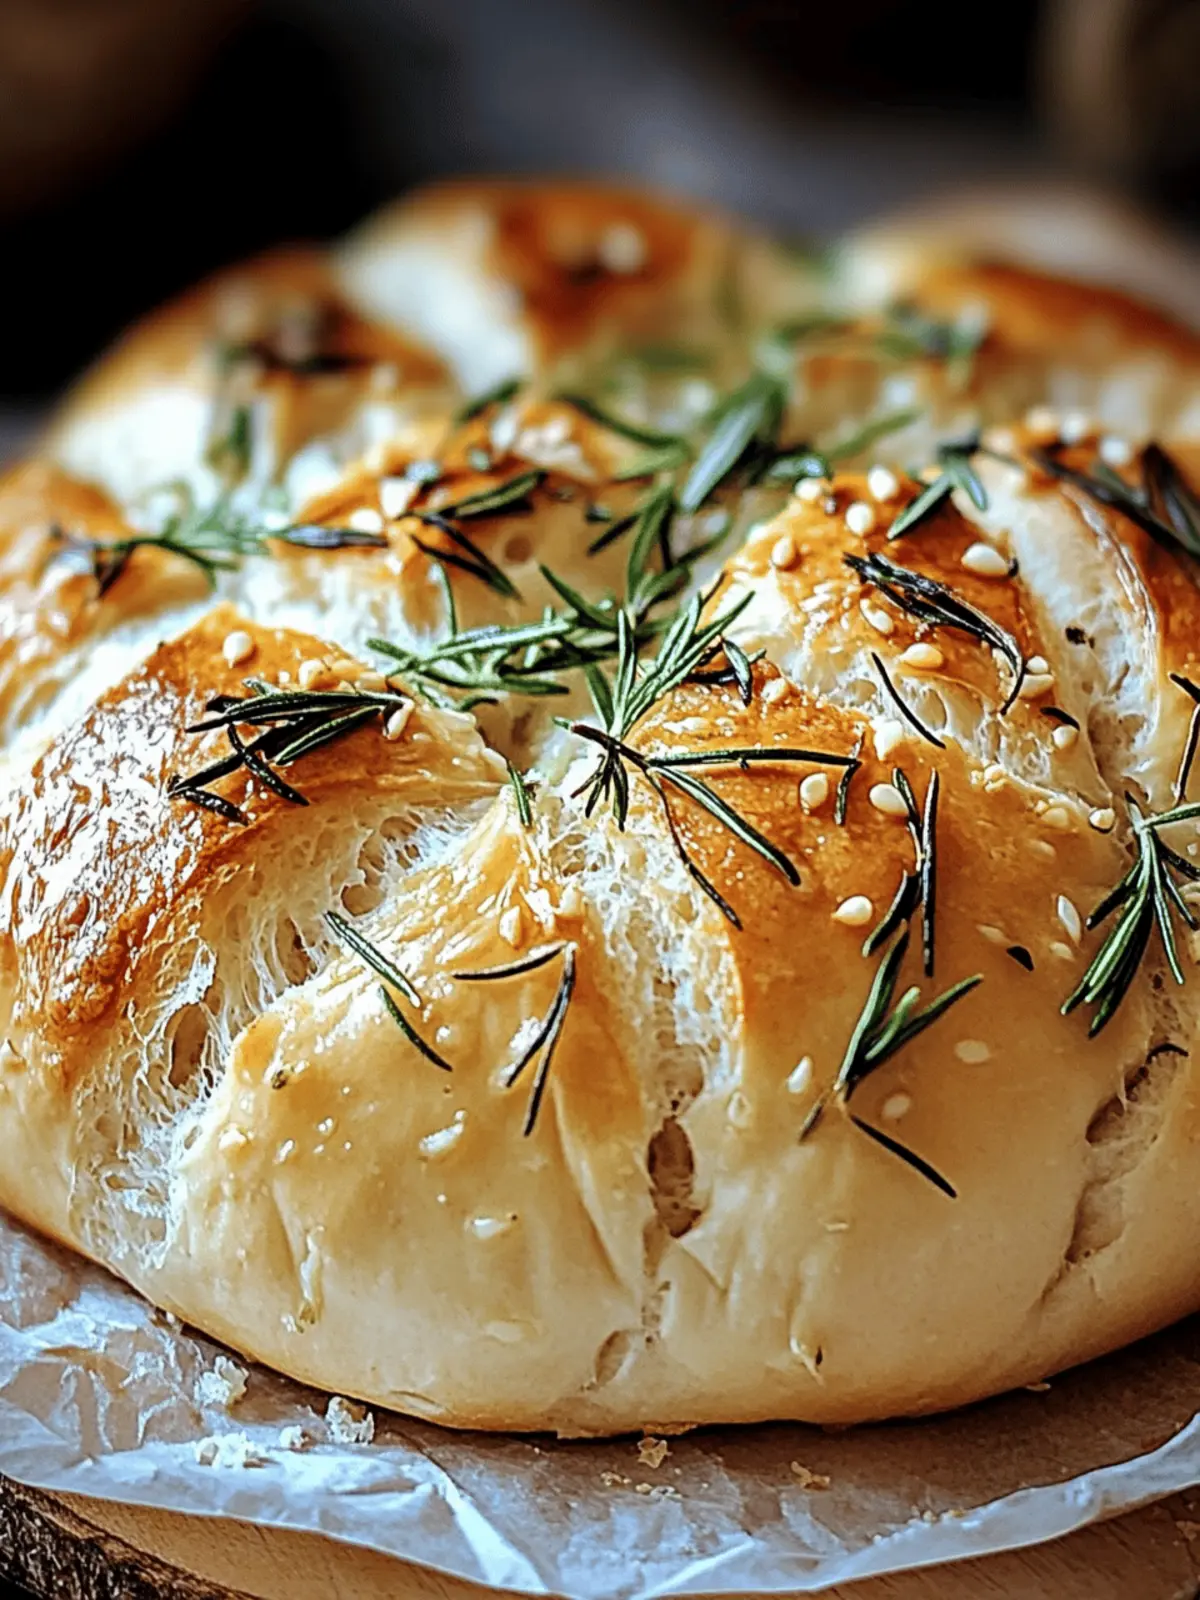
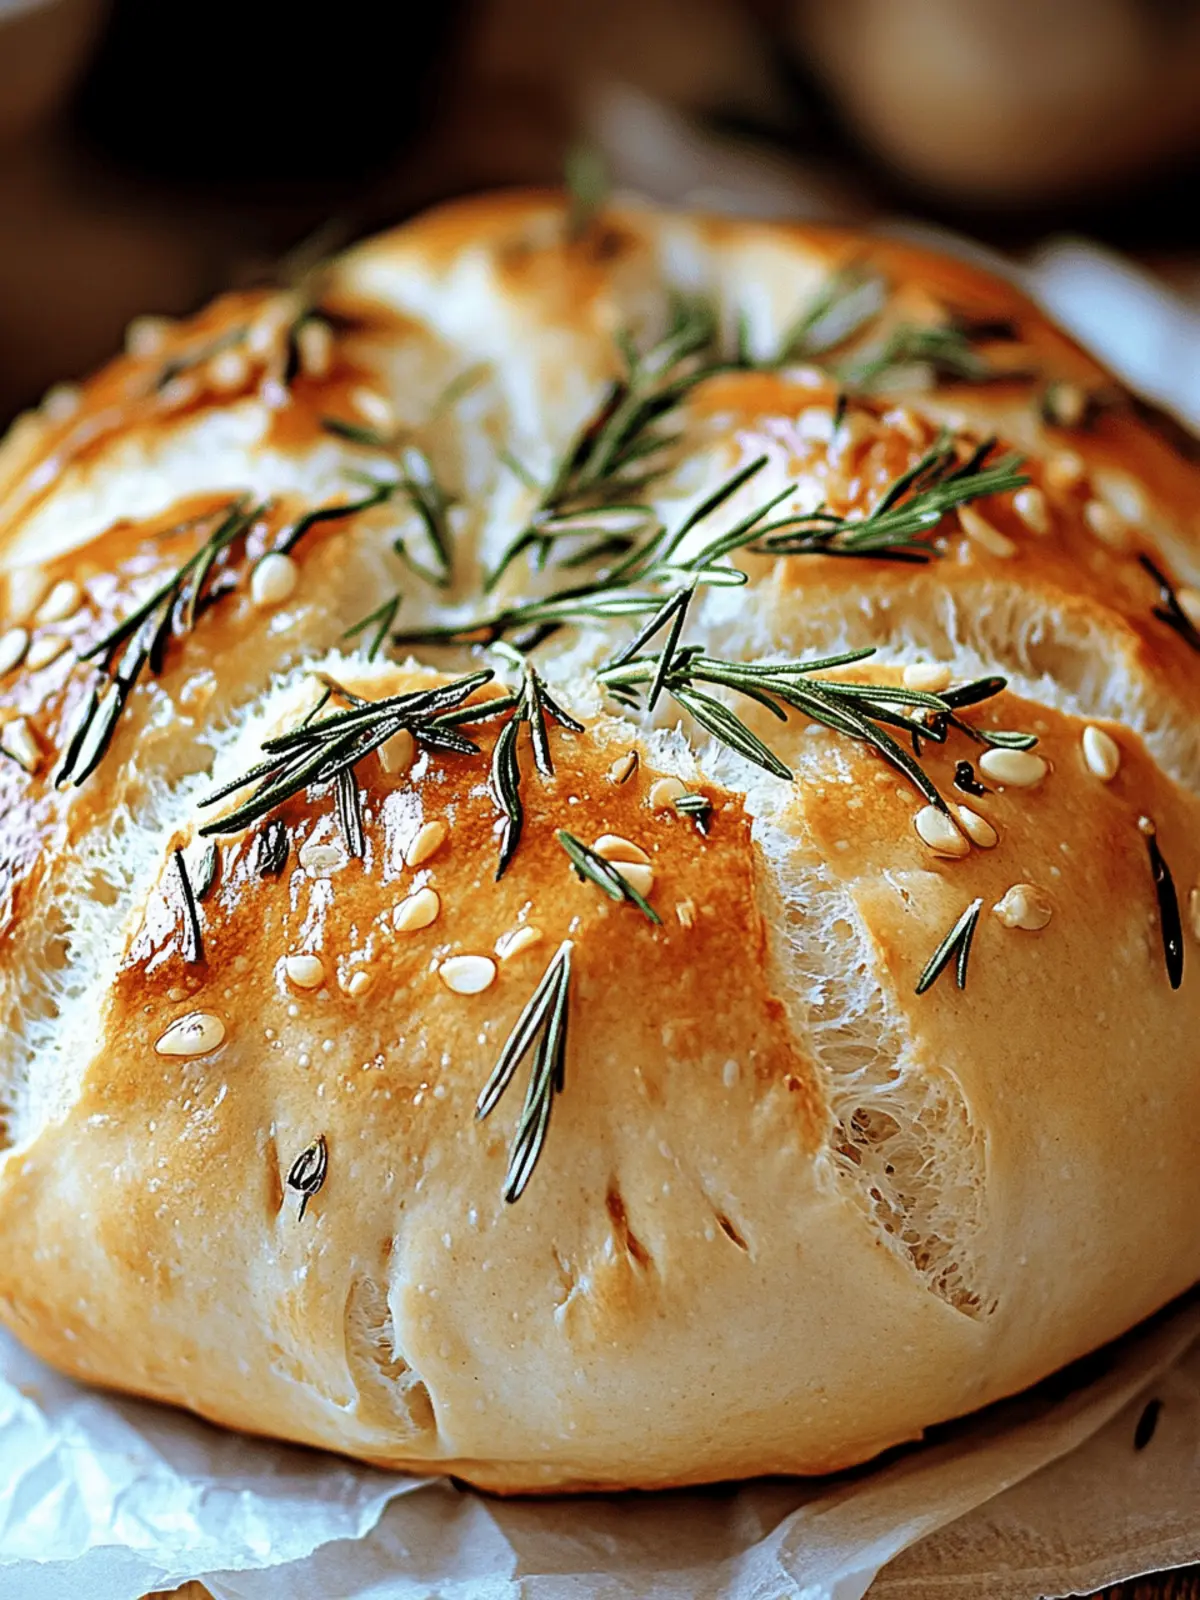
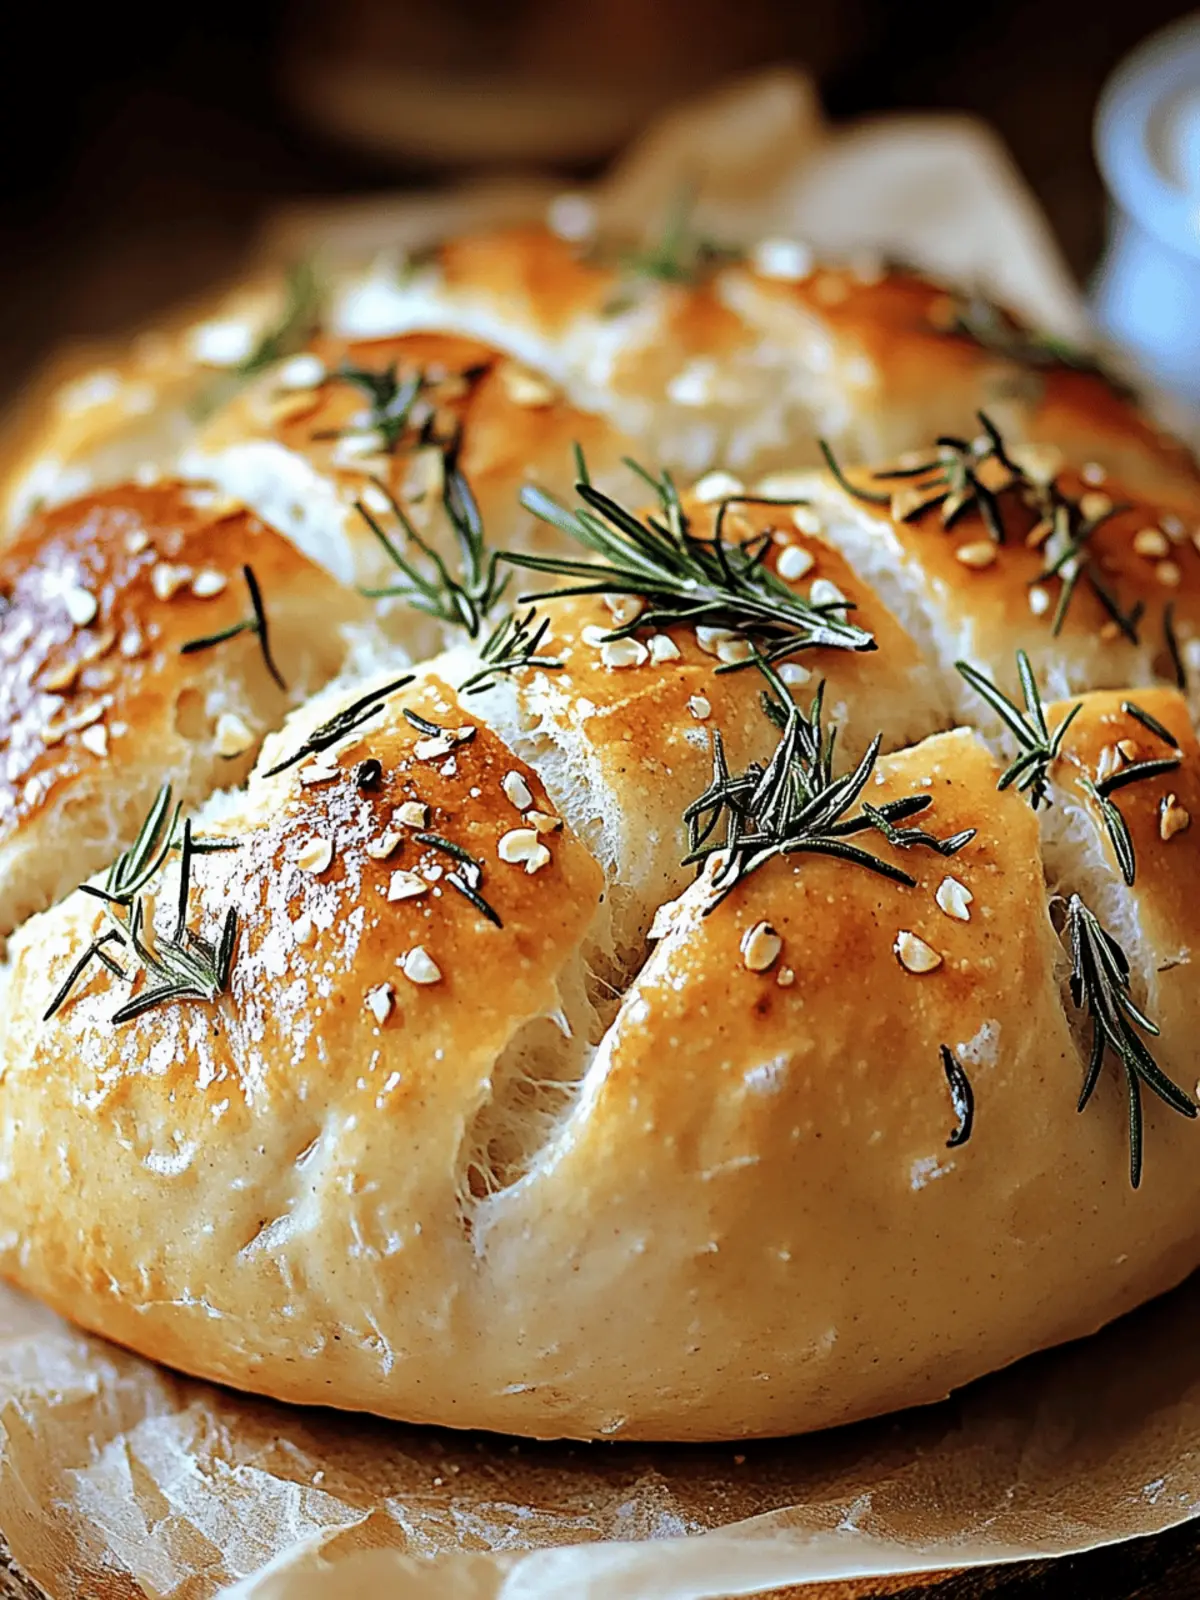
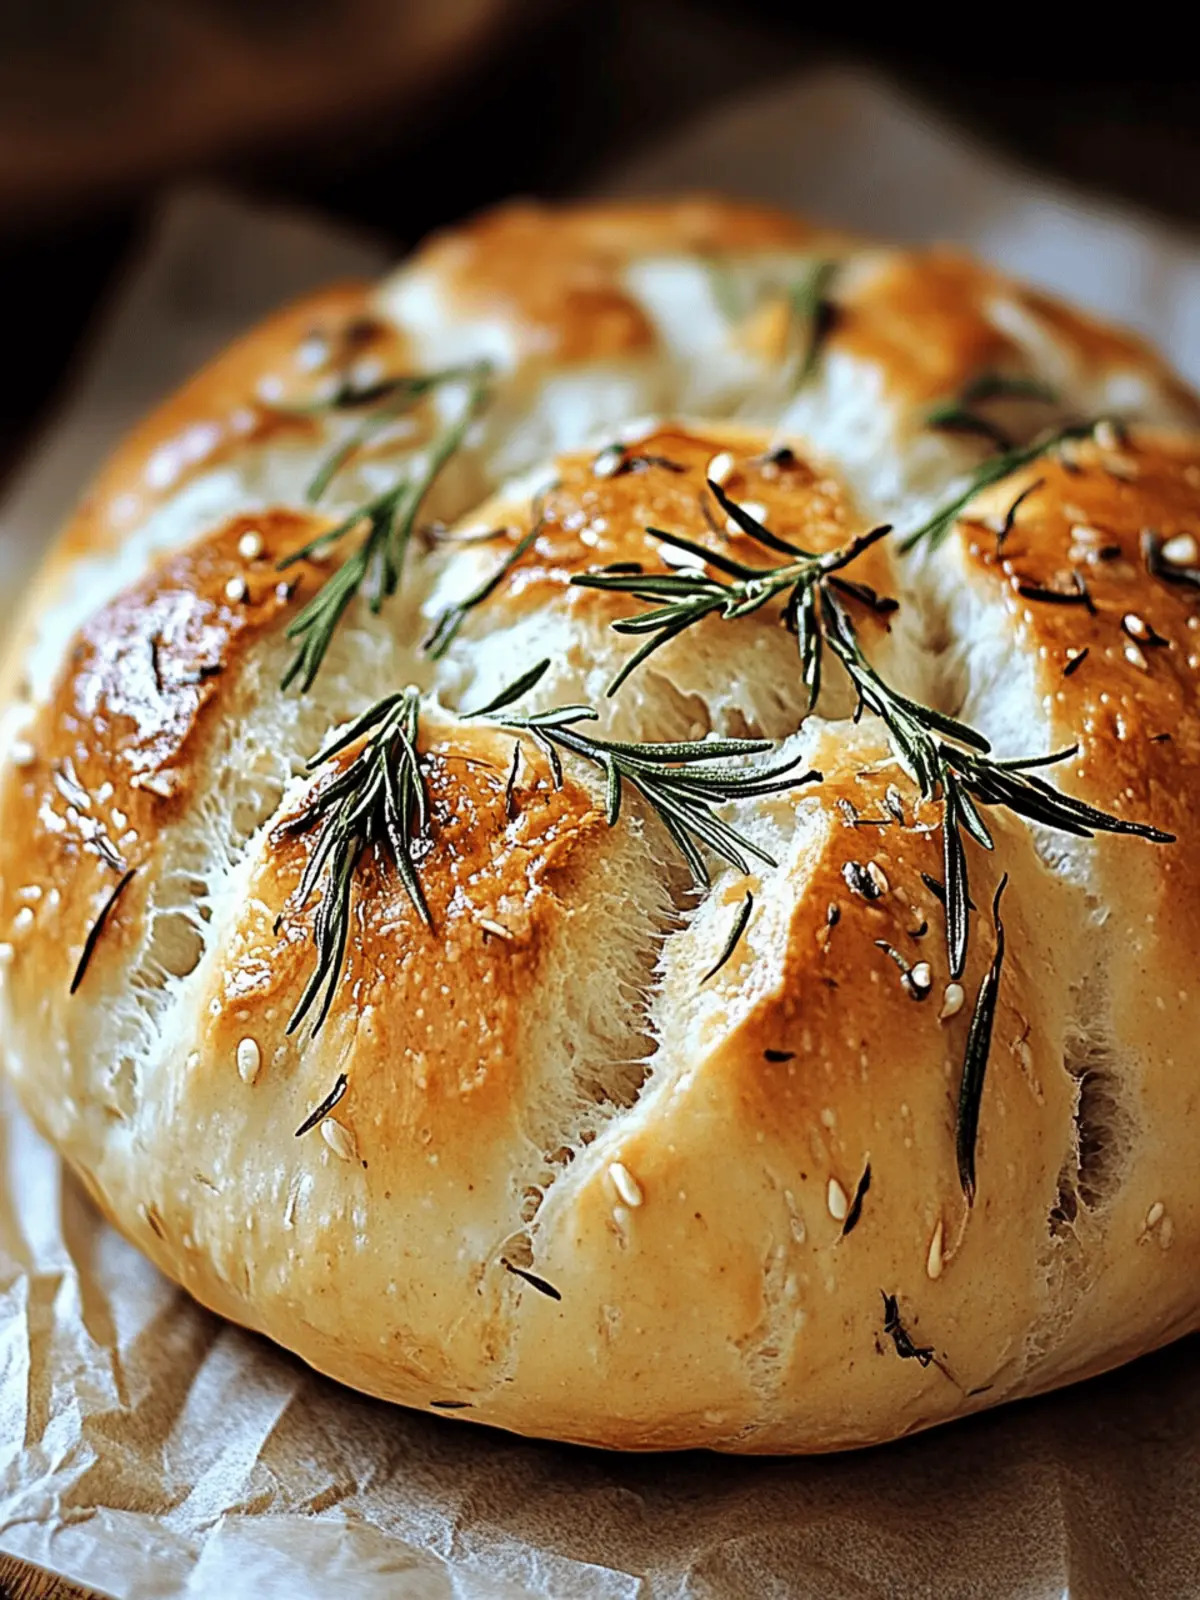
There’s nothing quite like the smell of warm, crusty bread filling your home, is there? Picture this: you’ve just roasted a head of garlic to perfection, and as you squeeze out those buttery cloves, the aroma hits you. This Easy Roasted Garlic Rosemary Artisan Bread takes that delicious essence and weaves it into a rustic, no-knead dough that’s so simple, anyone can master it.
After just one night of fermentation, you’ll have a bakery-worthy loaf ready to impress friends and family at brunch or elevate your cozy dinners. The crispy exterior gives way to a tender interior, making it perfect for slathering with butter or enjoying with your favorite olive oil. This recipe is not just about making bread; it’s about savoring life’s little moments—like the joy of slicing into a homemade loaf and sharing it with loved ones. Let’s dive into the deliciousness of creating this artisan masterpiece!
Why is Garlic Rosemary Artisan Bread irresistible?
Aromatic Adventures: The rich scent of roasted garlic mingling with fresh rosemary makes your kitchen feel like a quaint bakery.
No-Fuss Method: This no-knead recipe means minimal effort for maximum flavor, perfect for busy home cooks.
Impressive Presentation: A golden, crackled crust invites compliments, making it an impressive centerpiece for any gathering.
Endless Pairing Options: Serve it with soups, stews, or as a delightful dipper for olive oil—its versatility shines through every bite.
Memorable Flavor: The harmonious blend of garlic and rosemary delivers a taste that lingers long after the last slice.
Garlic Rosemary Artisan Bread Ingredients
• Simple ingredients for a homemade masterpiece!
For the Dough
- Whole head garlic – Roasted until sweet and buttery, it elevates the flavor of the bread.
- Extra-virgin olive oil (1 tbsp, divided) – Adds moisture and richness; explore using other oils for a unique spin.
- Coarse sea salt & freshly ground black pepper – Essential for enhancing flavor; adjust to taste preferences.
- Water (1½ cups, room temperature) – Activate the yeast and hydrate the flour; warm water works best for yeast activity.
- Active dry yeast (1 tsp) – The magic ingredient that aerates the dough and helps it rise.
- Bread or all-purpose flour (3 cups) – Provides structure; opt for bread flour for extra chewiness, or use all-purpose for convenience.
- Dried oregano (½ tsp) – Adds an earthy depth; swap it out with Italian seasoning if you prefer.
- Kosher or fine sea salt (1 tsp) – Important for enhancing flavor and strengthening the gluten structure.
- Fresh rosemary (2 tsp, finely chopped and more for topping) – Infuses the bread with aromatic joy; try thyme for a different twist.
- Roasted garlic cloves (from one head, smashed) – Blend well into the dough for a delectable garlic infusion.
Additional Note
- These ingredients blend together to create a soul-satisfying Garlic Rosemary Artisan Bread that rivals any bakery loaf!
How to Make Garlic Rosemary Artisan Bread
-
Prepare Garlic: Begin by cutting the top off the whole head of garlic, then drizzle it with olive oil, and sprinkle lightly with salt and pepper. Wrap it in foil and roast at 400°F for about 40 minutes or until the cloves are soft. Once cool, squeeze out the roasted cloves into a bowl.
-
Mix Dough: In a large bowl, activate 1 teaspoon of active dry yeast in 1½ cups of warm water. In a separate bowl, blend together 3 cups of flour, 1 teaspoon of kosher salt, ½ teaspoon of dried oregano, and 2 teaspoons of finely chopped fresh rosemary. Add in the smashed roasted garlic and 1 tablespoon of olive oil, then pour in the yeast mixture. Stir until a sticky dough forms.
-
Fermentation: Cover the bowl with a clean cloth and let the dough rise at room temperature overnight, or until it has doubled in size. You’ll know it’s ready when it bubbles and puffs up nicely.
-
Shape Dough: Lightly flour a work surface, and turn the risen dough out onto the table. Shape it into a round ball, placing it seam-side up in a floured bowl. Refrigerate the dough for anywhere between 1 to 24 hours to enhance its flavor.
-
Preheat Oven: Preheat your oven to 450°F, placing a Dutch oven inside to heat up as well. This step is crucial for achieving a perfect crust!
-
Bake: Carefully turn the dough onto parchment paper seam-side down. Score the top with a sharp knife, then use the parchment to transfer it to the hot Dutch oven. Cover with the lid and bake for 30 minutes; then uncover and bake for an additional 15-20 minutes until the crust is golden brown and crackled.
-
Cool and Serve: Once baked, carefully remove the loaf from the Dutch oven and let it cool on a wire rack for at least 1 hour before slicing. This cooling time allows the crust to set beautifully, making the bread easier to cut.
Optional: For an extra touch, sprinkle some fresh rosemary on top before baking for added aroma and presentation!
Exact quantities are listed in the recipe card below.
Make Ahead Options
These Garlic Rosemary Artisan Bread options are perfect for busy home cooks looking to save time! You can prepare the dough up to 24 hours in advance by following the shaping step and then refrigerating it. Just ensure it’s tightly covered to prevent drying out. For great flavor, the dough can be left in the fridge for up to 3 days; simply let it come to room temperature before baking. When you’re ready to enjoy your bread, follow the baking instructions, and you’ll have a fresh, aromatic loaf that’s just as delicious as if made the same day. Enjoy the warmth of homemade bread without the fuss on busy weeknights!
Expert Tips for Garlic Rosemary Artisan Bread
-
Perfect Garlic Roasting: Remember to roast the garlic until it’s soft and sweet; this transforms the flavor and avoids bitterness in your Garlic Rosemary Artisan Bread.
-
Optimal Dough Temperature: Use warm water (around 70°F / 21°C) to activate the yeast effectively, ensuring a good rise and airy texture in your bread.
-
Fermentation Time Matters: Allow the dough to ferment overnight for the best flavor; rushing this step can yield a less rich taste.
-
Flour Choices: For chewier results, opt for bread flour; however, all-purpose flour will still create a delightful loaf—just a bit softer.
-
Scoring Technique: Use a sharp knife to score the dough before baking; this allows the bread to expand beautifully, preventing a dense crumb.
-
Cooling Completes the Process: Do not skip cooling time! Letting the bread sit for at least 1 hour before slicing helps the crust set and ensures the best texture.
Garlic Rosemary Artisan Bread Variations
Feel free to unleash your creativity and adapt this recipe to your taste—each variation adds a new layer of deliciousness!
-
Herb Infusion: Swap rosemary for thyme or sage to explore different earthy aromas. Each herb brings its unique charm to the bread, creating an entirely new experience.
-
Cheesy Delight: Fold in shredded mozzarella or cheddar for a melty, gooey texture. The richness of cheese complements the garlic beautifully, making each bite a comforting treat.
-
Olive Twist: Incorporate chopped black or green olives into the dough for a Mediterranean flair. Their briny goodness elevates the flavor profile and adds a delightful texture.
-
Spicy Kick: Add red pepper flakes or black pepper to give the bread a hint of heat. This spicy twist balances perfectly with the subtle sweetness of roasted garlic.
-
Nutty Crunch: Sprinkle in toasted sunflower or pumpkin seeds for added crunch and nutrition. This makes the crust even more interesting and hearty.
-
Sweet Indulgence: Mix in dried cranberries or figs for a sweet surprise. The contrast of sweet and savory will tantalize your taste buds in the most delightful way.
-
Different Flours: Experiment with whole wheat or spelt flour for a nuttier flavor. Each flour type enhances nutrition and brings its unique characteristics to your artisan loaf.
-
Herb-Infused Oil: Brush the bread with herb-infused olive oil before serving for an extra burst of flavor. It’s a simple way to enhance the aroma and make this bread truly unforgettable.
How to Store and Freeze Garlic Rosemary Artisan Bread
Room Temperature: Store your artisan bread in a paper bag at room temperature for up to 3 days to maintain its crust and prevent sogginess.
Fridge: Avoid refrigerating the bread as it can dry out and alter the texture. If you must, consume it within 2 days.
Freezer: To freeze, wrap the cooled loaf tightly in plastic wrap and then in aluminum foil. It can stay frozen for up to 3 months without losing flavor.
Reheating: For the best results, reheat the thawed bread in a preheated oven at 350°F for about 10-15 minutes to restore its crustiness and warmth.
What to Serve with Easy Roasted Garlic Rosemary Artisan Bread?
Elevate your meal experience with delightful pairings that complement this fragrant homemade loaf.
- Savory Soup: Pair with a creamy tomato bisque to create a comforting dip, balancing flavors perfectly.
- Hearty Stew: A rich beef or vegetable stew is a great match, adding warmth and heartiness to each bite.
- Balsamic Salad: A fresh arugula salad drizzled with balsamic reduction adds brightness, enhancing the bread’s rustic charm.
- Olive Oil & Balsamic Vinegar: Serve with a dish of high-quality olive oil and balsamic vinegar to dip the bread in, allowing the flavors to mingle beautifully.
- Cheese Platter: Include a selection of cheeses like aged cheddar and creamy brie for a delightful hot and cold contrast that invites exploration.
- Grilled Vegetables: Charred zucchini and bell peppers will provide a smoky sweetness, creating a vibrant plate to accompany the bread.
- Herbed Butter: Spread a homemade herbed butter on warm slices, taking simple indulgence to a new level.
- Wine Selection: Pair with a light-bodied white wine like Sauvignon Blanc or a fruity red like Pinot Noir to amplify the experience.
- Dessert: End on a sweet note with a warm slice of vanilla cake topped with berry compote, echoing the homemade love of the bread.
Garlic Rosemary Artisan Bread Recipe FAQs
How do I choose the right garlic for my bread?
Absolutely! Look for a whole head of garlic that feels firm and heavy with no dark spots or soft parts. The cloves should be plump and intact, ensuring the sweetest, buttery flavor once roasted.
How long can I store my Garlic Rosemary Artisan Bread?
You can store your bread in a paper bag at room temperature for up to 3 days. This helps retain its delightful crust while keeping the inside moist. For longer storage, freezing is a great option!
What’s the best method for freezing this bread?
To freeze, wrap the completely cooled loaf tightly in plastic wrap, then wrap it again in aluminum foil to prevent freezer burn. It can stay frozen for up to 3 months. When ready to enjoy, thaw the loaf at room temperature and reheat in the oven for a fresh-baked taste!
What should I do if my dough doesn’t rise?
Very! If your dough isn’t rising, it could be due to inactive yeast. Ensure that your yeast is fresh and properly activated in warm water (about 70°F). If it remains flat, double-check the fermentation time; sometimes, a longer rise yields better results.
Are there any allergy considerations I should keep in mind?
Yes! This recipe contains gluten from the flour, so it may not be suitable for those with gluten sensitivities. You can try using a gluten-free flour blend, but adjust the liquid quantities accordingly to get the right dough consistency. Always check ingredient labels for potential allergens.
Can I use a different herb instead of rosemary?
Absolutely! If rosemary isn’t your favorite, feel free to switch it up with fresh thyme, sage, or even a combination of dried Italian herbs for an entirely new flavor profile. The more the merrier in your kitchen!

Garlic Rosemary Artisan Bread That Will Wow Your Guests
Ingredients
Equipment
Method
- Prepare Garlic: Cut the top off the whole head of garlic, drizzle with olive oil, sprinkle with salt and pepper, wrap in foil, and roast at 400°F for about 40 minutes. Once cool, squeeze out cloves.
- Mix Dough: Activate yeast in warm water, blend flour, kosher salt, oregano, and rosemary in a separate bowl, then combine with smashed garlic and yeast mixture.
- Fermentation: Cover the bowl with a cloth and let the dough rise overnight until doubled in size.
- Shape Dough: Flour a work surface, turn out risen dough, shape into a ball, and place seam-side up in a floured bowl. Refrigerate for 1 to 24 hours.
- Preheat Oven: Preheat oven to 450°F, placing a Dutch oven inside to heat up.
- Bake: Turn dough onto parchment seam-side down, score top, transfer to Dutch oven, cover and bake for 30 minutes, then uncover and bake for another 15-20 minutes.
- Cool and Serve: Remove loaf from Dutch oven, cool on a wire rack for at least 1 hour before slicing.


