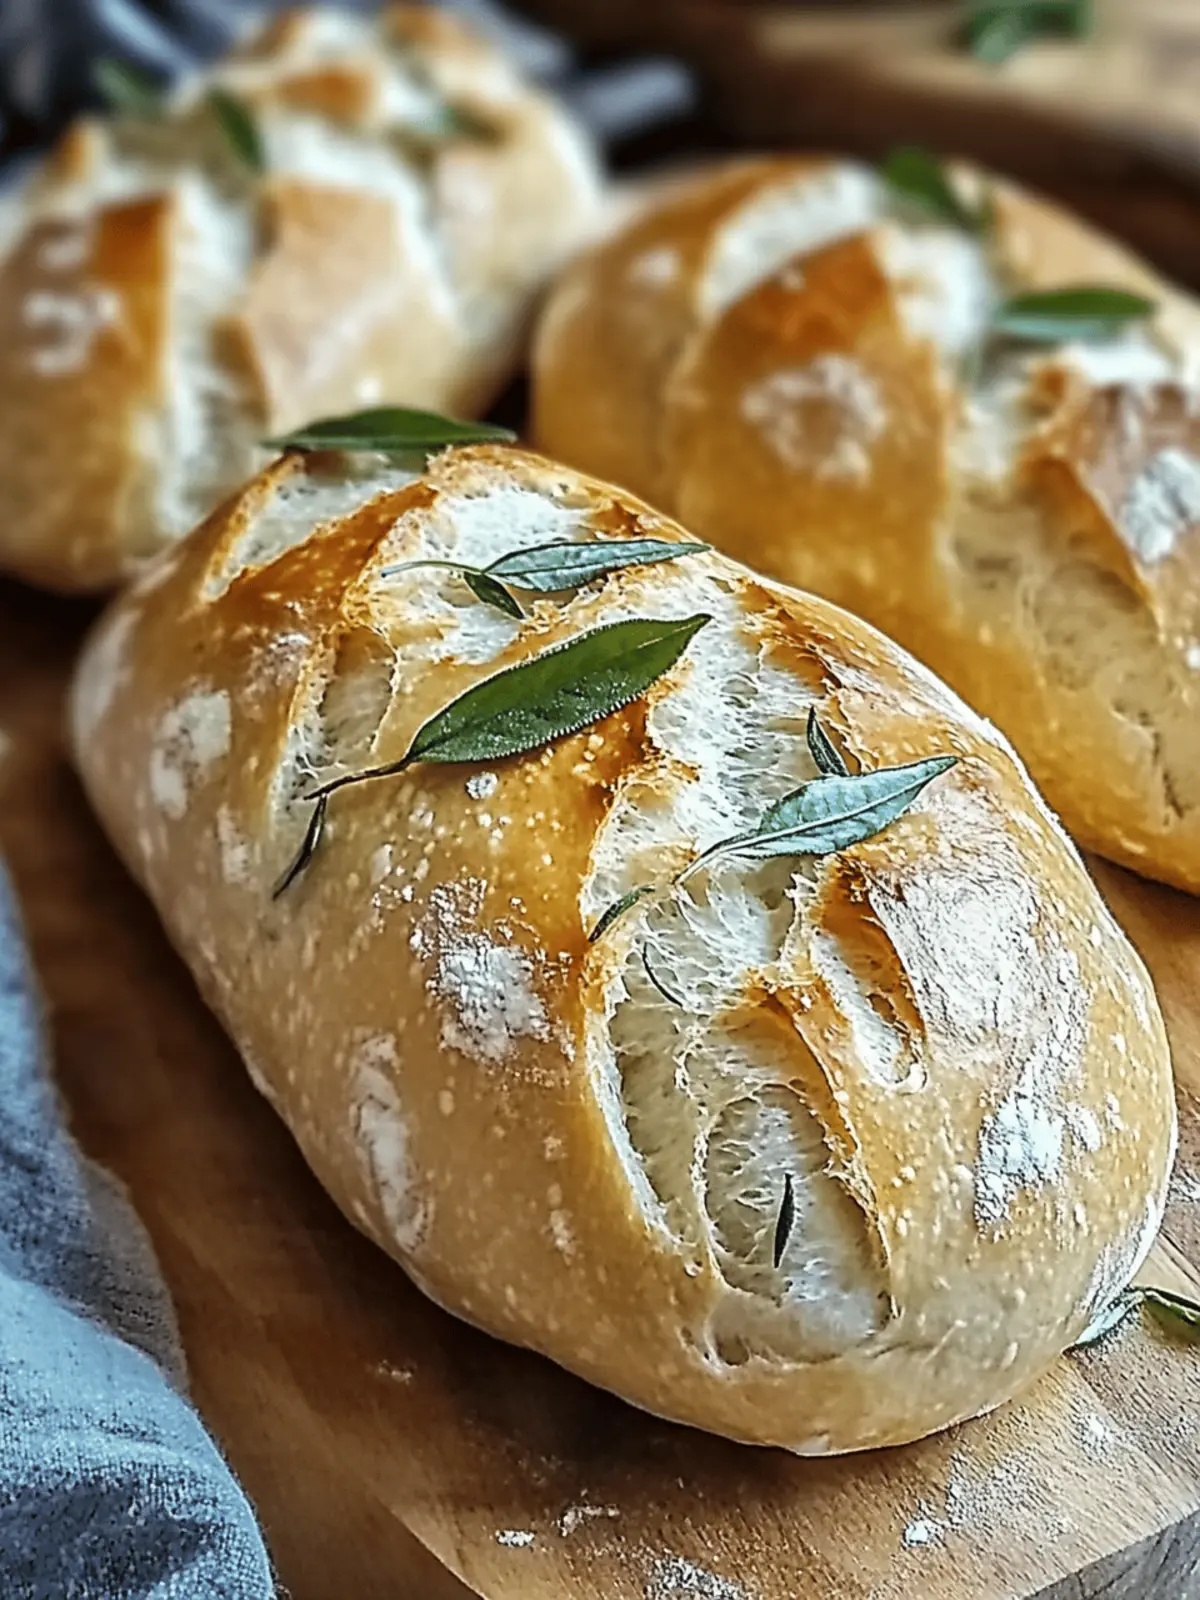
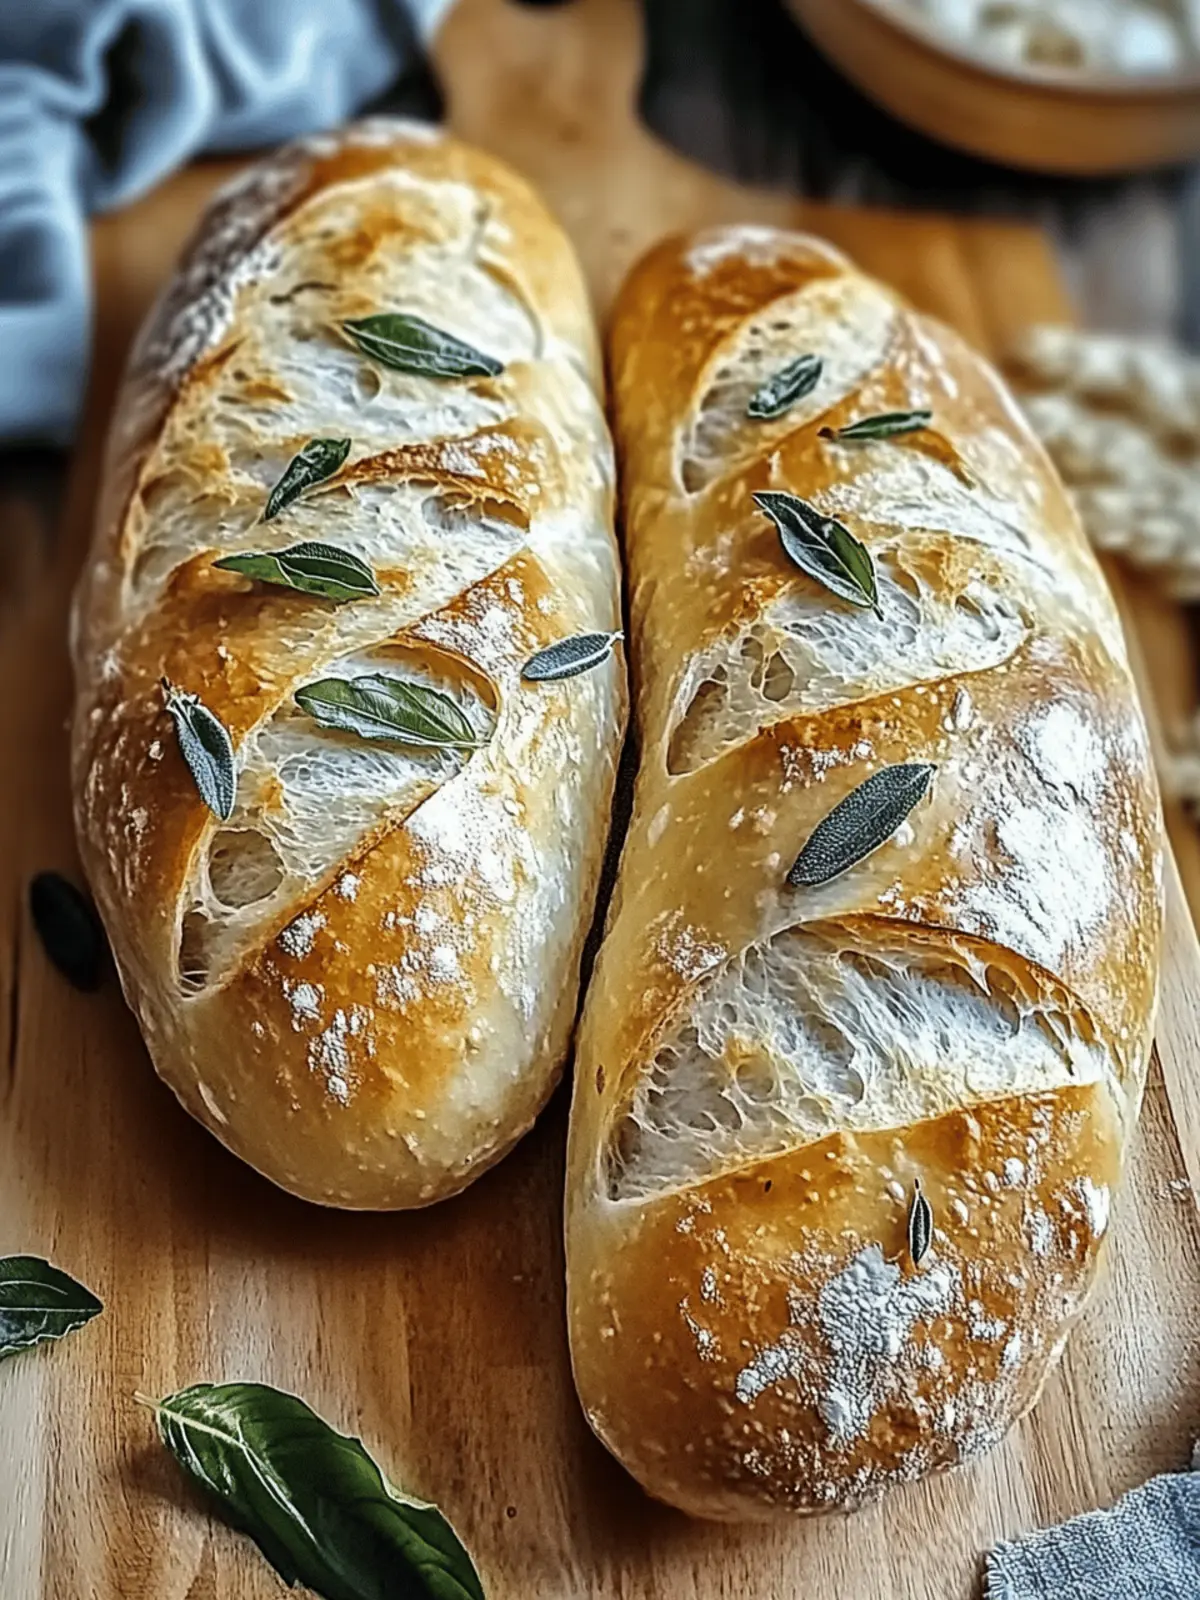
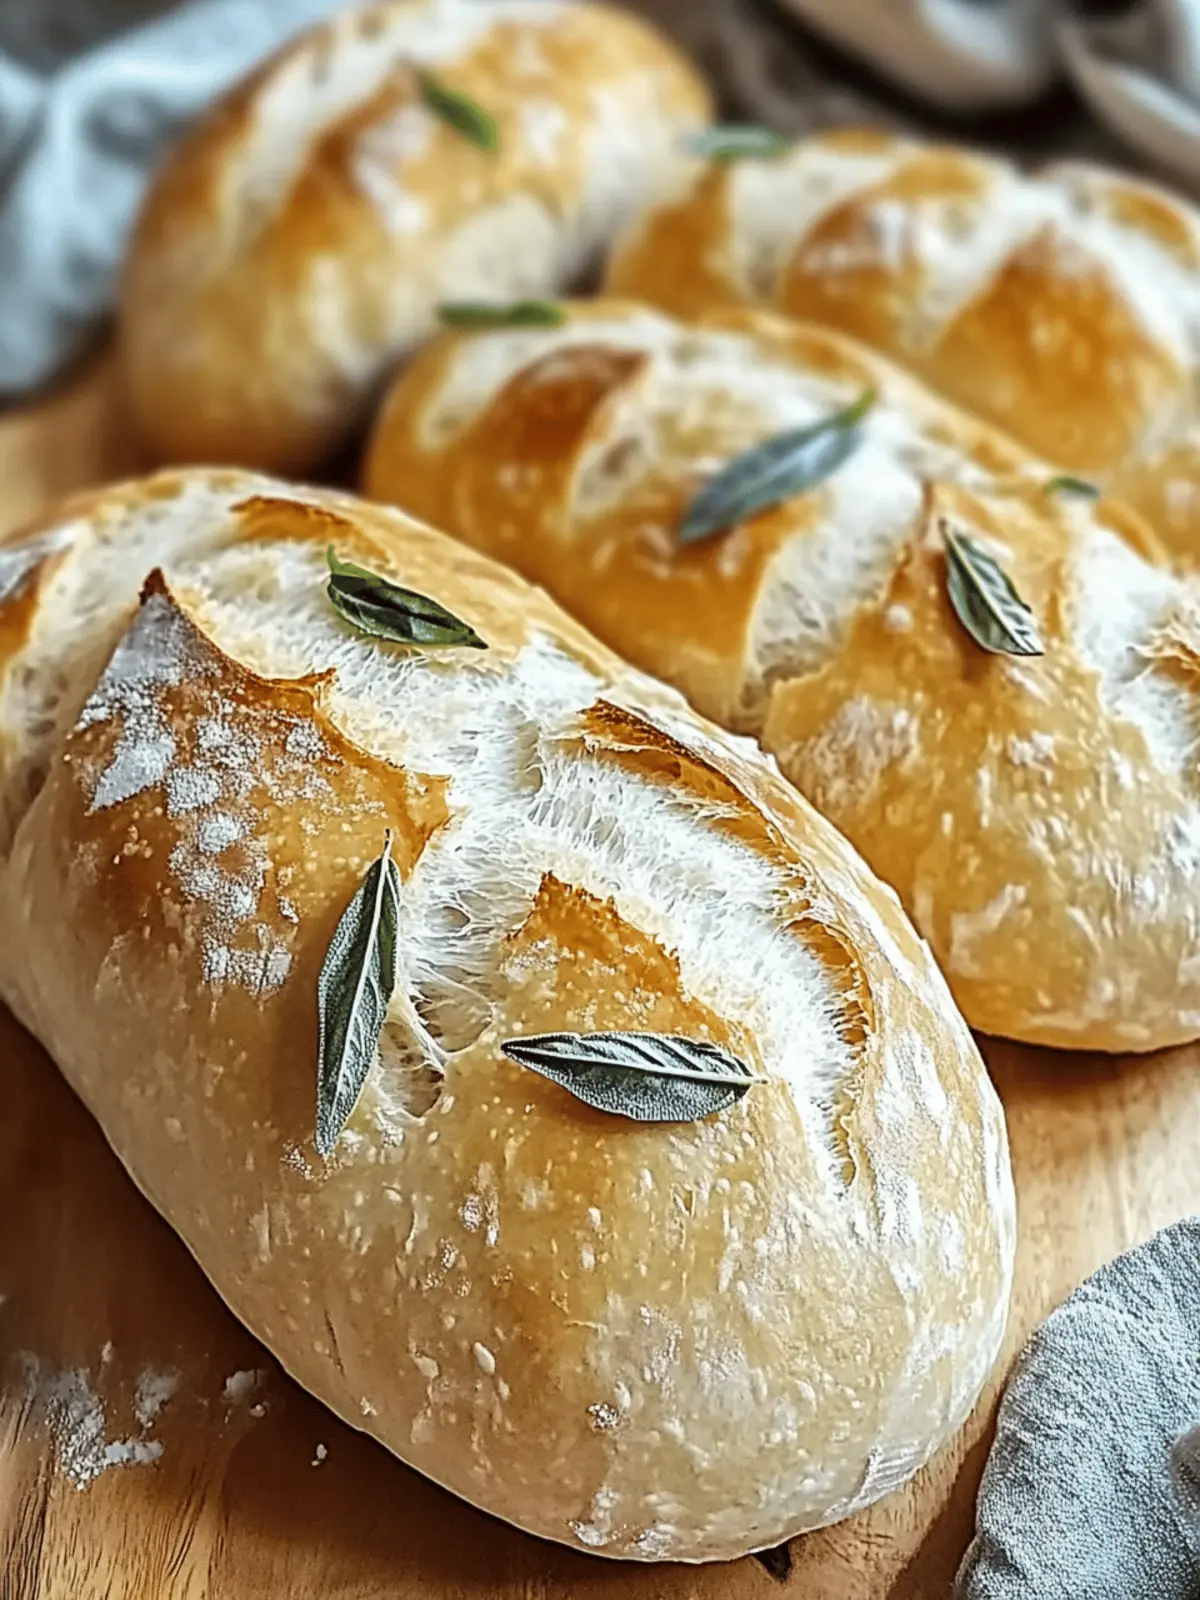
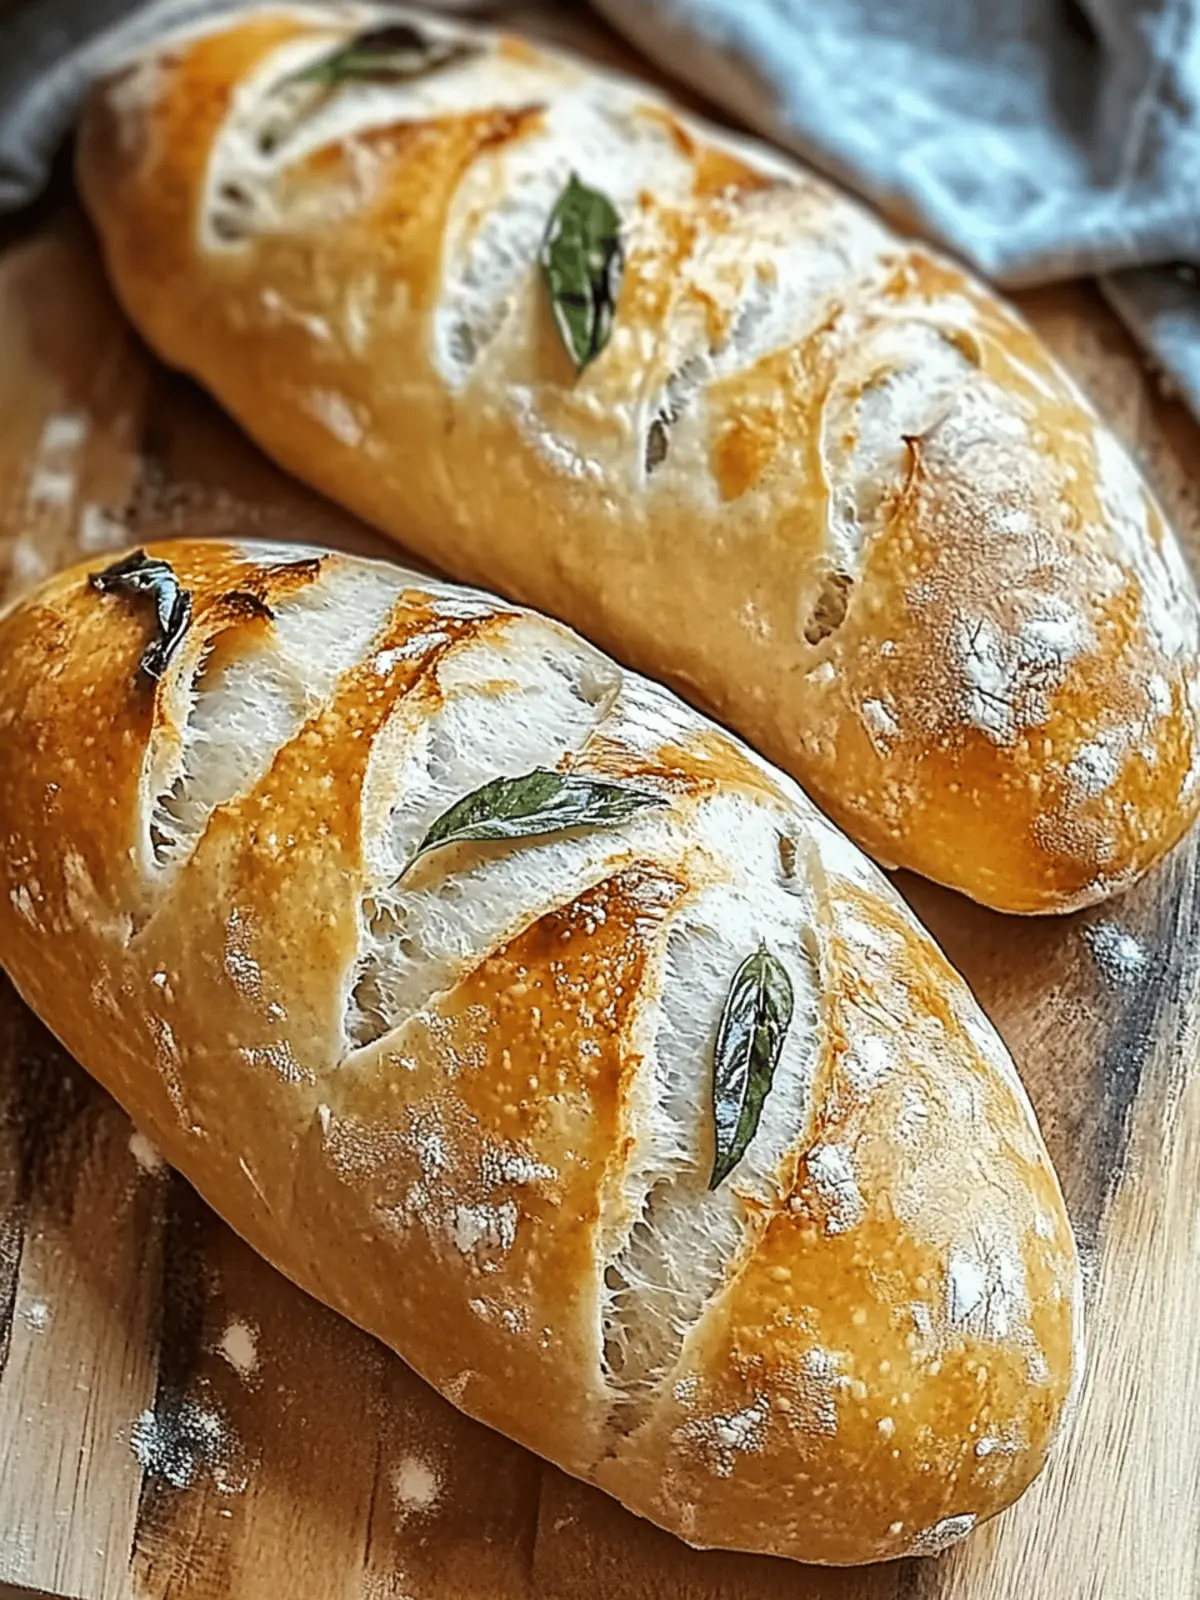
There’s something incredibly heartwarming about the smell of fresh bread wafting through your kitchen, isn’t there? It instantly transforms your home into a cozy haven. I remember the first loaf of crusty Italian bread I ever made; the golden-brown crust cracked beautifully as I sliced into it, revealing a soft and airy interior. This isn’t just any bread – it’s a canvas for creativity, perfect for sandwiches, or simply enjoying warm with a pat of butter.
Whether you’re a seasoned baker or picking up flour for the first time, this recipe is designed for you. It’s beginner-friendly, yet the results are impressive enough to wow family and friends. Made with simple ingredients, each step unlocks small joys, and the process of kneading the dough becomes a meditation in itself. Say goodbye to fast food and hello to the comforting warmth of homemade crusty Italian bread—let’s embark on this baking adventure together!
Why is Crusty Italian Bread a must-try?
Aromatics that Enchant: Experience the delightful aroma that fills your kitchen, inviting everyone to gather and enjoy.
Easily Achievable: This beginner-friendly recipe empowers anyone to become a baking pro with each golden loaf.
Versatile Uses: Perfect for dipping in olive oil, crafting gourmet sandwiches, or simply slathering with butter.
Impressive Results: Achieve artisan-quality bread without advanced baking skills; the stunning crust will impress everyone.
Time to Savor: Say goodbye to fast food—your homemade bread will be worth every minute spent in the kitchen!
Crusty Italian Bread Ingredients
• Gather these staples for your crusty Italian bread masterpiece!
For the Dough
- All-Purpose Flour – Provides structure and texture; can replace half with whole wheat flour for a nuttier flavor.
- Salt – Enhances flavor and strengthens gluten; essential for balance, so do not omit.
- Sugar – Feeds the yeast for fermentation; can adjust amount based on your sweetness preference.
- Active Dry Yeast – Leavens the bread, causing it to rise; ensure freshness for the best results.
- Warm Water (about 110°F) – Activates yeast and forms the dough base; use a thermometer for accuracy.
For the Baking Surface
- Cornmeal – Dusting for the baking sheet; prevents sticking and adds texture to your crusty Italian bread.
How to Make Crusty Italian Bread
-
Prepare Yeast Mixture: In a mixing bowl, combine warm water, sugar, and active dry yeast. Let this sit for 5-10 minutes until frothy; this means your yeast is alive and ready to work its magic!
-
Mix Dough: Add the all-purpose flour and salt to the yeast mixture, stirring until a rough dough forms. Don’t worry if it looks a bit shaggy at this stage; it will come together beautifully!
-
Knead: Transfer the dough to a floured surface and knead for 8-10 minutes until it feels smooth and elastic. You’ll know it’s ready when it springs back gently when pressed—a satisfying sign!
-
First Rise: Place the kneaded dough in a greased bowl, cover it with a damp cloth, and let it rise in a warm area for 1-2 hours. Look for it to double in size; this is the moment of anticipation!
-
Shape the Loaf: Gently punch down the risen dough, shape it into a round or oval loaf, and position it on a cornmeal-dusted baking sheet. The cornmeal provides a light, crunchy texture—a touch of elegance!
-
Second Rise: Cover the loaf and let it rise again for 30-45 minutes. During this time, preheat your oven to 450°F, preparing for that heavenly aroma!
-
Preheat Oven: As your oven heats up, place a shallow pan of water on the bottom rack. This steam will help create that iconic crust we all love in crusty Italian bread.
-
Score and Bake: Make shallow slashes on top of the loaf, which will allow it to expand while baking. Bake for 25-30 minutes until it’s golden brown and sounds hollow when tapped. Your kitchen will smell heavenly!
-
Cool: Allow the bread to cool on a wire rack before slicing. Letting it rest is crucial; this helps set the texture, ensuring each slice is perfect!
Optional: Brush the top with melted butter after baking for a richer flavor.
Exact quantities are listed in the recipe card below.
What to Serve with Crusty Italian Bread?
There’s nothing quite like the joy of pairing fresh, warm bread with delightful accompaniments to create the perfect meal.
-
Herbed Olive Oil: Drizzling herbed olive oil enhances your crusty Italian bread experience, making it a perfect starter or accompaniment to any meal.
-
Rich Pasta Dishes: Pair it with your favorite pasta, such as spaghetti marinara or creamy fettuccine Alfredo, for a comforting Italian feast. The bread is perfect for sopping up every last sauce.
-
Fresh Tomato Basil Salad: A vibrant, light salad complements the density of crusty bread, offering a refreshing burst of flavor that will awaken your taste buds.
-
Cheesy Garlic Bread: Upgrade your loaf by topping slices with garlic butter and cheese, then toasting them until golden brown for a delightful twist on the classic.
-
Soup or Stew: Serve with a hearty minestrone or Italian vegetable soup. The bread is great for dipping, adding a satisfying texture contrast to the meal.
-
Italian Antipasto Platter: Create a charcuterie board with cheeses, cured meats, olives, and your crusty Italian bread; it’s a sensational way to taste various flavors in each bite.
-
Dessert Pairing: End the meal on a sweet note with a light panna cotta or tiramisu. The bread can serve as a lovely contrast to creamy desserts!
Each of these pairing ideas highlights the rustic charm of crusty Italian bread while serving up a comforting dining experience.
Crusty Italian Bread Variations
Embrace the joy of customizing your crusty Italian bread with these delightful twists and substitutions.
- Whole Wheat: Substitute half of the all-purpose flour with whole wheat for a nuttier flavor and added fiber.
- Herb-Infused: Mix in dried herbs like oregano or basil to elevate the flavor profile of your bread.
- Cheesy Delight: Fold in shredded cheese, such as Parmesan or mozzarella, for a deliciously cheesy crust.
- Olive Tapenade: Incorporate chopped olives or olive tapenade into the dough for Mediterranean flair that brings a punch of flavor.
- Garlic Lovers: Add freshly minced garlic or garlic powder into the dough to create a savory twist that pairs perfectly with soups.
- Sweet Italian: For a hint of sweetness, fold in raisins or dried cranberries; it’s divine especially with a slice of cheese!
- Spicy Kick: Mix in red pepper flakes for a subtle heat that adds a surprising zing to your bread.
- Nutty Crunch: Add chopped nuts like walnuts or almonds for an unexpected crunch in each bite, making the bread more interesting.
Make Ahead Options
Crusty Italian Bread is perfect for busy home cooks looking to save time without sacrificing flavor! You can prepare the dough up to 24 hours in advance. To do this, simply follow the recipe up to the end of the first rise, then shape the loaf, cover it tightly, and refrigerate it. This slow rise will enhance the flavor and texture of your bread. When you’re ready to bake, take the dough out, let it sit at room temperature for about 30 minutes, then score and bake as instructed. This method maintains the bread’s quality and gives it that fresh, artisan feel, making your meal planning a breeze!
How to Store and Freeze Crusty Italian Bread
Room Temperature: Keep the bread in a paper bag at room temperature for up to 3 days to maintain its crusty texture without getting soggy.
Fridge: Avoid storing the bread in the fridge; it can dry out quickly, diminishing that delightful crust you’re after.
Freezer: For longer storage, slice the loaf before wrapping it tightly in plastic wrap and aluminum foil. It can be frozen for up to 3 months.
Reheating: To revive the crusty texture, reheat slices in a toaster or place the whole loaf in a 375°F oven for about 10 minutes. Enjoy the comforting freshness of your homemade crusty Italian bread!
Expert Tips for Crusty Italian Bread
- Check Yeast Freshness: Always ensure your active dry yeast is fresh before starting; if it’s expired, your bread won’t rise properly.
- Temperature Matters: Use a thermometer to check water temperature when activating the yeast. Too hot or too cold can hinder the process.
- Knead with Care: Knead the dough until it’s smooth and elastic. Over-kneading can lead to tough bread, while under-kneading can result in dense texture.
- Steam for Success: Don’t skip placing a pan of water in the oven; the steam creates that crunchy crust we love in crusty Italian bread.
- Cool Before Slicing: Resist the urge to slice your bread right away—allowing it to cool on a wire rack enhances the texture and flavor.
- Customize Your Loaf: Feel free to mix in herbs or cheese for a twist; just remember to maintain the dough’s balance for optimal rising.
Crusty Italian Bread Recipe FAQs
What kind of flour works best for crusty Italian bread?
For the best results, I recommend using all-purpose flour, as it provides the right structure and texture. You can mix in whole wheat flour for a nuttier flavor, but keep in mind that it will change the bread’s final texture.
How long can I store crusty Italian bread?
You can keep your crusty Italian bread in a paper bag at room temperature for up to 3 days. This method helps maintain its crispy crust and soft interior. Avoid the fridge, as it can dry out the bread very quickly.
Can I freeze crusty Italian bread and how do I do it?
Absolutely! To freeze crusty Italian bread, slice the loaf first for convenience. Wrap the slices tightly in plastic wrap and then cover with aluminum foil to protect them from freezer burn. It can be stored in the freezer for up to 3 months. When you’re ready to enjoy, reheat in the oven at 375°F for about 10 minutes to restore that lovely texture.
What should I do if my bread doesn’t rise?
If your dough doesn’t rise, first check if your active dry yeast is fresh. If it’s expired, it won’t activate properly. Additionally, ensure that your water temperature is around 110°F; if the water is too hot, it can kill the yeast, and if it’s too cold, it won’t activate. If your dough still doesn’t rise, try placing it in a warmer spot or giving it more time.
Is this recipe suitable for those with gluten allergies?
This crusty Italian bread recipe contains all-purpose flour and is not suitable for those with gluten allergies. However, you can experiment with gluten-free flour blends, keeping in mind that adjustments in the recipe might be necessary for proper texture and rise.
How do I know when my crusty Italian bread is done baking?
Your bread is ready when it reaches a golden-brown color and sounds hollow when tapped gently on the bottom. This usually takes about 25-30 minutes in a preheated oven at 450°F. Don’t forget to let it cool on a wire rack to set the texture before slicing!

Crusty Italian Bread: Bake Perfect Loaves at Home Today
Ingredients
Equipment
Method
- Prepare Yeast Mixture: In a mixing bowl, combine warm water, sugar, and active dry yeast. Let sit for 5-10 minutes until frothy.
- Mix Dough: Add flour and salt to the yeast mixture, stirring until a rough dough forms.
- Knead: Transfer the dough to a floured surface and knead for 8-10 minutes until smooth and elastic.
- First Rise: Place the kneaded dough in a greased bowl, cover with a damp cloth, and let rise for 1-2 hours.
- Shape the Loaf: Punch down the risen dough, shape it, and position it on a cornmeal-dusted baking sheet.
- Second Rise: Cover the loaf and let rise again for 30-45 minutes, while preheating your oven to 450°F.
- Preheat Oven: Place a shallow pan of water on the bottom rack for steam.
- Score and Bake: Make shallow slashes on top of the loaf and bake for 25-30 minutes.
- Cool: Allow bread to cool on a wire rack before slicing.


