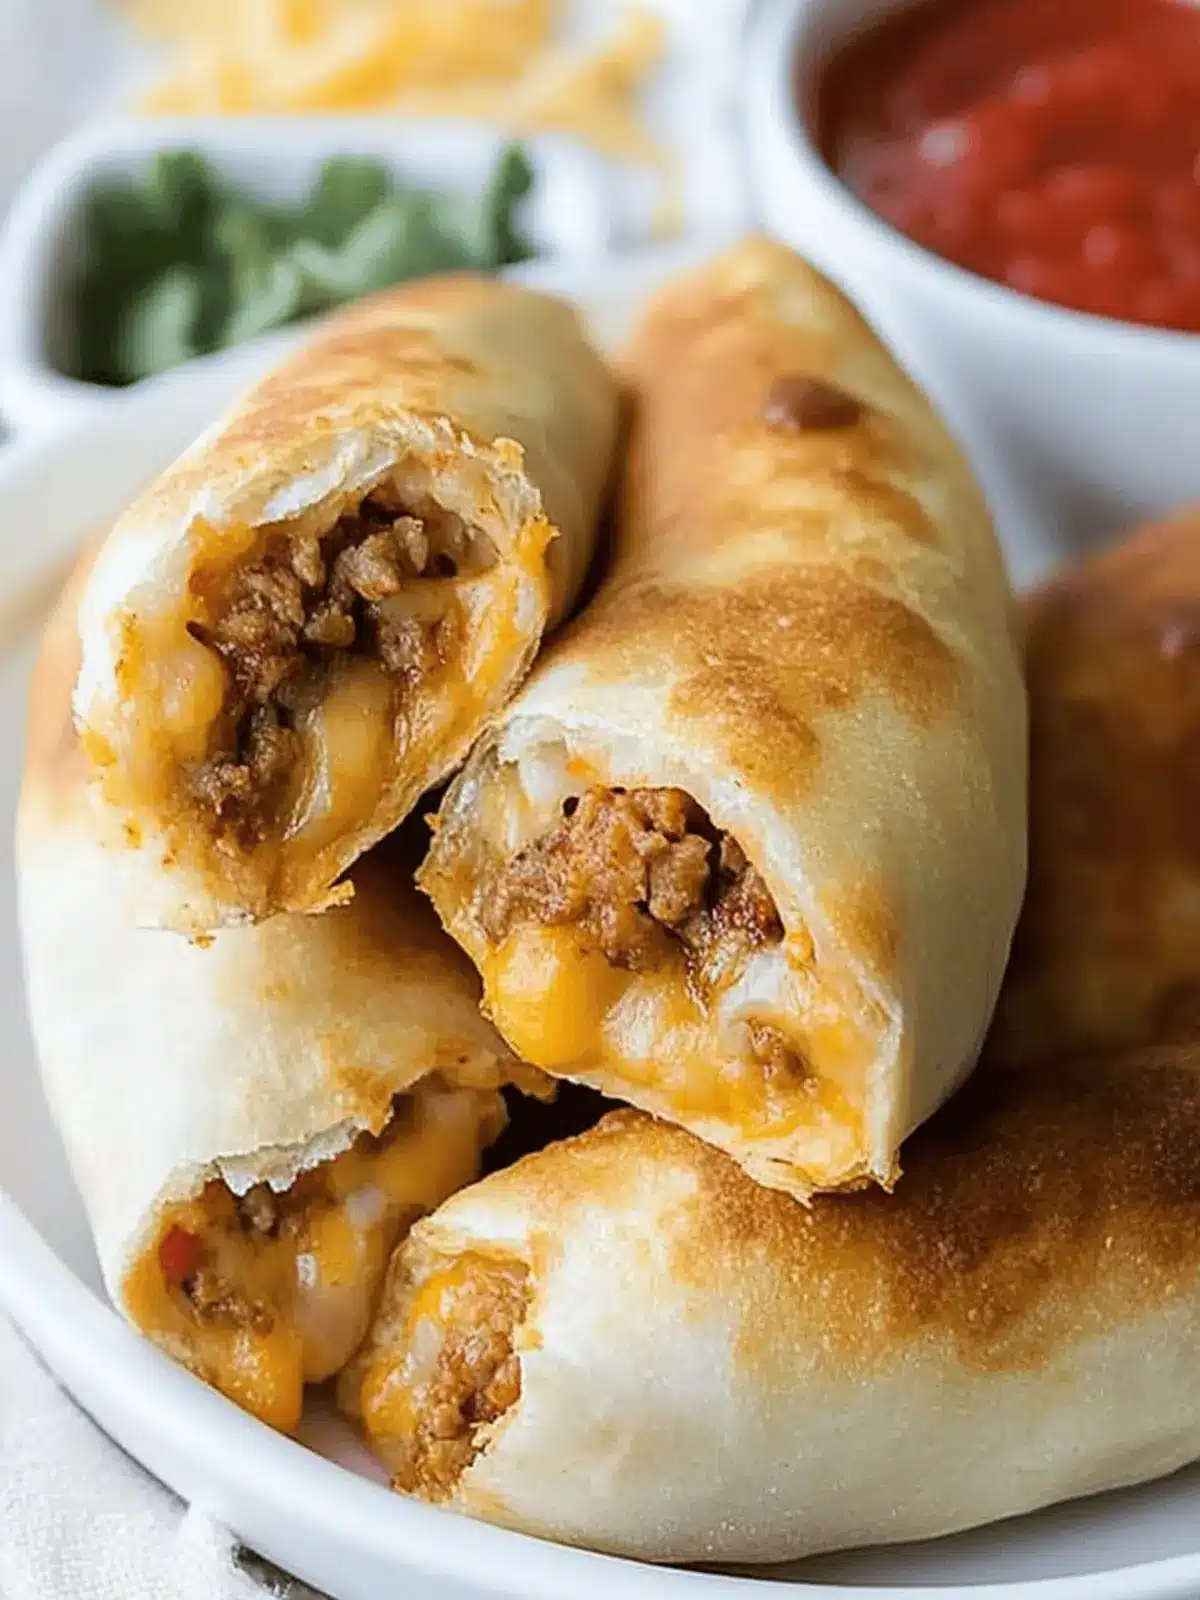
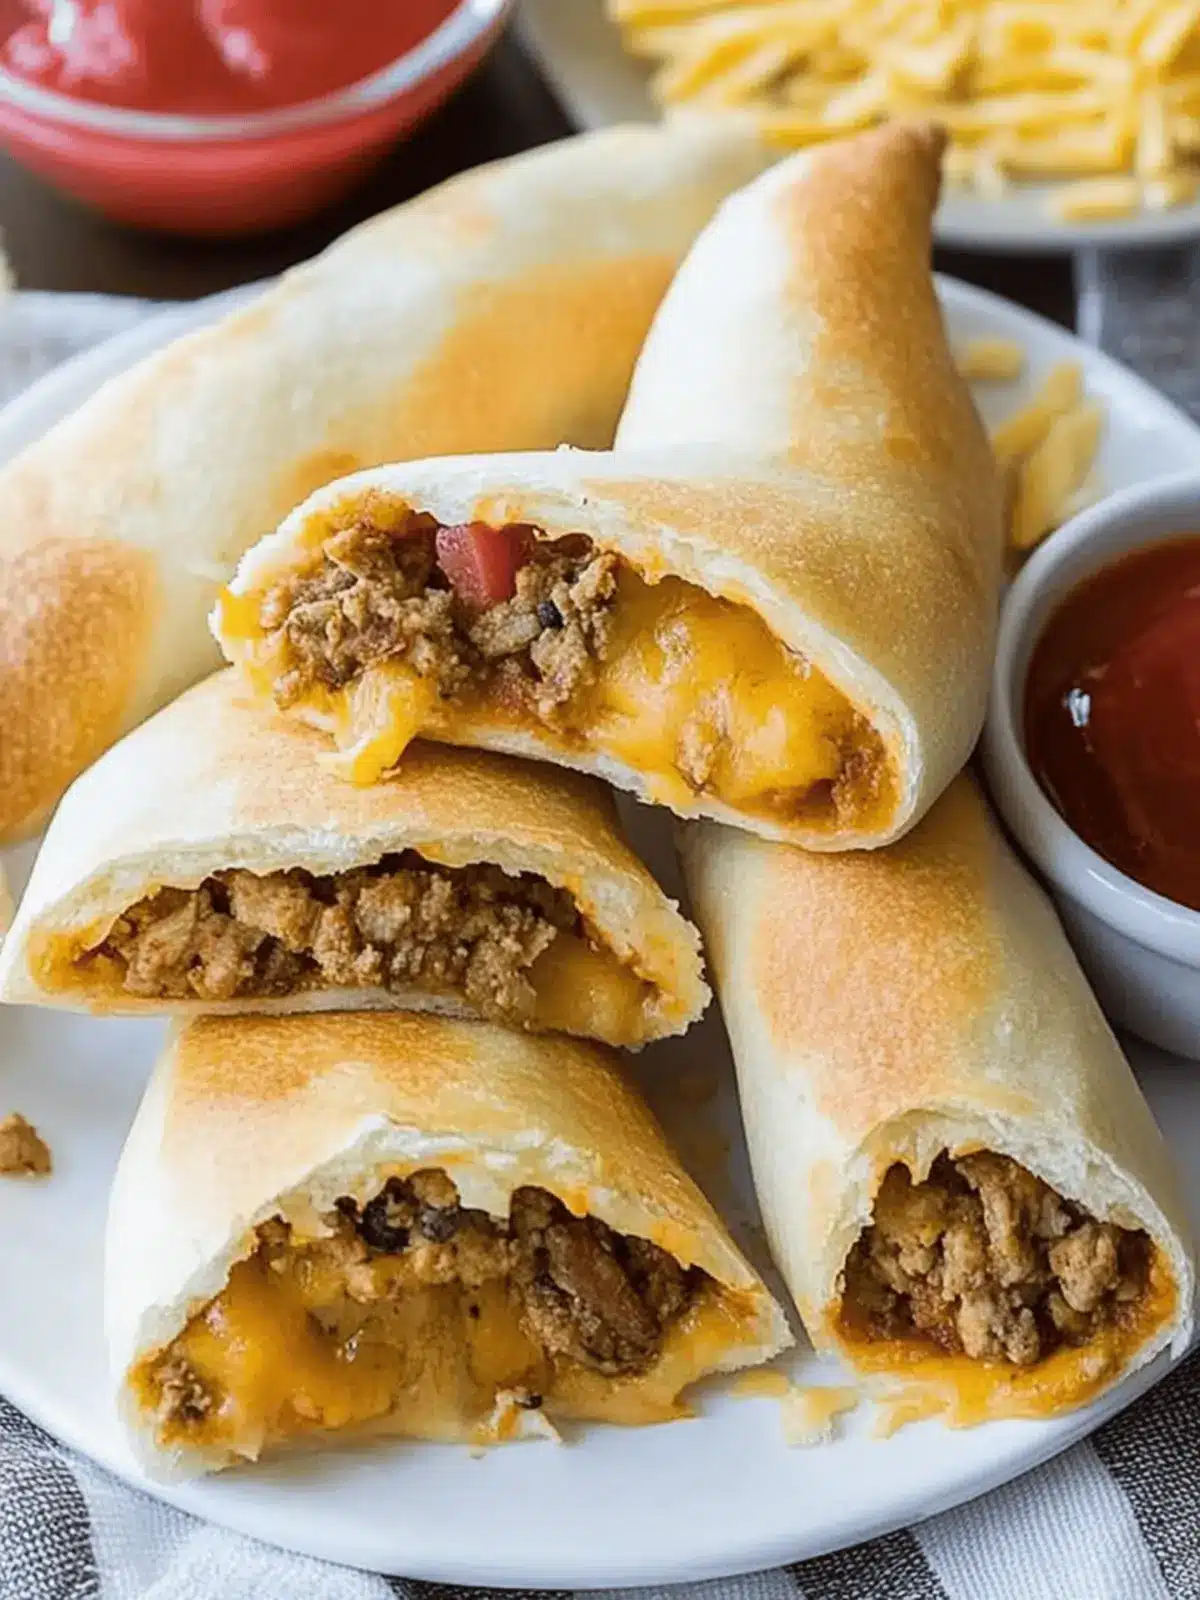
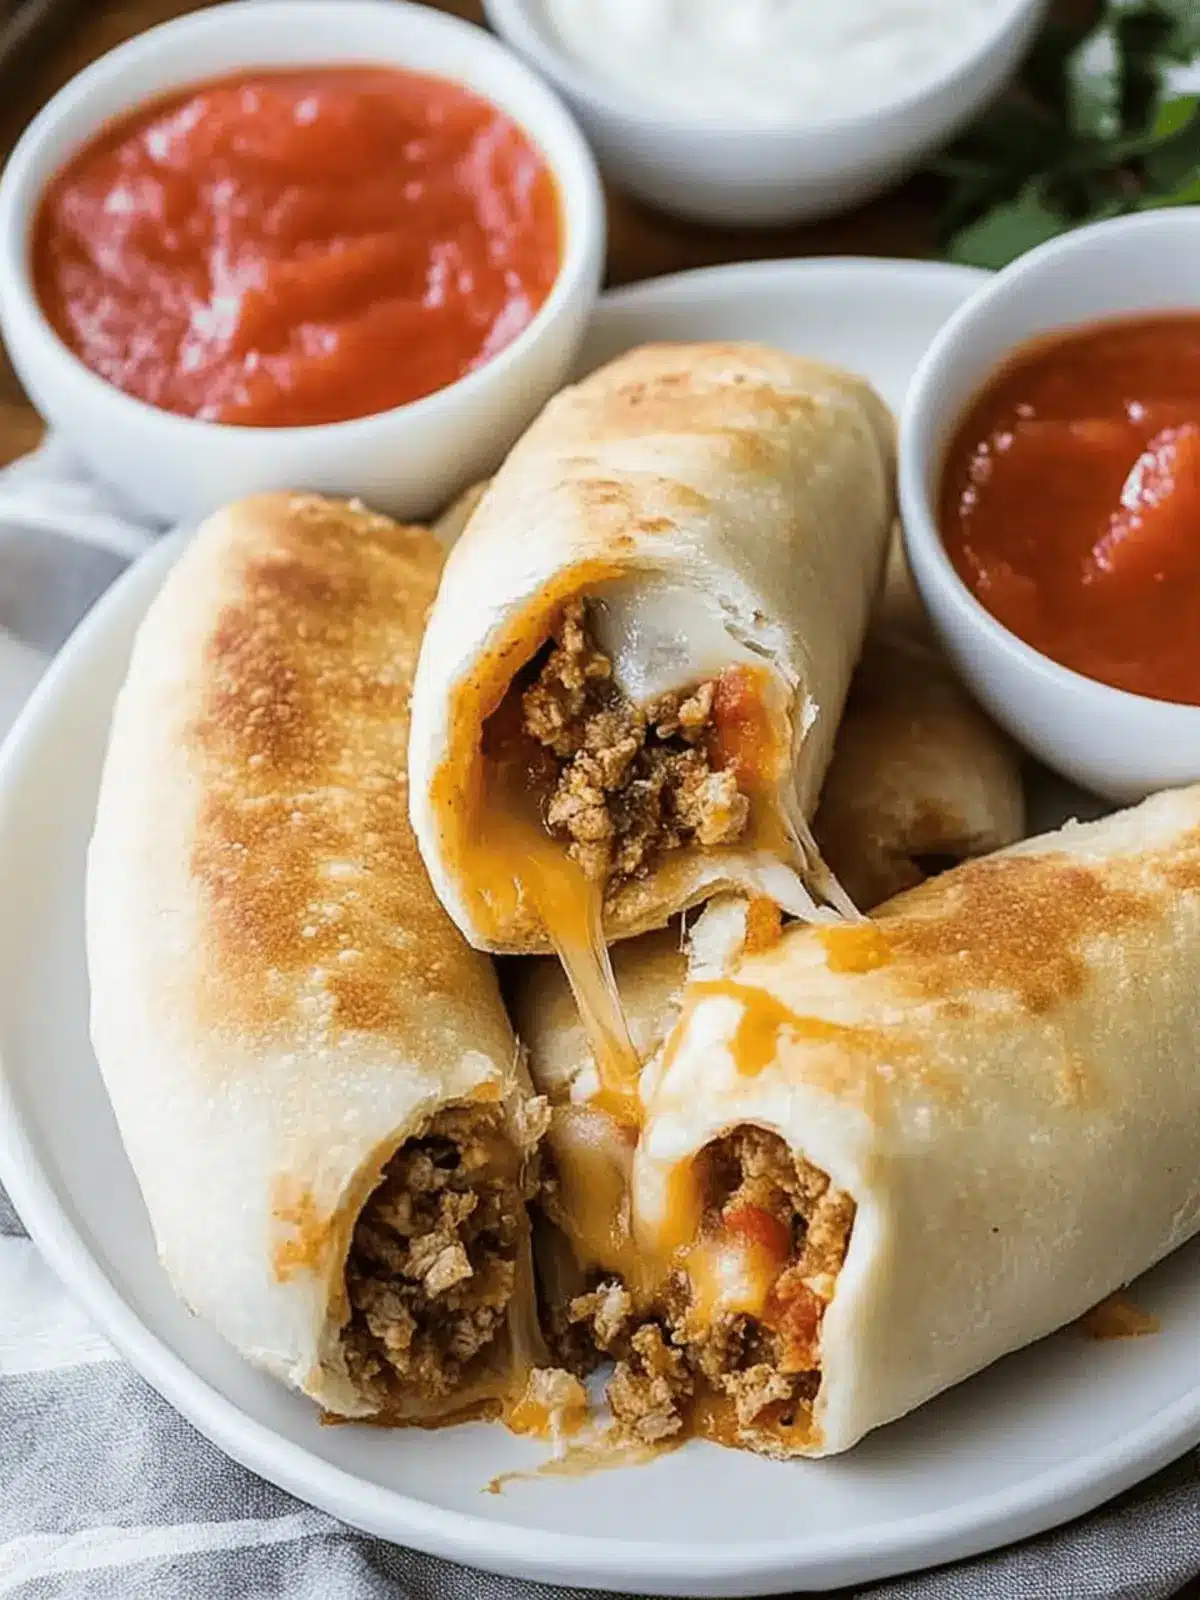
The first bite of these cheesy taco sticks transports me straight to my favorite game day memories. Picture the gathering: laughter fills the air, friends huddled around the TV, and the irresistible aroma of melted cheese and seasoned beef wafting from the kitchen. These cheesy taco breadsticks are the ultimate crowd-pleaser—easy to whip up and guaranteed to disappear fast. It’s comforting, indulgent food that takes just a snap to prepare, making it the perfect solution for impromptu gatherings or cozy nights in.
What I love most is their crispy exterior, which gives way to a gooey, cheesy center, all topped with a delightful crunch from crushed tortilla chips. Whether you’re celebrating a sporting event or just craving a flavor-packed snack, these breadsticks are sure to satisfy. So, let’s dive in and turn your next get-together into an unforgettable culinary adventure!
Why are Cheesy Taco Sticks a Must-Try?
Comforting Delight: These cheesy taco sticks combine the beloved flavors of tacos with the joyful experience of finger food, making them ideal for any occasion.
Quick Preparation: Whip them up in just minutes! They’re perfect for those last-minute gatherings.
Kid-Friendly: With cheesy goodness and crunchy toppings, kids will love them just as much as adults do.
Customizable: Feel free to switch up the proteins or toppings for personalized bites, making every batch uniquely yours.
Crowd-Pleasing: Their irresistible aroma and taste make them a hit at gatherings—be prepared for requests for the recipe!
Cheesy Taco Sticks Ingredients
For the Dough
• Pizza Crust – The foundation of your cheesy taco sticks; using pre-made dough saves time and effort.
For the Filling
• Ground Beef – Infuses your sticks with hearty flavor; replace with ground turkey for a lighter option.
• Taco Seasoning – Adds that zesty taco flavor; try homemade seasoning for more control over spices.
For the Toppings
• Cheddar Cheese – Melts to create a gooey, rich filling; substitute with pepper jack if you like some heat!
• Tortilla Chips – Offers a delightful crunch on top; you can use crushed cornflakes for a gluten-free alternative.
These cheesy taco sticks are sure to please everyone at your gathering!
How to Make Cheesy Taco Sticks
-
Preheat the oven according to the pizza crust package instructions, usually around 425°F. This ensures your cheesy taco sticks bake evenly and come out perfectly golden.
-
Brown the ground beef in a skillet over medium heat. Stir in the taco seasoning until well combined, cooking until fully browned—this should take about 6-8 minutes.
-
Roll out the pizza crust on a lightly greased baking sheet, stretching it into a rectangle. It should cover most of the sheet, creating a cozy bed for your flavorful toppings.
-
Spread the seasoned ground beef evenly over the rolled-out dough, ensuring each bite is packed with protein and flavor.
-
Sprinkle a generous layer of cheddar cheese over the beef. The more cheese, the better! It will melt beautifully and create that gooey texture we love.
-
Crush the tortilla chips and evenly distribute them over the cheese for a delightful crunch. This adds an exciting texture that complements the softness of the cheese.
-
Bake the assembled cheesy taco sticks in the preheated oven for about 15-20 minutes. They’re ready when the crust turns golden brown and the cheese is deliciously bubbly.
-
Slice into breadsticks once they are cool enough to handle, then serve warm, inviting everyone to dig in and enjoy the cheesy goodness!
Optional: Serve with salsa or guacamole for an extra flavor kick.
Exact quantities are listed in the recipe card below.
Make Ahead Options
These Cheesy Taco Sticks are perfect for meal prep and can save you precious time on busy game days! You can prepare the filling by browning the ground beef and mixing in taco seasoning up to 24 hours in advance; simply allow it to cool and refrigerate in an airtight container. Additionally, roll out the pizza crust and layer it with cheese (without baking) up to 3 days ahead. When you’re ready to enjoy, take everything out, spread the seasoned beef over the crust, add the crushed tortilla chips, and bake as directed. This method ensures the sticks are just as delicious and fresh, making your preparation seamless and stress-free.
What to Serve with Cheesy Taco Sticks?
To elevate your cheesy taco sticks into a complete meal, consider these delightful pairings.
-
Fresh Guacamole: Creamy and zesty, this classic pairing adds a refreshing contrast to the rich flavor of the cheese and beef. The coolness of avocados beautifully complements the warmth of the breadsticks.
-
Homemade Salsa: A burst of freshness, this vibrant salsa provides a perfect tangy accompaniment, enhancing every cheesy bite with a delightful kick of flavor.
-
Crispy Salad: A light, mixed greens salad topped with cherry tomatoes and a tangy vinaigrette adds a crunchy texture to balance the indulgence of the sticks. The freshness of the greens rejuvenates the palate.
-
Mexican Street Corn (Elote): The sweet and smoky flavors of elote pair perfectly with the savory taco sticks, creating a mini fiesta on your plate. This dish adds a delicious sweetness that contrasts beautifully with the cheesy flavor.
-
Spiced Rice: A side of cilantro-lime rice, seasoned with cumin and spices, offers a warm and aromatic element that enhances the taco theme. Its fluffy texture beautifully complements the crispy, gooey sticks.
-
Cold Brewed Iced Tea: Refreshing and light, this beverage helps cleanse the palate and keeps everyone feeling refreshed. Consider adding a slice of lime for an extra splash of zest.
Transform your gathering into a delightful culinary experience with these complementary dishes alongside your cheesy taco sticks!
Expert Tips for Cheesy Taco Sticks
- Fully Browned Beef: Ensure your ground beef is cooked thoroughly to avoid any gritty texture, enhancing the overall flavor of your cheesy taco sticks.
- Use a Pizza Cutter: For perfectly even slices, use a sharp pizza cutter instead of a knife; this keeps the cheesy goodness intact.
- Flavor Boost: Add diced jalapeños or black olives to the beef mixture for an exciting twist in flavor, elevating your cheesy taco sticks.
- Crispy Finish: For a crispier texture, bake your cheesy taco sticks a few extra minutes but keep an eye on them to avoid burning.
- Serve Immediately: Enjoy them fresh out of the oven for the best gooey-cheesy experience—no one wants to miss out on that melted goodness!
How to Store and Freeze Cheesy Taco Sticks
Fridge: Keep your cheesy taco sticks in an airtight container for up to 2 days. This preserves their flavors, but they are best enjoyed fresh!
Freezer: Freeze leftover sticks in a single layer, then transfer to a freezer bag for up to 3 months. This way, you can enjoy a savory snack anytime!
Reheating: To reheat, place the frozen cheesy taco sticks on a baking sheet and warm them in the oven at 350°F for about 10-12 minutes, ensuring they stay crispy.
Wrap Carefully: If storing in the fridge or freezer, wrap individual sticks in plastic wrap or foil for optimum freshness and to avoid freezer burn.
Cheesy Taco Sticks Variations
Feel free to get creative with these cheesy taco sticks and make them your own!
- Vegetarian Delight: Swap ground beef for your favorite beans or lentils for a protein-packed vegetarian version.
- Spicy Twist: Use pepper jack cheese instead of cheddar for an exciting kick of heat that spices things up.
- Flavor Burst: Add diced tomatoes or green chilies to the beef mixture for a burst of freshness and flavor.
- Crunchy Layer: Replace tortilla chips with crushed pretzels for a unique salty crunch that complements the cheesiness.
- Herb Infusion: Mix in fresh cilantro or green onions with the beef for a refreshing, aromatic twist that brightens each bite.
- Creamy Addition: Drizzle some ranch or creamy avocado dressing over the finished sticks for an indulgent, flavorful finish.
- Bacon Boost: Crumble cooked bacon over the cheese before baking for an irresistible smoky flavor that adds depth to the dish.
- Gluten-Free Option: Use a gluten-free pizza crust to make these cheesy taco sticks suitable for everyone at your gathering.
Shaping and reshaping these sticks gives everyone a chance to enjoy a slice that’s uniquely theirs!
Cheesy Taco Sticks Recipe FAQs
What type of pizza crust should I use?
I recommend using pre-made pizza dough for convenience, which provides the best structure for your cheesy taco sticks. You can also opt for homemade pizza dough if you’re feeling adventurous!
How should I store leftover cheesy taco sticks?
Store your cheesy taco sticks in an airtight container in the fridge for up to 2 days. While they will retain flavor, they are best enjoyed fresh for that perfect ooey-gooey texture!
Can I freeze cheesy taco sticks?
Absolutely! To freeze, lay the cheesy taco sticks in a single layer on a baking sheet and freeze until solid. Then transfer them to a freezer bag, where they can be kept for up to 3 months. This way, you’ll have a tasty snack on hand whenever you need it!
What if my ground beef isn’t fully browned?
Make sure to cook your ground beef over medium heat for about 6-8 minutes, or until it is evenly browned. Undercooked beef can result in a gritty texture that takes away from the cozy experience of your cheesy taco sticks. Always ensure the meat is fully cooked before assembling!
Can I make a vegetarian version of cheesy taco sticks?
Absolutely! You can substitute the ground beef with shredded chicken, beans, or even a mix of sautéed vegetables. This leaves room for creativity, allowing you to adjust the toppings to fit dietary preferences or tastes!
What should I do if my cheese doesn’t melt properly?
If your cheese isn’t melting as expected, ensure it’s distributed evenly over the beef and use a good melting cheese like cheddar or Monterey Jack. Tip: For added creaminess, mix in a little cream cheese with the shredded cheese before adding it!
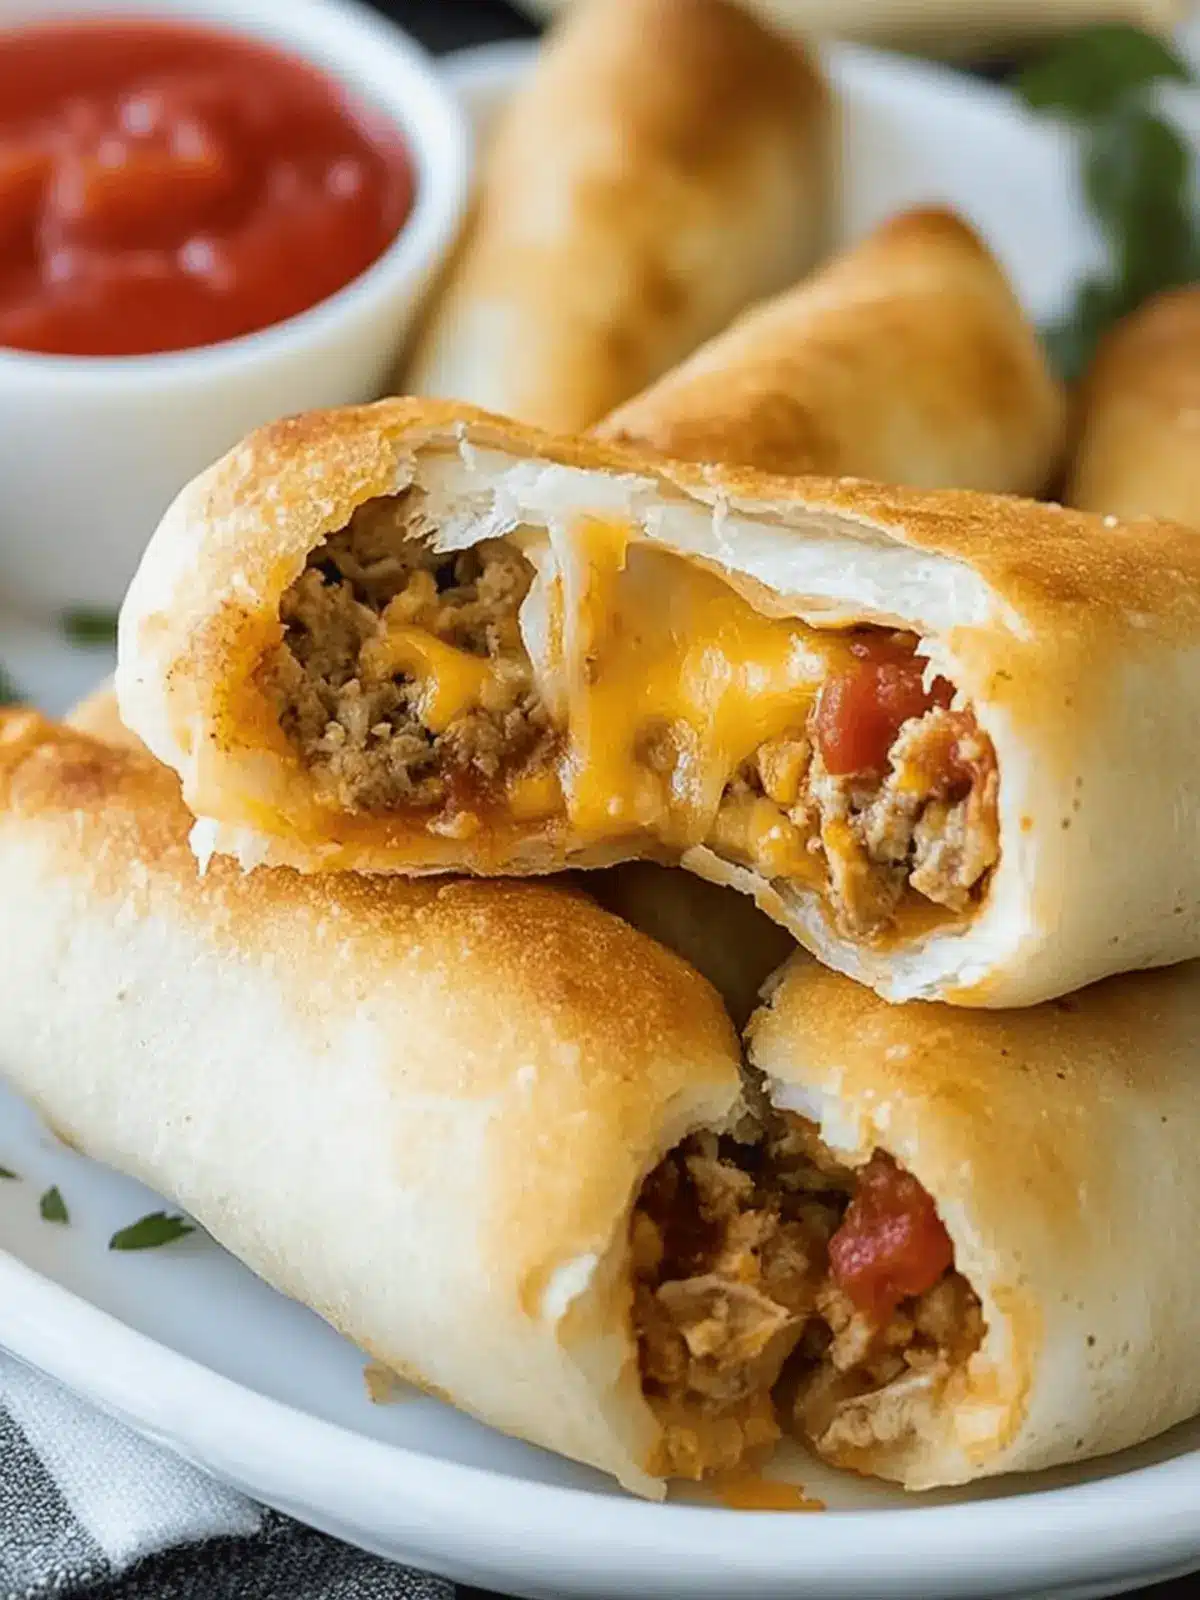
Cheesy Taco Sticks: Your New Favorite Game Day Snack!
Ingredients
Equipment
Method
- Preheat the oven according to the pizza crust package instructions, usually around 425°F.
- Brown the ground beef in a skillet over medium heat. Stir in the taco seasoning and cook until fully browned, about 6-8 minutes.
- Roll out the pizza crust on a lightly greased baking sheet, stretching it into a rectangle.
- Spread the seasoned ground beef evenly over the rolled-out dough.
- Sprinkle a generous layer of cheddar cheese over the beef.
- Crush the tortilla chips and evenly distribute them over the cheese.
- Bake the cheesy taco sticks in the preheated oven for about 15-20 minutes.
- Slice into breadsticks once they are cool enough to handle and serve warm.

