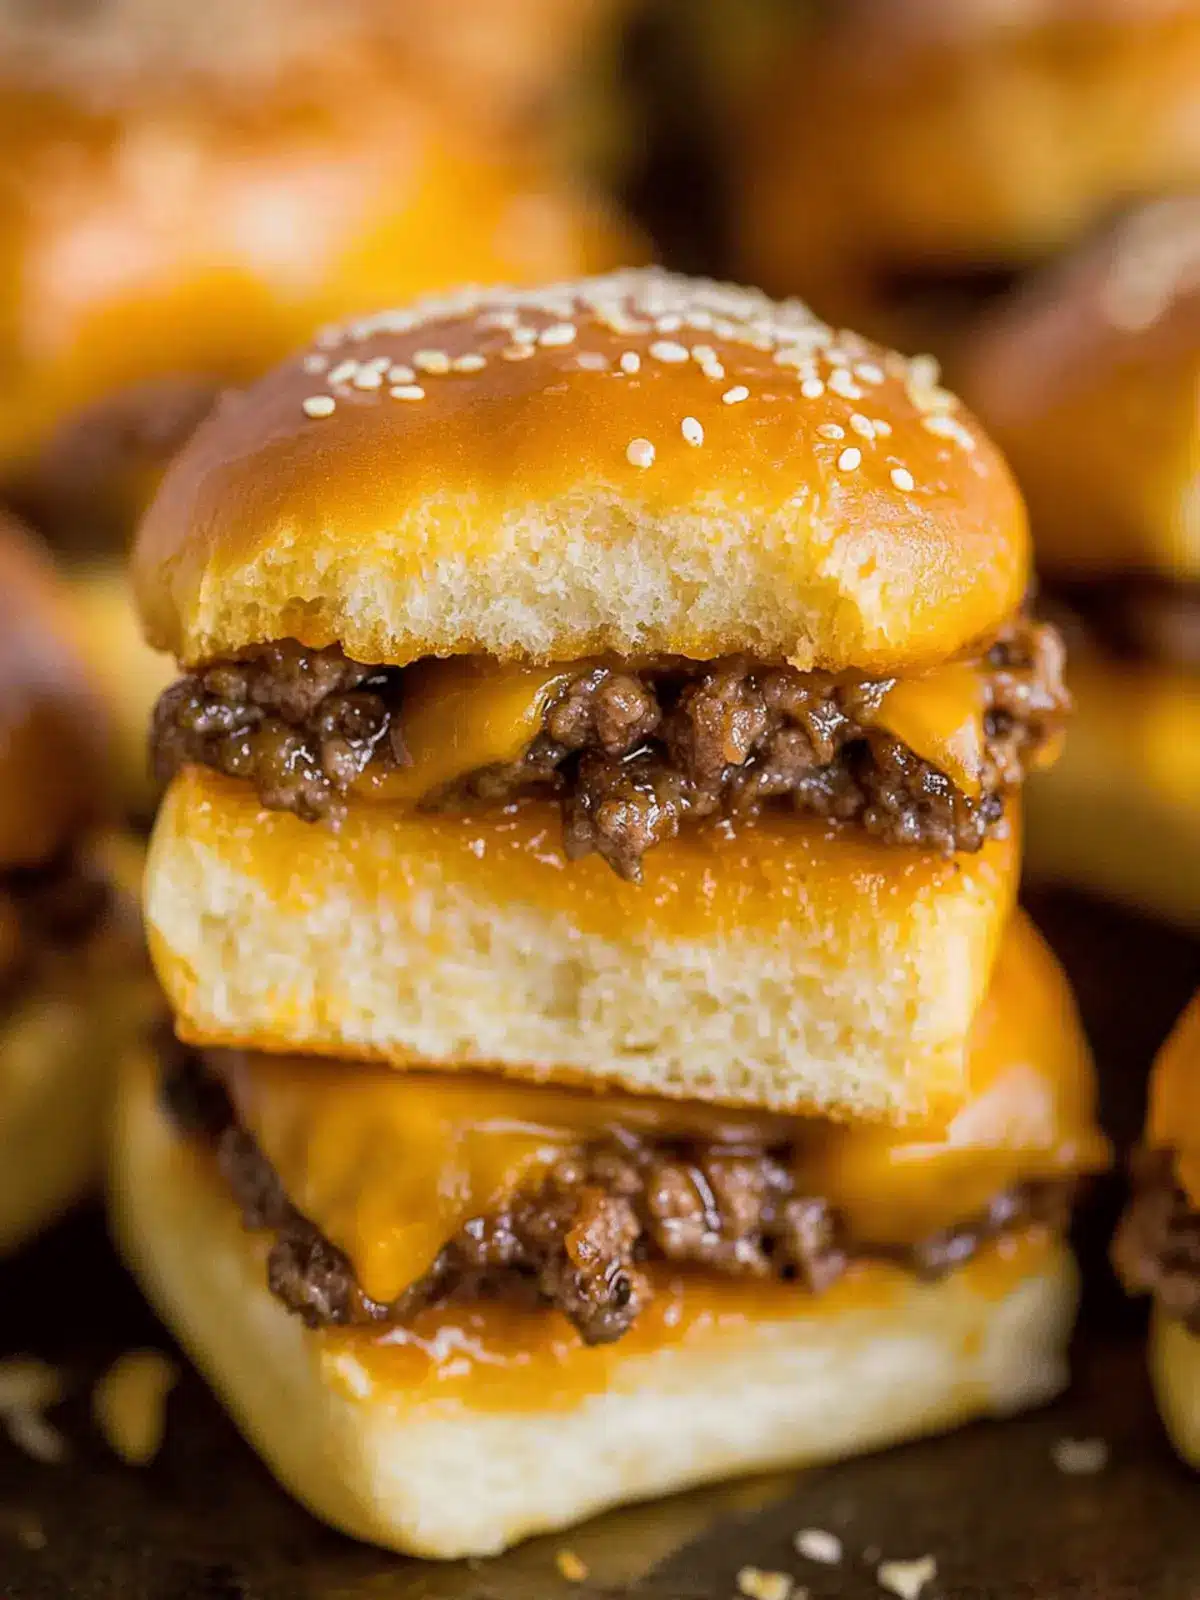
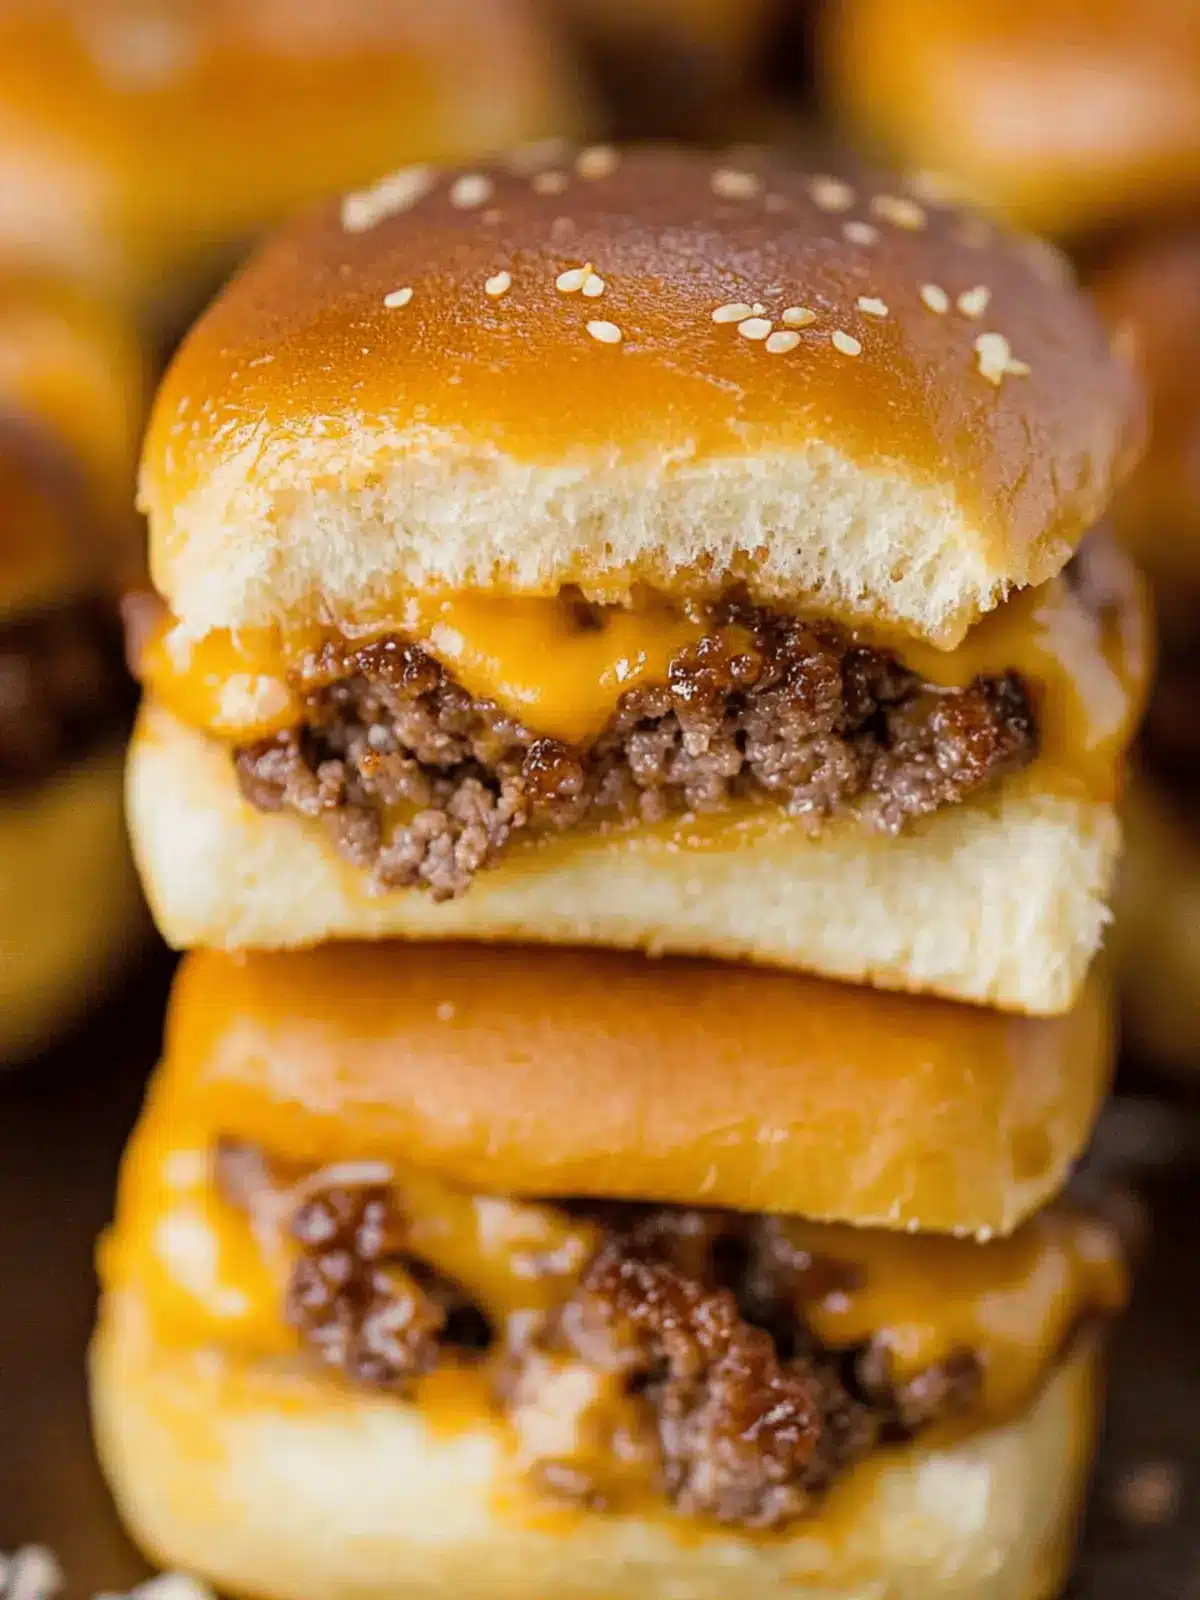
As I opened my refrigerator on a lazy Saturday afternoon, a wave of inspiration hit me. With just a few simple ingredients on hand, I decided to whip up something that would bring my family around the table—juicy cheeseburger sliders! The magnetic aroma of grilled beef mixed with melting cheese is enough to tug at anyone’s heartstrings, transporting us to backyard barbecues and carefree summer days.
These sliders are not just quick and easy to prepare; they’re the perfect solution for busy weeks or unexpected guests, allowing you to enjoy stress-free, delicious meals. Plus, they’re incredibly versatile—you can customize the toppings or swap ingredients to suit everyone’s tastes. Whether it’s game day or a cozy family dinner, these cheeseburger sliders will have everyone coming back for seconds! Get ready to serve up perfection with every bite.
Why are Cheeseburger Sliders a Must-Try?
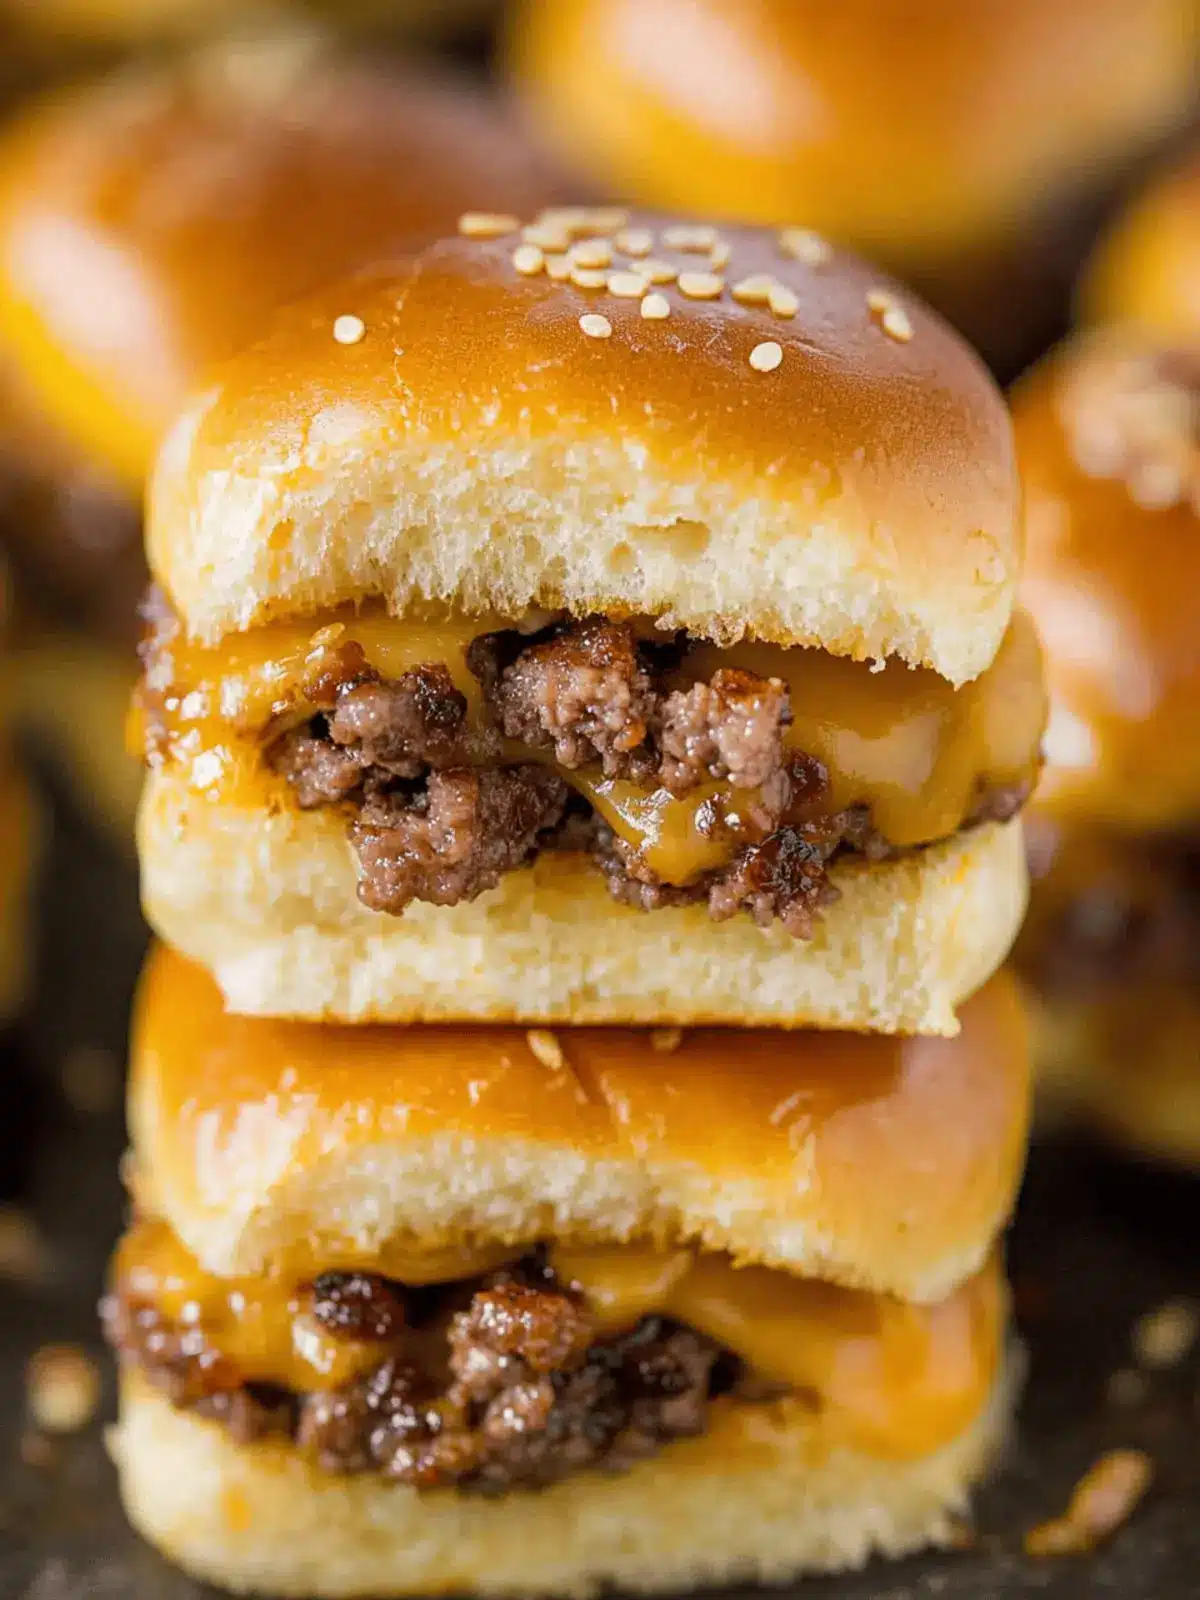
Quick and Easy: With a straightforward cooking method, these sliders are perfect for anyone, even if you’re not a seasoned chef. Family-Friendly: Guaranteed to please kids and adults alike, they are a surefire hit at any dinner table. Customizable: Add your favorite toppings, from classic pickles to spicy jalapeños, ensuring everyone’s taste buds are satisfied. Make-Ahead Magic: Prepare them ahead of time for easy weeknight meals or surprise guests without the stress. Satisfying and Hearty: Packed with juicy beef and melty cheese, each slider offers a delightful bite that evokes warm memories of backyard barbecues. Whether it’s for a game night or a casual weeknight dinner, these cheeseburger sliders promise to bring everyone together!
Cheeseburger Sliders Ingredients
For the Beef Mixture
- Lean Ground Beef – The heart of the sliders, delivering a succulent, beefy flavor; try ground turkey for a lighter option.
- Olive Oil – Adds moisture and enhances browning; vegetable oil is a suitable alternative.
- Salt – Essential for enhancing the flavors; feel free to adjust according to your taste.
- Black Pepper – Provides a subtle kick; white pepper works as a milder substitute.
- Garlic Powder – Adds a savory depth to the beef; opt for fresh garlic if you prefer a bolder flavor.
- Yellow Onion – Balances sweetness and flavor; shallots can be used instead or omitted completely for a milder taste.
For the Sliders
- Mayonnaise – Brings moisture and richness to the filling; Greek yogurt works well for a tangy twist.
- Medium Cheddar Cheese – Melts beautifully and adds creaminess; feel free to swap in your favorite cheese, like American or pepper jack.
- Dinner Rolls – The perfect vehicle for your sliders, any soft rolls will do, whether homemade or store-bought.
- Unsalted Butter – Adds flavor and shine when brushed on top; coconut oil is a viable alternative for a dairy-free option.
- Sesame Seeds – Offer a decorative crunch; you can leave them off if allergies are a concern or swap for poppy seeds.
These cheeseburger sliders promise to be a delectable addition to your meal roster, awaiting your unique twist!
How to Make Cheeseburger Sliders
-
Prep: Preheat your oven to 350˚F (175˚C). Grease a baking sheet with butter, ensuring it’s ready to hold those delicious sliders once assembled.
-
Cook Beef: In a skillet, heat a splash of olive oil over medium-high heat. Sauté the diced yellow onion until golden, then add the lean ground beef, seasoning it with salt, black pepper, and garlic powder. Cook until fully browned, draining the excess fat afterward.
-
Combine: Stir the creamy mayonnaise into the beef mixture to enhance the flavors and ensure every bite is deliciously moist.
-
Assemble Sliders: Slice the dinner rolls in half horizontally. Place the bottom halves on the greased baking sheet, layering them with slices of medium cheddar cheese, followed by the savory beef mixture, and finish with a sprinkle of shredded cheese on top.
-
Top and Bake: Gently place the top halves cut-side down over the sliders. Brush with melted unsalted butter for a golden finish, and sprinkle sesame seeds on top. Bake in the preheated oven for 12-15 minutes, until the tops are golden brown and the cheese is perfectly melted.
Optional: Serve with your favorite dipping sauces for an extra burst of flavor!
Exact quantities are listed in the recipe card below.
What to Serve with Cheeseburger Sliders?
Get ready to complete your meal with delightful sides that enhance the experience of these juicy bites!
- Crispy French Fries: Golden and crunchy, they offer the perfect contrast to the soft texture of your sliders and are a classic pairing.
- Homemade Coleslaw: This tangy, creamy dish adds a crunchy freshness, making it a light and vibrant side that balances the richness of the sliders.
- Baked Potato Wedges: Soft and fluffy on the inside with a crispy exterior, these wedges make a hearty companion for easy dipping in sauces.
- Dill Pickles: Crunchy and tangy, pickles are a traditional side that enhances the flavors of the cheeseburger sliders, adding a zesty crunch.
- Macaroni Salad: Creamy and comforting, it offers a deliciously cool contrast to the warm sliders, wonderfully satisfying for family gatherings.
- Sweet Corn on the Cob: Grilled or boiled, the sweetness of corn adds a vibrant summer touch, making each bite feel like a backyard barbecue.
- Fancy Root Beer Float: For a fun beverage, this frosty treat pairs perfectly with the sliders, impressing guests and sending everyone back to their childhood.
Each of these sides not only complements the cheeseburger sliders but also brings a sense of comfort and togetherness to your table!
Cheeseburger Sliders Variations
Feel free to get creative with your sliders and explore delightful twists that tantalize your taste buds!
-
Turkey Swap: Use ground turkey instead of beef for a lighter, yet still delicious slider option. The result is just as juicy but offers a unique flavor profile.
-
Spicy Kick: Mix sliced jalapeños into the beef mixture for an extra layer of heat. These sliders will pack a punch and appeal to spice lovers.
-
Cheese Medley: Experiment with different cheeses; try pepper jack for heat or a smoky gouda for a twist on flavor that elevates your sliders.
-
Veggie Delight: Replace beef with a plant-based ground meat substitute or grilled portobello mushrooms for a vegetarian option that still satisfies cravings.
-
Savory Additions: Add sautéed mushrooms to the beef mixture for an earthy flavor that complements the cheesiness perfectly, creating a gourmet slider experience.
-
Herb Infusion: Stir fresh herbs like chopped parsley or basil into the beef mixture for a refreshing burst of flavor. This adds brightness and complexity to each bite.
-
Sweet Touch: Drizzle barbecue sauce over the beef before assembling for a sweet and smoky flavor that pairs beautifully with the cheddar cheese.
-
Bread Variety: Experiment with different types of rolls, like brioche or pretzel buns, to enhance the overall texture and taste of your cheeseburger sliders. Each option adds its unique flair!
Storage Tips for Cheeseburger Sliders
- Room Temperature: Cheeseburger sliders can be left out for up to 2 hours at room temperature; however, they are best enjoyed warm for optimal flavor and texture.
- Fridge: Store any leftover sliders in an airtight container in the fridge for up to 3 days. Reheating is recommended to restore their deliciousness.
- Freezer: For longer storage, freeze assembled and cooked sliders in a freezer-safe container for up to 3 months. To reheat, bake from frozen at 350°F for 20-25 minutes until warmed through.
- Reheating: To enjoy your refrigerated sliders, pop them in the microwave for about 30-60 seconds or re-bake in the oven for 10-12 minutes at 350°F for a freshly-baked feel.
Make Ahead Options
These cheeseburger sliders are a fantastic meal prep option for busy home cooks! You can assemble them up to 24 hours in advance; simply put the completed sliders in the refrigerator after they’ve cooled. Additionally, if you prefer, you can prepare the beef mixture and store it in an airtight container for up to 3 days. This way, the flavors meld beautifully! When you’re ready to enjoy, layer the beef and cheese onto the rolls, brush with butter, and bake them directly from the fridge, adding just a few extra minutes to the baking time for perfect golden tops. This method guarantees that your sliders are just as delicious and fresh as if they were made on the spot!
Expert Tips for Cheeseburger Sliders
- Perfectly Browned Beef: Make sure the beef is fully browned before adding the mayonnaise. This prevents the sliders from becoming soggy and keeps your cheeseburger sliders delightfully delicious.
- Prep Ahead: If making ahead, assemble the sliders and refrigerate. Remember to add about three extra minutes to your baking time when baking from chilled.
- Bake Smart: Avoid overcrowding the baking sheet! This ensures even baking and helps achieve that perfect golden brown top for your cheeseburger sliders.
- Adjust for Taste: Don’t hesitate to tweak the seasonings to match your family’s flavor preferences. A pinch more salt or a dash of pepper can make all the difference!
- Experiment with Toppings: Get creative with toppings! Different cheese varieties or toppings like avocado or crispy bacon can elevate your cheeseburger sliders to the next level.
Cheeseburger Sliders Recipe FAQs
How do I choose the best ground beef for cheeseburger sliders?
Absolutely! For the best flavor and texture, look for lean ground beef with a fat content around 80% lean to 20% fat. This balance ensures your sliders are juicy without being too greasy. If you’re aiming for a lighter option, ground turkey is a fantastic alternative, offering a similarly delicious experience.
How should I store my leftover cheeseburger sliders?
For storing, place any leftover cheeseburger sliders in an airtight container and refrigerate for up to 3 days. This keeps them fresh and tasty! When you’re ready to enjoy them again, gently reheat in the microwave for about 30-60 seconds or in the oven at 350°F for 10-12 minutes to restore that delightful texture.
Can I freeze cheeseburger sliders for later?
Absolutely! To freeze, allow your cooked sliders to cool completely. Then, wrap each slider tightly in plastic wrap or aluminum foil and place them in a freezer-safe container or bag. They can last for up to 3 months in the freezer. When ready to eat, simply bake them from frozen at 350°F for about 20-25 minutes until heated through and enjoy!
What should I do if my cheeseburger sliders are soggy?
Very! If your sliders turn out soggy, it might be due to undercooked beef or excess moisture from the mayonnaise. Ensure the beef is thoroughly browned before mixing, and consider using less mayonnaise or opting for a thicker variant like Greek yogurt, which can provide moisture without excess liquid.
Can I make these cheeseburger sliders ahead of time?
Definitely! You can assemble your cheeseburger sliders beforehand. After putting them together, cover and refrigerate them for up to a day. Just remember to add around 3 extra minutes to the baking time when you pop them in the oven directly from the fridge. This small adjustment ensures that you still get that beautiful golden finish!
Are cheeseburger sliders suitable for kids with dietary allergies?
The more the merrier! When preparing cheeseburger sliders for kids with dietary allergies, it’s important to check each ingredient carefully. You can use gluten-free rolls and substitute the cheese and mayonnaise with allergy-friendly alternatives to ensure everyone can enjoy them without worries. Always have a chat with parents about potential allergens!
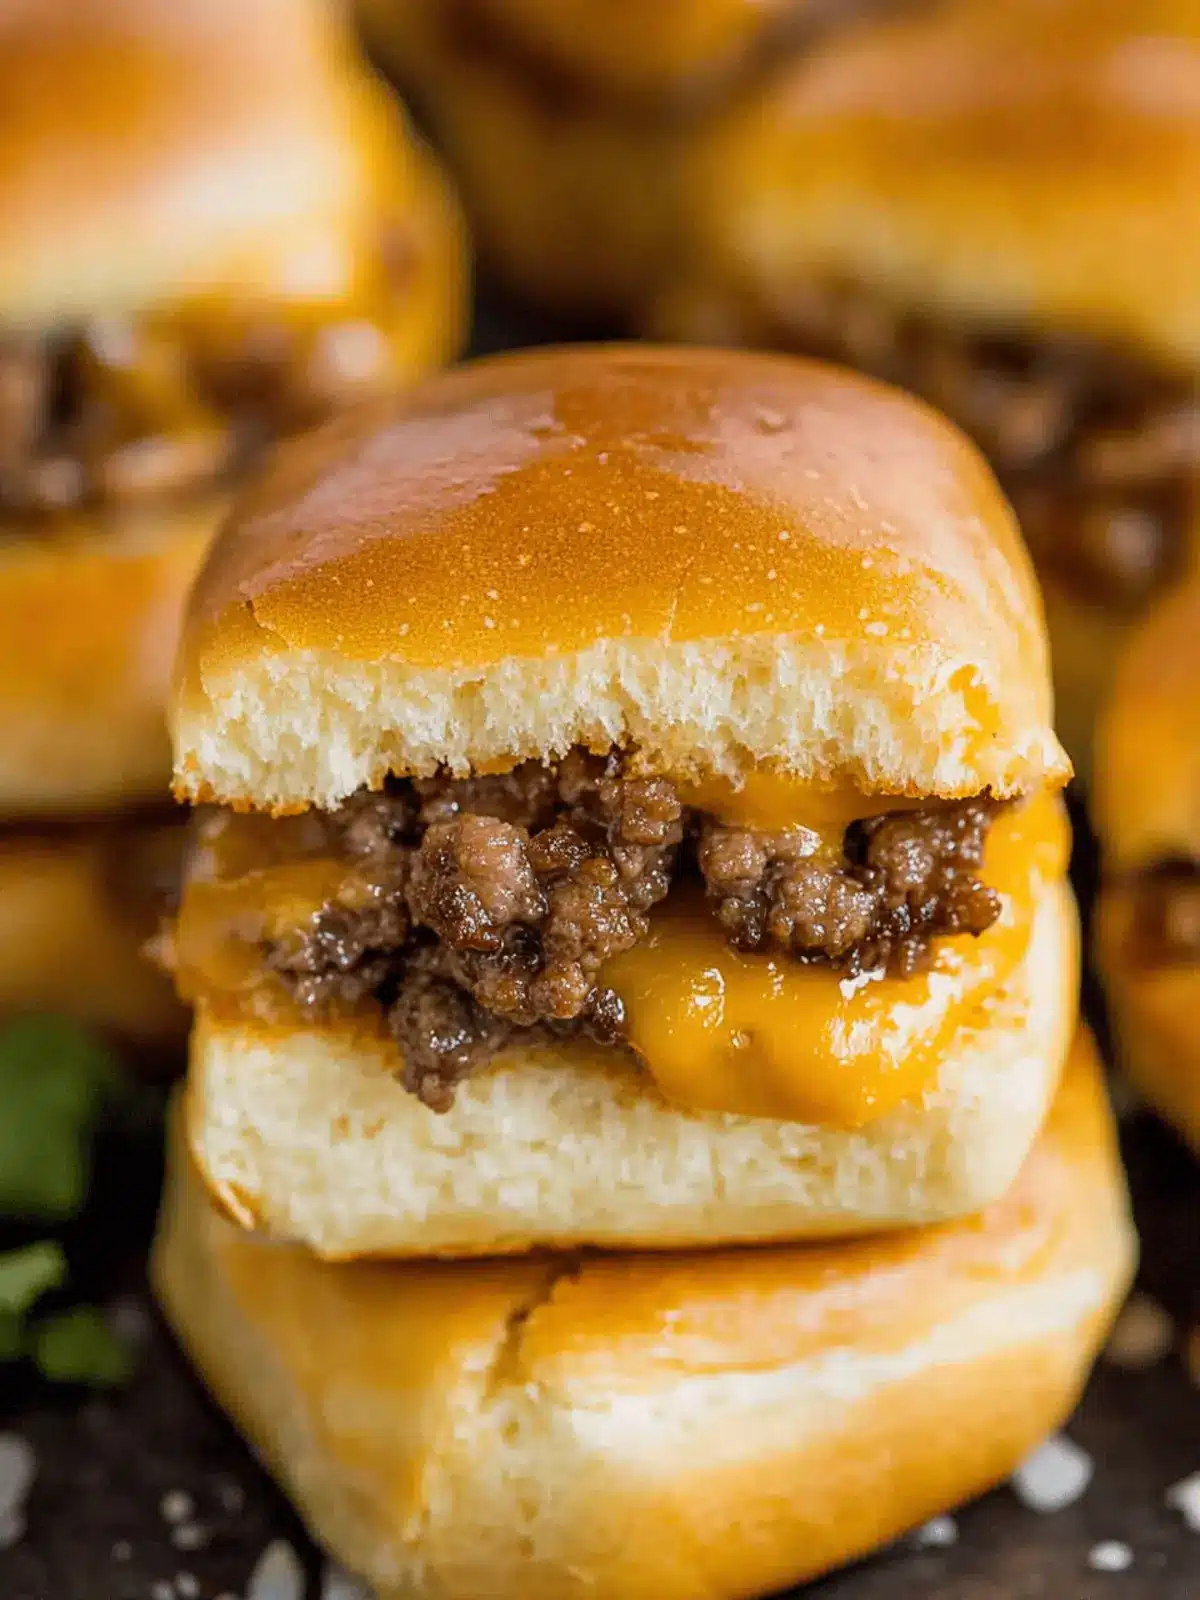
Easy Cheeseburger Sliders for Stress-Free Family Dinners
Ingredients
Equipment
Method
- Preheat your oven to 350˚F (175˚C). Grease a baking sheet with butter.
- In a skillet, heat olive oil over medium-high heat. Sauté the diced yellow onion until golden, then add the ground beef, seasoning with salt, black pepper, and garlic powder. Cook until fully browned, draining excess fat.
- Stir the mayonnaise into the beef mixture to enhance flavors and ensure every bite is moist.
- Slice the dinner rolls in half horizontally. Place the bottom halves on the greased baking sheet, layer with slices of cheddar cheese, add the beef mixture and finish with shredded cheese on top.
- Place the top halves cut-side down over the sliders. Brush with melted butter, sprinkle sesame seeds, and bake for 12-15 minutes until golden brown and cheese is melted.

