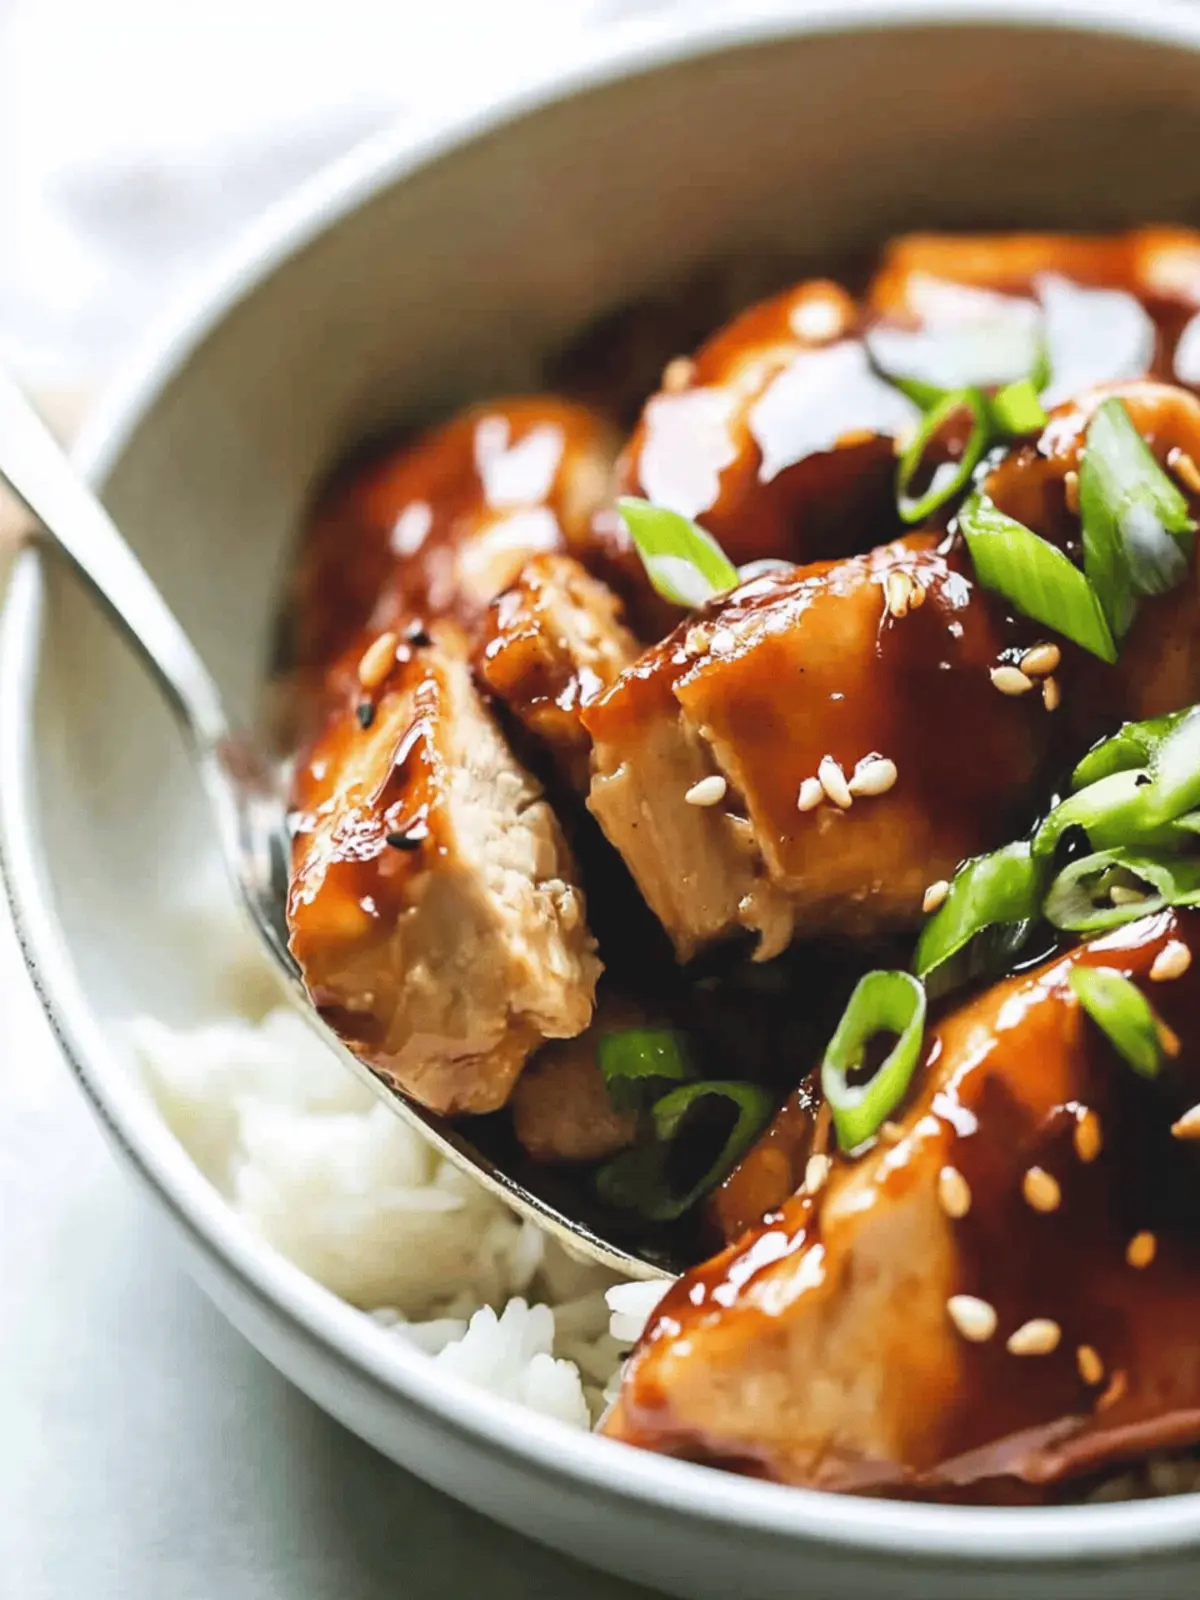
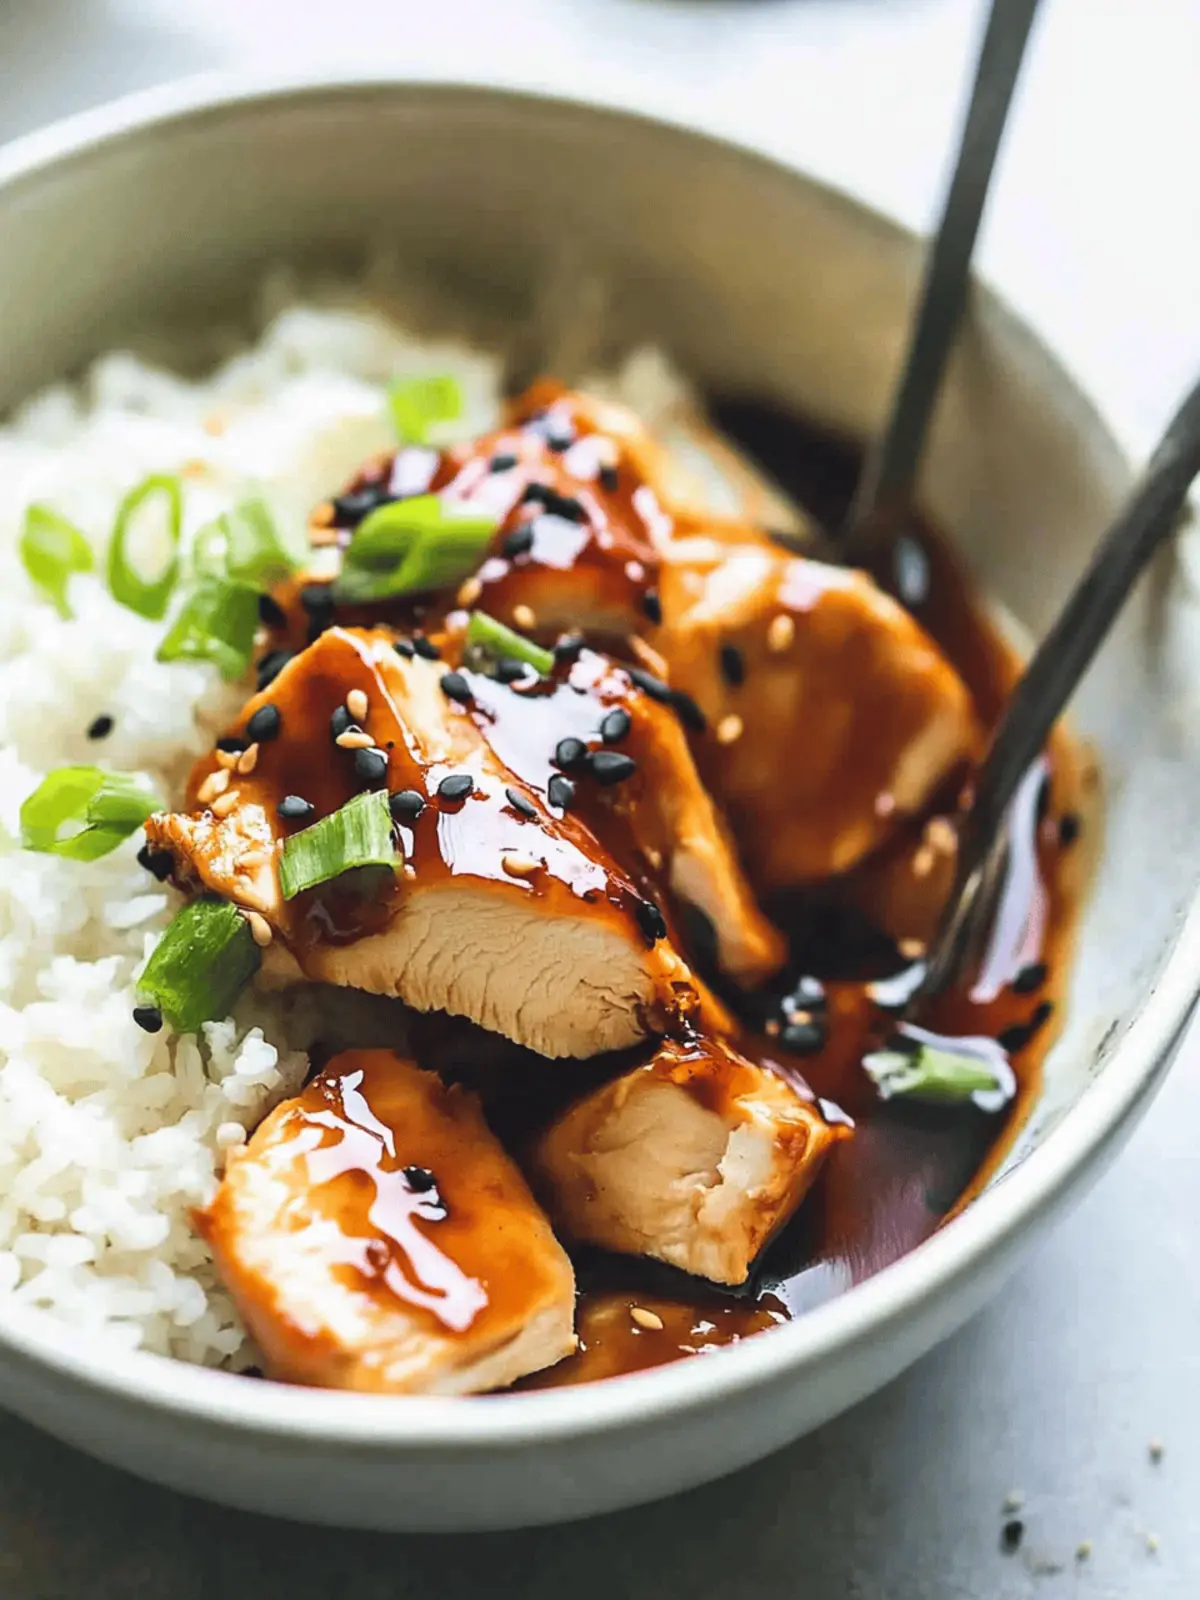
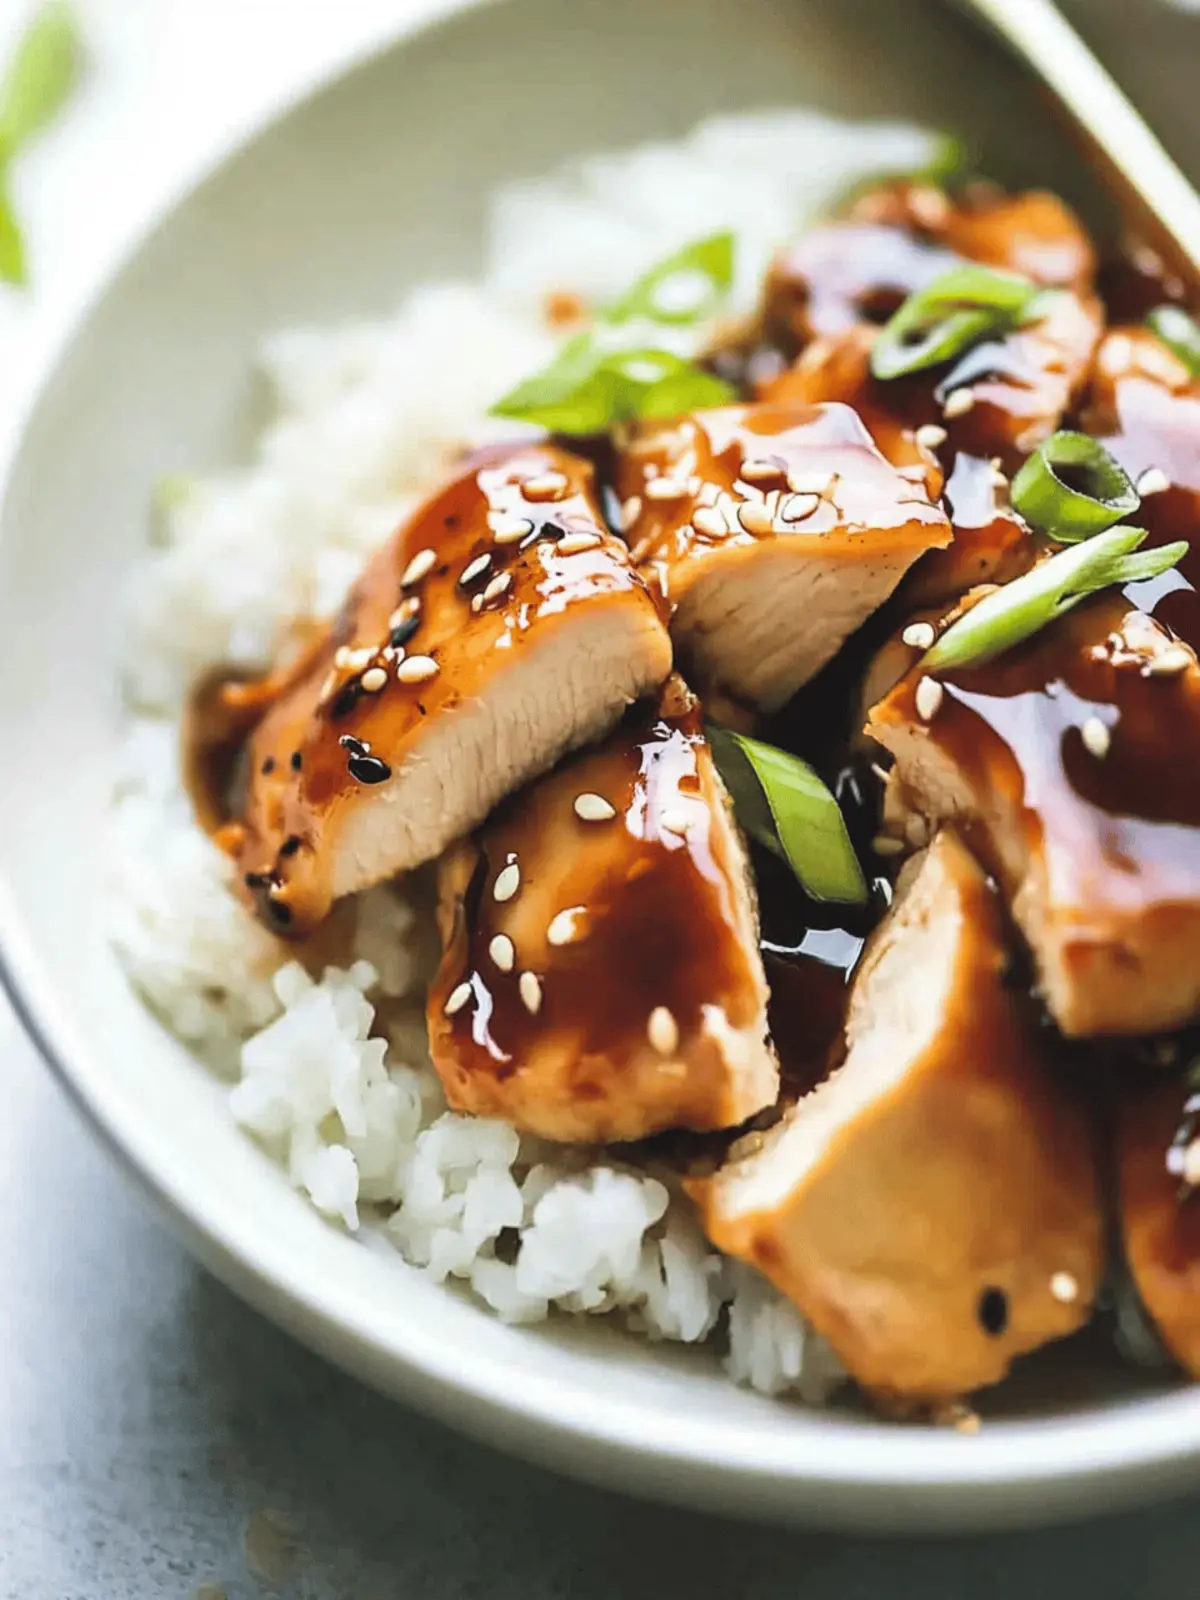
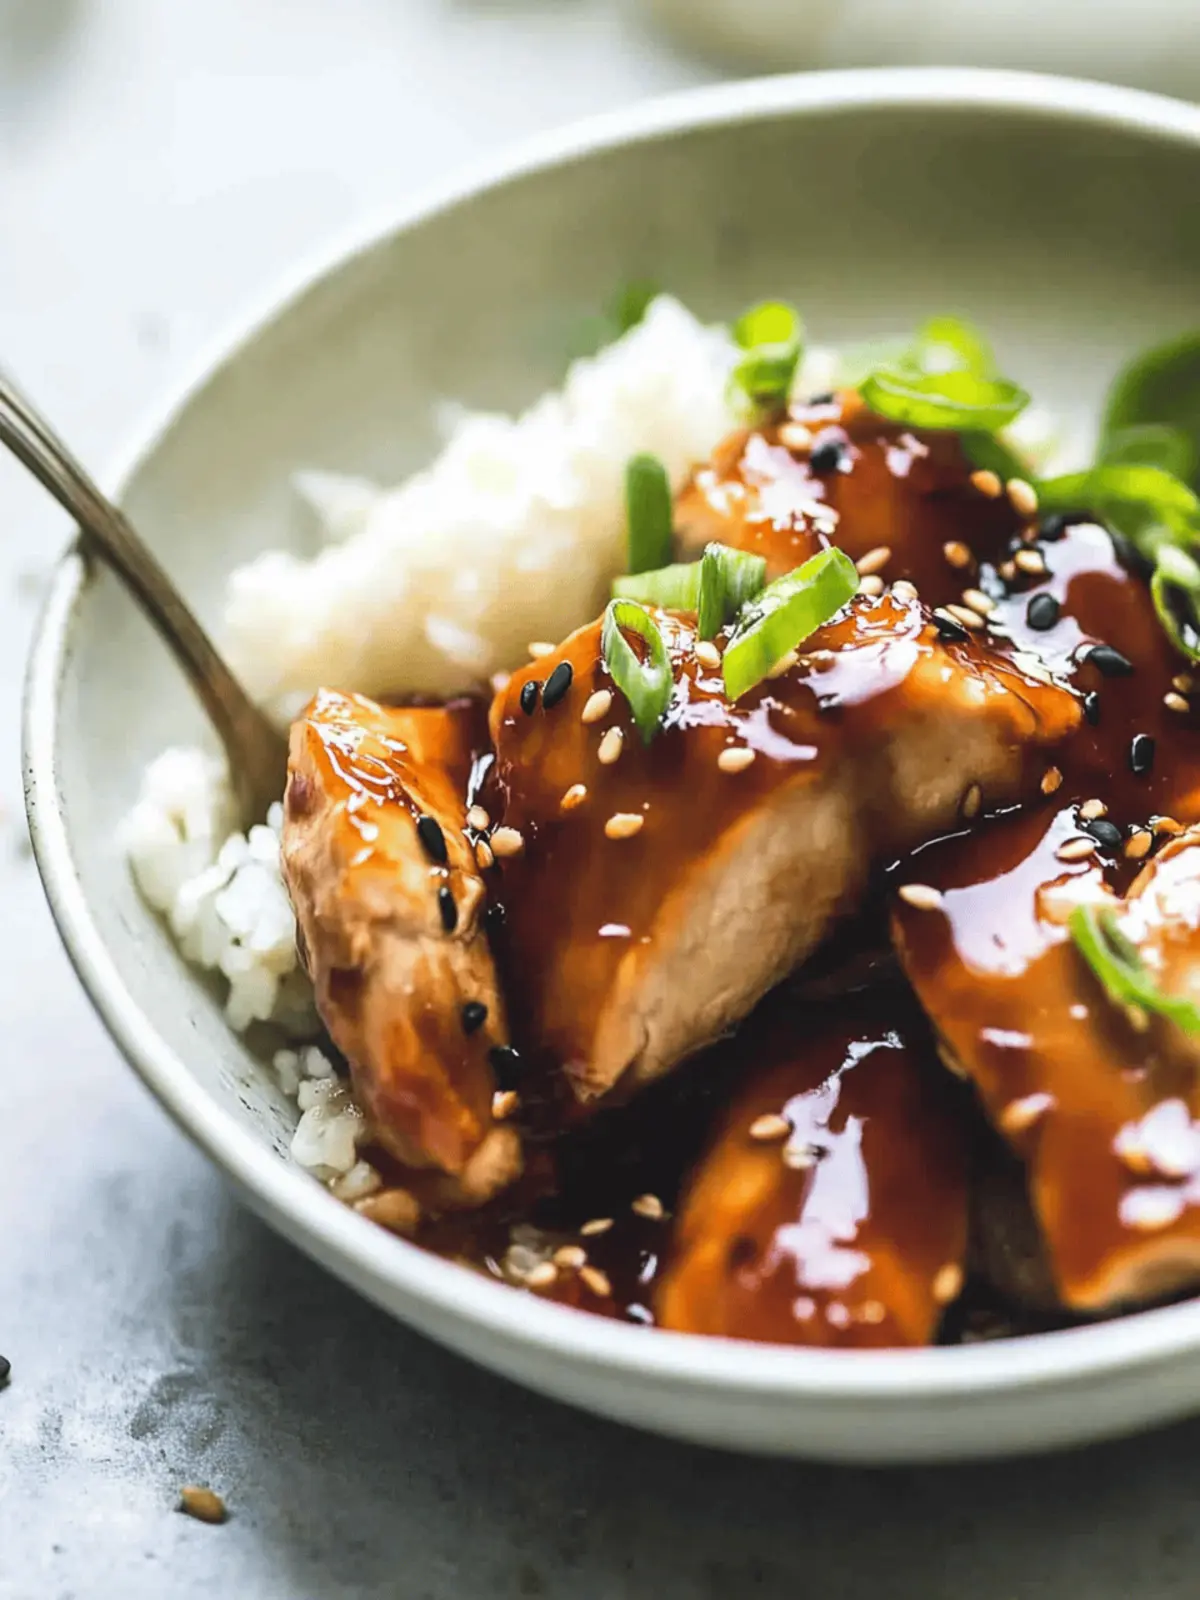
There’s a comforting warmth that fills the kitchen when I pull a tray of Baked Teriyaki Chicken from the oven, the sweet and savory aroma wrapping around me like a welcoming hug. It all started one busy weeknight when I found myself craving something hearty yet wholesome, and this dish quickly became a household favorite. The stars of the show? Juicy boneless chicken thighs smothered in a sticky, homemade teriyaki sauce, crafted from low sodium soy sauce and the perfect blend of garlic and ginger.
What I love most about this recipe is that it’s not just quick and easy—taking less than 45 minutes from start to finish—but it also caters to health-conscious eaters without sacrificing flavor. You can easily modify it to be gluten-free by substituting tamari for soy sauce, making it a versatile option for various dietary needs. So whether you’re looking to please your picky eaters or simply want to treat yourself to a delicious meal, this Best Ever Baked Teriyaki Chicken promises to bring smiles around the dinner table. Let’s get cooking!
Why is Best Ever Baked Teriyaki Chicken a Must-Try?
Simplicity: This recipe offers a no-fuss approach, perfect for busy weeknights.
Flavor Explosion: The fusion of sweet and savory notes in the homemade teriyaki sauce leaves a lasting impression.
Health-Conscious: With low sodium options and gluten-free variations, it’s ideal for health-minded cooks.
Crowd-Pleaser: Families rave about this dish; it’s sure to win over even the pickiest eaters.
Versatile: Pair it with rice, quinoa, or your favorite veggies for a delightful, balanced meal! Try serving it alongside your favorite vegetable stir-fry for an added crunch.
Quick Cook Time: Ready in under 45 minutes, this chicken is both satisfying and fast!
Best Ever Baked Teriyaki Chicken Ingredients
For the Chicken
• Boneless Chicken Thighs – These are perfect for keeping the dish juicy; feel free to use skin-on for added flavor.
For the Teriyaki Sauce
• Oil – Used to sauté garlic and ginger; olive oil can be a healthier substitute.
• Garlic (2 cloves, minced) – Provides a strong aromatic base for the sauce; adjust according to your taste preference.
• Ginger (1 teaspoon, grated) – Adds a spicy zest that complements the sweetness; ground ginger can work in a pinch.
• Low Sodium Soy Sauce (1/2 cup) – This gives the sauce its umami depth; you can opt for tamari for a gluten-free option.
• Water (1/4 cup) – Helps blend the sauce ingredients together.
• Light Brown Sugar (4 tablespoons) – Sweetens the teriyaki sauce; coconut sugar or honey are great alternatives.
• Rice Wine Vinegar (2 tablespoons) – Adds acidity to balance the overall sweetness of the sauce.
• Sesame Oil (2 teaspoons) – Infuses a delicious nutty aroma into the sauce.
• Cornstarch (2 teaspoons) – Acts as a thickening agent for the sauce to achieve that sticky consistency.
For Garnish
• Sesame Seeds – Sprinkle on top for extra visual appeal and texture.
• Green Onions – Optional, but they add a fresh touch and brighten up the dish.
This Best Ever Baked Teriyaki Chicken is sure to become a staple in your home, bringing both satisfaction and healthy eating to your table!
How to Make Best Ever Baked Teriyaki Chicken
-
Preheat the oven to 400°F (200°C). Grease a 9×13 baking dish with non-stick cooking spray to prevent sticking and enhance browning.
-
Prepare the chicken thighs by patting them dry. This step helps the skin crisp up nicely and allows the sauce to adhere better.
-
Sauté the garlic and ginger by heating oil in a saucepan over medium heat. Add minced garlic and grated ginger, cooking for about 1 minute until fragrant.
-
Combine the sauce ingredients by stirring in low sodium soy sauce, water, brown sugar, rice wine vinegar, and sesame oil. Bring this mixture to a simmer for 2 minutes to meld the flavors.
-
Thicken the sauce by mixing cornstarch with a little water until combined. Slowly whisk this into the simmering sauce; it should thicken enough to coat the back of a spoon.
-
Brush half of the prepared sauce over the chicken thighs, making sure they’re well coated. Bake in the preheated oven for 20 minutes.
-
Glaze the chicken by brushing with the remaining sauce. Bake for an additional 10-20 minutes or until the juices run clear and the internal temperature reaches 165°F (75°C).
-
Serve immediately, garnished with sesame seeds and scissored green onions for that fresh, crunchy finish.
Optional: Serve with steamed rice or quinoa for a wholesome meal.
Exact quantities are listed in the recipe card below.
Best Ever Baked Teriyaki Chicken Variations
Feel free to get creative with your Baked Teriyaki Chicken; these fun tweaks will inspire your culinary journey!
- Gluten-Free: Use tamari instead of soy sauce to accommodate gluten-free diets without sacrificing flavor.
- Different Proteins: Swap chicken thighs for chicken breasts, tofu, or even salmon, each offering a unique twist. Consider the juicy richness of salmon that meshes beautifully with teriyaki!
- Add Veggies: Toss in colorful veggies like bell peppers, snap peas, or broccoli for a complete one-pan meal that’s vibrant and healthful. Imagining the crunch as you bite into the fresh veggies adds wonderful texture.
- Sweetness Variations: Experiment with various sweeteners, such as honey or agave syrup, adjusting quantities to your taste; each option lends a different flair to the sauce!
- Spicy Kick: Add a splash of sriracha or a sprinkle of red pepper flakes to the sauce for those who crave a little heat. Spice brings a beautiful dance to the flavor profile!
- Citrusy Zing: Incorporate a teaspoon of orange or lime juice into the teriyaki sauce for a refreshing citrus element that brightens the dish.
- Herb Infusion: Try adding chopped fresh herbs, like cilantro or green onions, both in the glaze and as a garnish for aromatic freshness that elevates the dish.
- Condiment Finale: Serve with a drizzle of sesame oil or a sprinkle of toasted sesame seeds for extra flavor and crunch, giving a delightful finish to each bite!
Make Ahead Options
These Best Ever Baked Teriyaki Chicken options are perfect for busy weeknights, saving you time and effort while ensuring delicious results. You can prepare the teriyaki sauce up to 3 days in advance and store it in the refrigerator in an airtight container. Additionally, season the boneless chicken thighs and marinate them in the sauce for up to 4 hours before baking to enhance the flavor. When you’re ready to enjoy your meal, simply preheat your oven and bake the marinated chicken as instructed, brushing it with the remaining sauce halfway through. Rest assured, this method keeps the chicken just as tender and flavorful as if you made it fresh!
How to Store and Freeze Best Ever Baked Teriyaki Chicken
Fridge: Store leftover Baked Teriyaki Chicken in airtight containers for up to 3-4 days to keep it fresh and flavorful.
Freezer: For longer storage, freeze the chicken in airtight containers or heavy-duty freezer bags for up to 3 months.
Reheating: Thaw in the fridge overnight and reheat in the oven or microwave until the internal temperature reaches 165°F (75°C) for safety.
Make-Ahead: The teriyaki sauce can be prepared ahead of time and stored in the fridge for up to a week, making the meal prep quicker later.
Expert Tips for Best Ever Baked Teriyaki Chicken
• Pat the Chicken Dry: Ensuring the chicken is dry before sauce application helps achieve a better browning and flavor adherence.
• Use a Meat Thermometer: To guarantee perfectly cooked chicken, check that the internal temperature reaches 165°F (75°C). It prevents undercooking or drying out.
• Marinate for Flavor: For deeper flavor, consider marinating the chicken in teriyaki sauce for up to 4 hours before baking for a truly mouthwatering experience.
• Customize It: Feel free to experiment with different vegetables in the baking dish—broccoli, bell peppers, or snap peas work beautifully with this teriyaki chicken!
• Store Properly: Keep leftovers in airtight containers in the refrigerator for up to 3-4 days, ensuring you can enjoy this tasty meal again.
• Capture the Sticky Finish: Achieving that glossy, sticky teriyaki finish requires patience—brush the chicken with sauce before baking and again to glaze.
What to Serve with Best Ever Baked Teriyaki Chicken?
The perfect meal isn’t just about one star dish; it’s about enhancing flavors and creating balance on your plate.
-
Steamed Jasmine Rice: The soft, fluffy rice helps soak up the flavorful teriyaki sauce, making each bite satisfying and complete. Try mixing the rice with a hint of sesame oil for added depth.
-
Garlic Stir-Fried Broccoli: This crunchy, vibrant green side provides a nutritious burst of freshness and a nice textural contrast to the tender chicken.
-
Crispy Sesame Green Beans: Tender-crisp green beans tossed with a touch of sesame oil enhance the umami flavors of the chicken, adding a delightful crunch.
-
Miso Soup: A warm, comforting bowl of miso soup can act as a great starter, complementing the deliciously sweet and savory notes of the teriyaki chicken.
-
Cilantro Lime Quinoa: An earthy, nutty base that adds a zesty flavor, this quinoa offers a healthy and hearty option alongside the chicken.
-
Crunchy Asian Slaw: With its refreshing cabbage and vibrant carrots, this slaw provides a refreshing contrast, balancing the rich flavors of the dish wonderfully.
-
Pineapple Fried Rice: A tropical touch that harmonizes beautifully with the teriyaki, this fried rice adds sweet and savory flavors, making every bite an adventure.
-
Chilled Sake or Green Tea: To drink, chilled sake lends a crisp and clean edge, while green tea can refresh the palate between bites of bold flavors.
Pair your Best Ever Baked Teriyaki Chicken with these sides for an unforgettable meal that your family will cherish!
Best Ever Baked Teriyaki Chicken Recipe FAQs
What type of chicken is best for this recipe?
I recommend using boneless chicken thighs for the juiciest results, but bone-in thighs work well too! They provide extra flavor and tenderness. Just remember, boneless thighs will cook faster, so adjust your baking time accordingly.
How should I store leftovers?
Store leftover Baked Teriyaki Chicken in airtight containers in the refrigerator for up to 3-4 days. Ensure it’s fully cooled before sealing to prevent moisture buildup. It makes for a quick and satisfying lunch!
Can I freeze Baked Teriyaki Chicken?
Absolutely! You can freeze the chicken in airtight containers or heavy-duty freezer bags for up to 3 months. Just be sure to label them with the date. When you’re ready, thaw it in the fridge overnight before reheating.
What if my teriyaki sauce doesn’t thicken properly?
If your sauce isn’t thickening, mix an additional teaspoon of cornstarch with a tiny bit of water to create a slurry, and whisk it into the simmering sauce. Allow it to cook for another minute or two until it reaches the desired thickness. It should coat the back of a spoon perfectly!
Is this recipe suitable for people with gluten sensitivities?
Yes, you can easily make this dish gluten-free by using tamari instead of soy sauce. Just check that all other ingredients are also gluten-free, especially the sesame oil and any added spices. It’s a thoughtful way to enjoy a classic dish without the gluten!
Can I add vegetables to this recipe?
Yes! I often toss in vegetables like bell peppers, broccoli, or snap peas into the baking dish. Just be sure to adjust the cooking time slightly, as they may need a few extra minutes to become tender while soaking in that delicious teriyaki sauce!

Best Ever Baked Teriyaki Chicken That's Quick and Healthy
Ingredients
Equipment
Method
- Preheat the oven to 400°F (200°C). Grease a 9x13 baking dish with non-stick cooking spray.
- Prepare the chicken thighs by patting them dry.
- Sauté the garlic and ginger by heating oil in a saucepan over medium heat. Add minced garlic and grated ginger, cooking for about 1 minute until fragrant.
- Combine the sauce ingredients by stirring in low sodium soy sauce, water, brown sugar, rice wine vinegar, and sesame oil. Bring to a simmer for 2 minutes.
- Thicken the sauce by mixing cornstarch with a little water, then whisk it into the simmering sauce.
- Brush half of the prepared sauce over the chicken thighs and bake for 20 minutes.
- Glaze the chicken with the remaining sauce and bake for an additional 10-20 minutes or until cooked through.
- Serve immediately, garnished with sesame seeds and scissored green onions.


